Making a Magic Mirror
April 1, 2016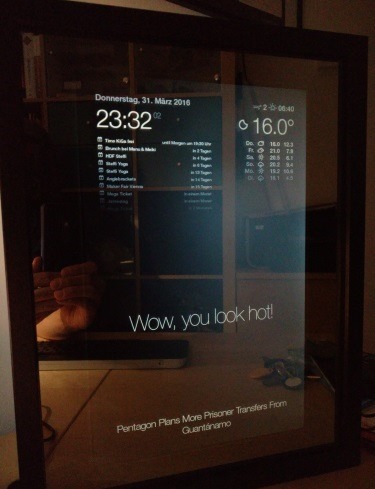 Yesterday was the last day of march and therefore the last chance to contribute to the #marchisformakers initiative. I am currently working on a project that I am really excited about and I thought it a worthy conclusion of this year’s makers month.
A while ago I found this magic mirror project on the Internet and immediately fell in love with the idea. The only thing holding me back from building my own immediately was that I didn't want to buy yet another monitor. Even more so, because the instructions in this project required to tear the monitor apart. So, … no.
Then I remembered that broken laptop that had been sitting in a dark corner of my office for months. Even though this laptop would not boot any more, I had a feeling that its display was still functional and it teared it apart.
Display
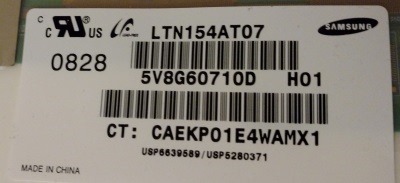
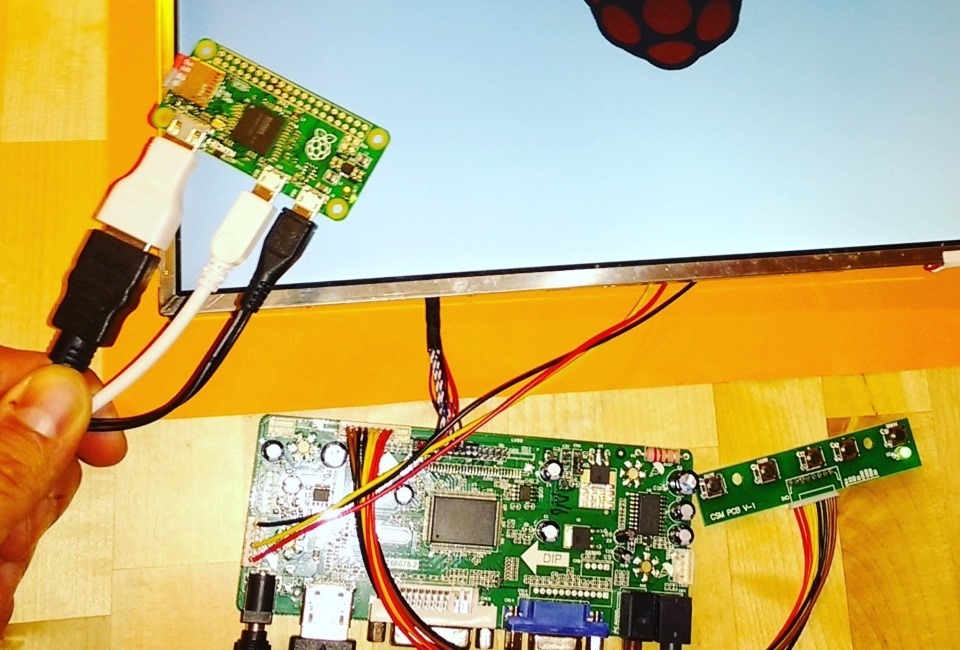
In order to make use of your laptop panel, a display driver board is necessary (you cannot connect it to your PC directly!). You get them on the Internet for around 30 to 50€ depending on the model of your panel. Once you found the model number, just google “display driver board <MODEL NUMBER>”.
Make sure to carefully check the model number on your panel to get the correct driver board!
I found my driver board on eBay for around 32€ and it immediately worked like a charm.
Many of these driver boards come without a power adapter (usually 12V / 3-4 A). Make sure to find a spare one at home or order a kit that comes with an adapter.
The Frame
That was the easy part. I usually have a bunch of spare IKEA Ribba Frames at home because they are really cheap (10€ or below) and can be used for all kinds of projects and builds. For the mirror I used a 30x40cm Ribba frame which sets you back only 7€.
The Actual Mirror
This was a tough one and I spent quite some time on it since this is probably the most important part of the project.
My first approach was using mirror foil and stick it onto the frame’s glass pane, but I was not happy at all with the result.
First, it's really hard to apply this foil to a glass pane without causing any bubbles and ripples on the surface, which makes the mirror look cheap and crappy.
Also, the actual mirror effect of this foil cannot be compared to a real mirror. It was cloudy and the reflection was not clear at all.
So that was definitely a dead end.
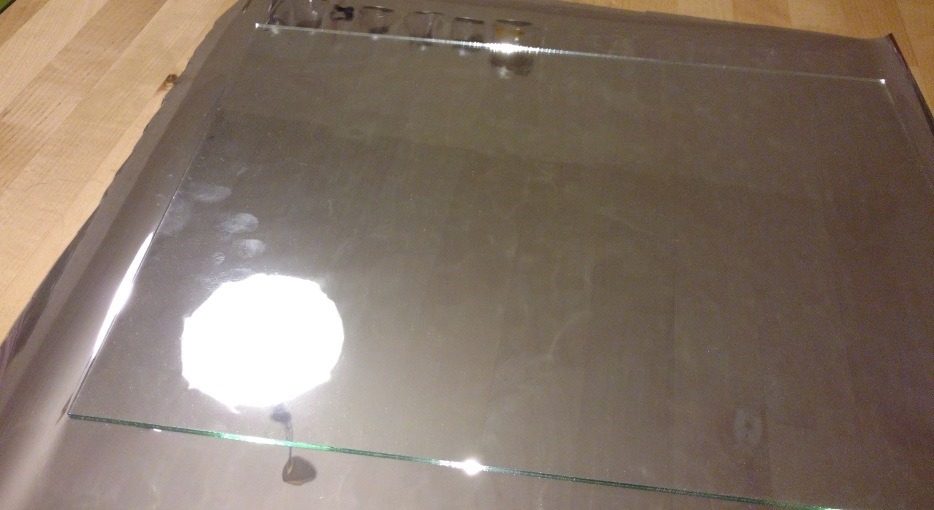
Then I started looking for an actual two-way mirror. I contacted several (around 10) companies asking for offerings and the price range was crazy! The most expensive one was around 130€ and the cheapest around 20€! I went straight for the 20€ mirror and I have to say it was a real bargain! Great, solid quality!
So make sure to check your options! You can either spend or save a lot of money on the mirror!
The Mirror’s Brain
I started the project out using a Raspberry Pi Zero but later I decided to utilize my new Raspberry Pi 3 with regard to future plans I have for my magic mirror (computer vision, face detection, ...).
The Assembly
Now that I had all the parts and a working proof of concept, I started putting the parts together:
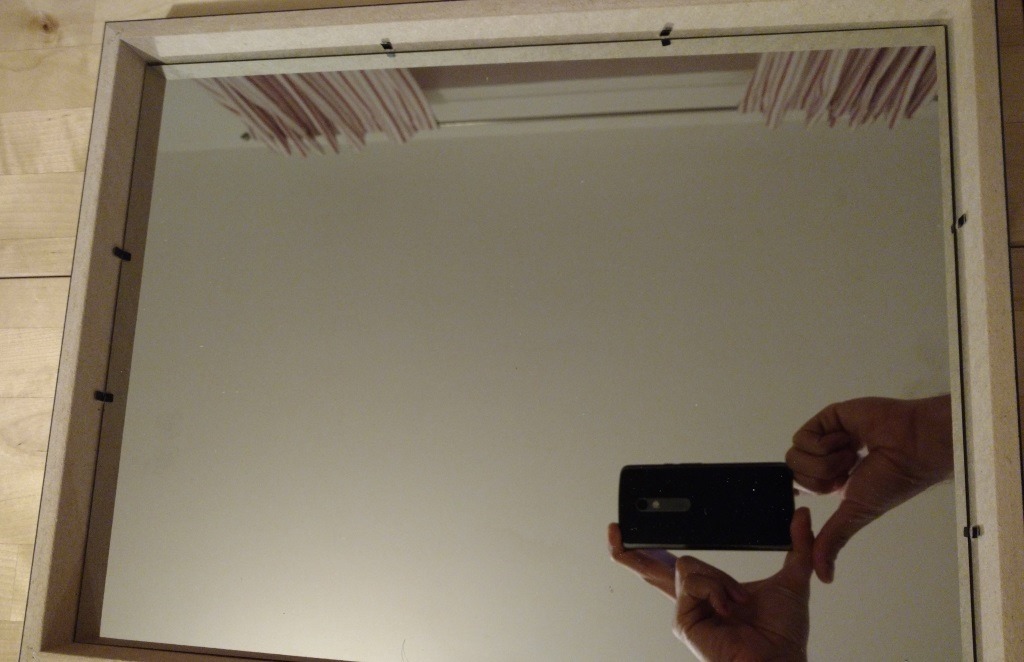
- The mirror pane goes into the frame. Since I had the mirror glass specially made (again: for just 20€!), it fit perfectly. Nice!
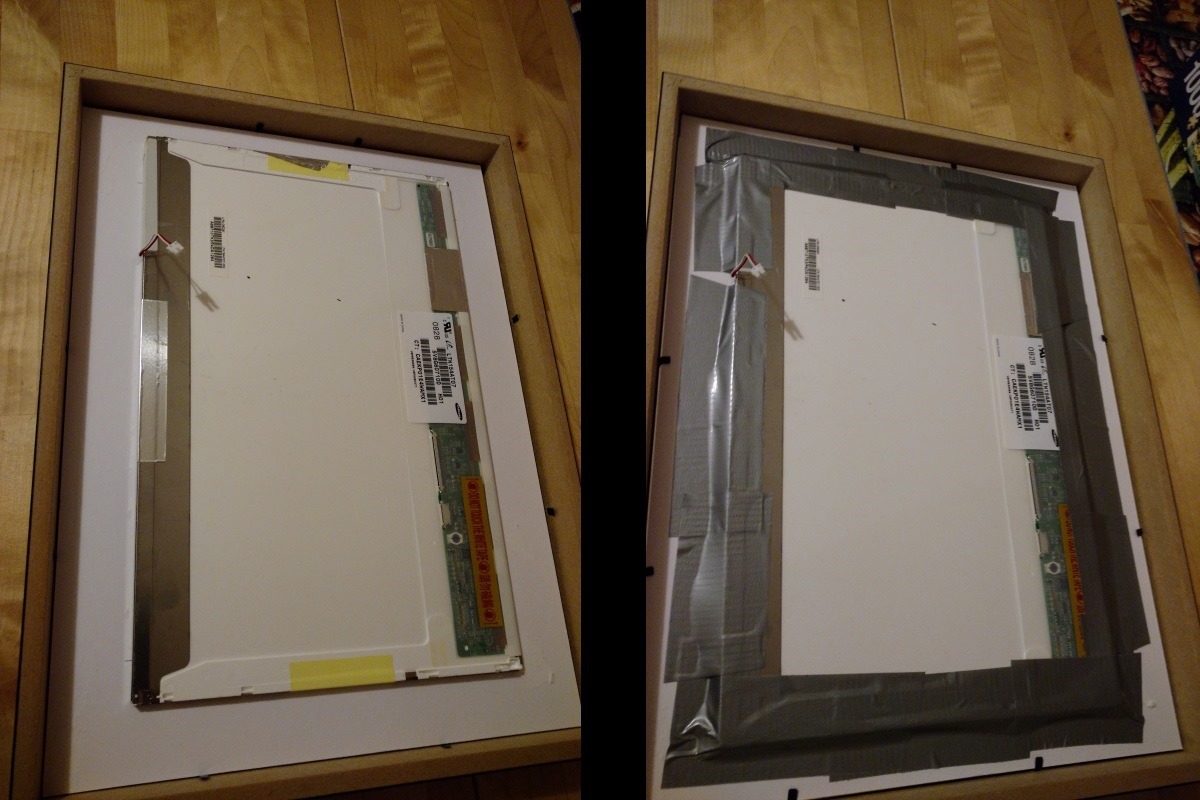
- Next, I put the monitor panel into the frame, covered the edges using a cut out cardboard (passe-partout) and duct-taped them onto each other.
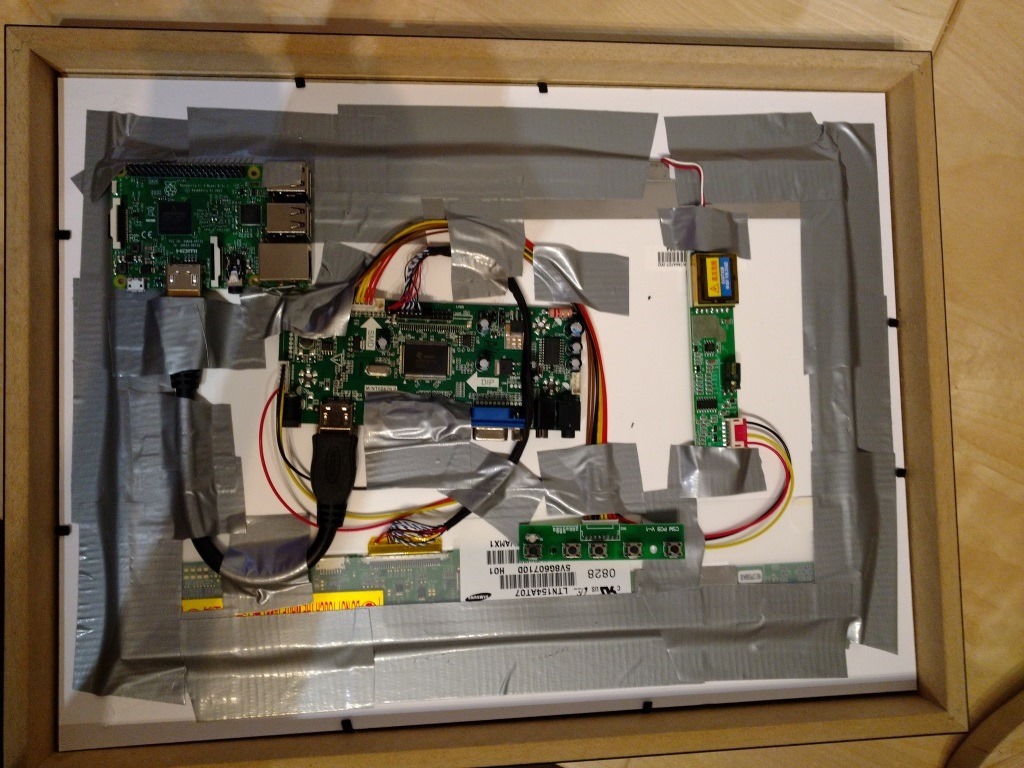
- Finally I put the driver board and the Raspberry Pi into the frame and again duct-taped them in place. I might go for a more permanent solution here, but on the other hand: if you can duct-tape people to the ceiling it should be good and sturdy enough to hold a circuit board in place, right?
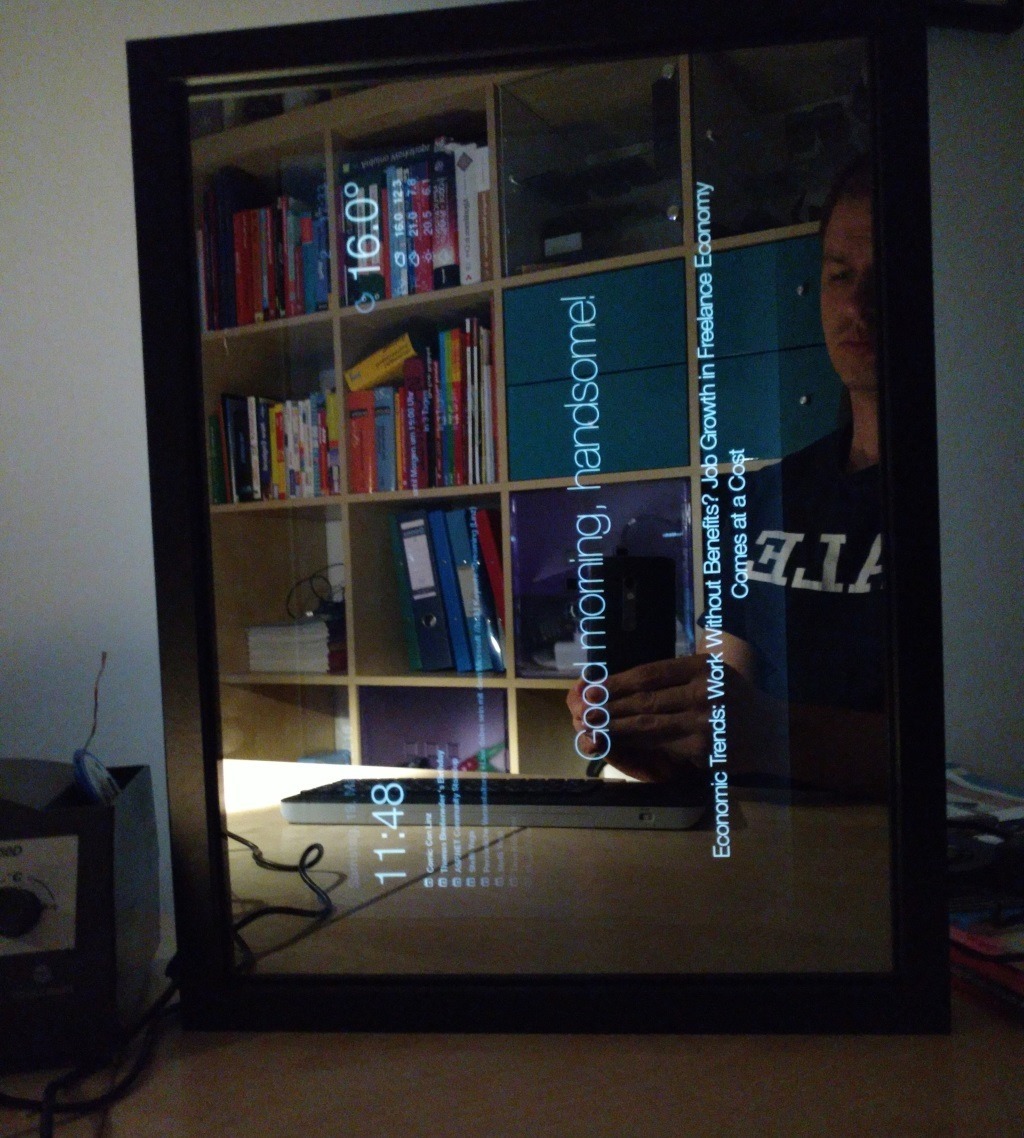
- That’s actually, all. Connect your power adapters (Raspberry Pi and display driver board) and start it up.
Software and Configuration
I used the same magic mirror software I found on the original blog post that inspired me.
Also, the image is still oriented in landscape instead of portrait mode here. But that can easily be fixed.
However, I will do a more detailed blog post on configuration and software shortly.
Part List
Here’s the complete list of parts I used for this build:
- IKEA Ribba Frame (7€)
- Two-Way Mirror (20€)
- Display Driver Board (32€)
- 12V Power Adapter for the Raspberry Pi (~ 20€)
- Raspberry Pi 3 (35€)
- 5V Power Adapter for the Raspberry Pi (5€)
- Short HDMI cable (6€)
