Fixing and Restoring an Atari 2600 "Woody"
September 25, 2024Those of you who read my blog post on the Atari 2600 Junior Video Mod might have seen this picture already.

It's an Atari 2600 "Woody" that I bought for cheap on the internet. The reason it was so cheap is that it was sold as "defective" - and defective it was!
There was hardly a thing not broken with this unit. The case had a visible crack, the circuit board was covered in rust (there was noticeable water damage), switches were broken off, and one joystick port was broken off as well and barely hanging on by a few soldered-on wires.
Given all that, it didn't come as a big surprise, when I powered it on and got no picture out of it.
Basic Repairs
The first step was checking the power supply. I could measure the 9V at the power jack and also at the voltage regulator (otherwise, a classic point of failure). Also at the voltage regulator, the conversion to 5V happened as expected. So one thing I could rule out ✅.
But before moving on to inspecting other parts and components, I gave the whole board a good cleaning. I used a toothbrush and isopropyl alcohol to clean of the the rust from the board and the switches.
I also cleaned out the cartridge slot to avoid possible faulty contacts there.
Still: no picture 😞.
Composite Video Mod
I had planned to give this device a composite video mode anyway, so I went through the same steps as described here. I had some hope that the problem would be due to a faulty RF unit, but I got disappointed again.
Even after installing the video mod, I would get no picture out of the Atari. I did not have any other spare parts ready at that time, so I gave up and put the project aside for a couple of months.
Chip Switch
Luckily, I got my hands on a working Atari 2600 "Darth Vader" (the one from the video mod blog post) later this year.
I tried swapping out the chips one-by-one, and finally the to-be-restored unit would show a picture!
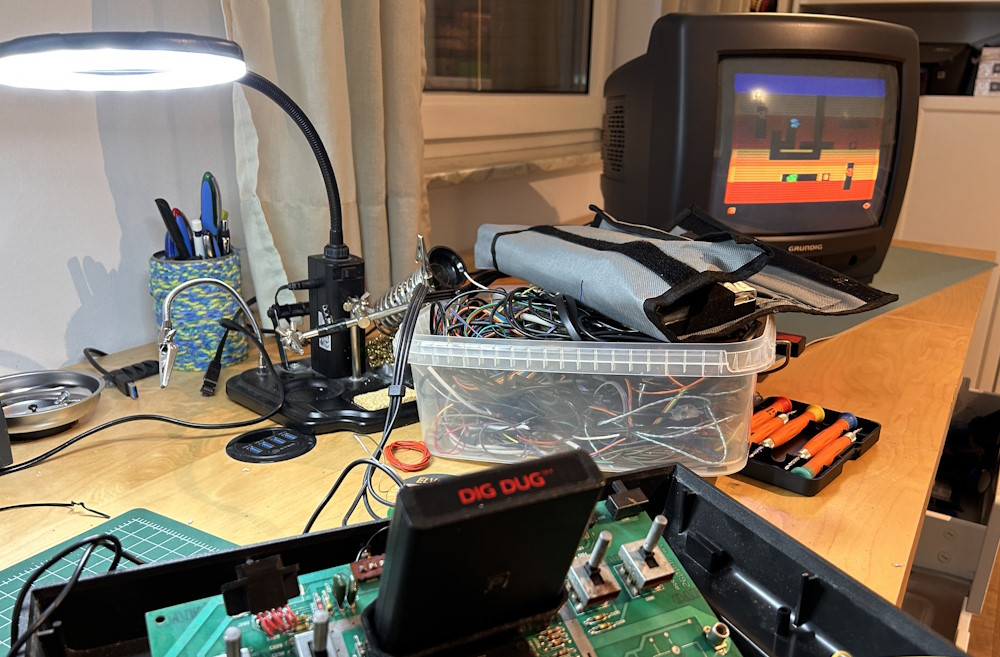
It turned out, both the CPU and the TIA chip were damaged!
I then went on eBay and bought a bunch of used replacement chips. The TIA is rather pricey and hard to get as it is custom Atari hardware and not made anymore.
Note: be careful, when buying a TIA chip. There are different versions for PAL and NTSC!
Recapping
While looking for the replacement chips online, I also found this recapping set for Atari 2600s.
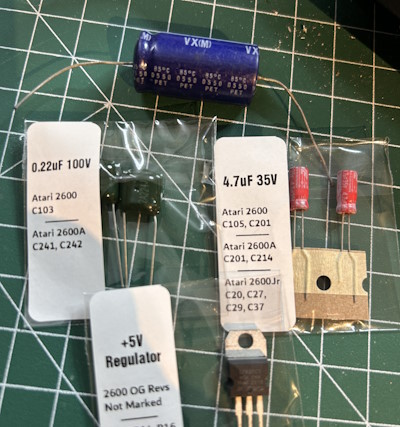
Replacing the capacitors and the voltage regular would not have been necessary as the device was working already. But I figured, it would not hurt and hopefully save me from unpleasant surprises in the near future.
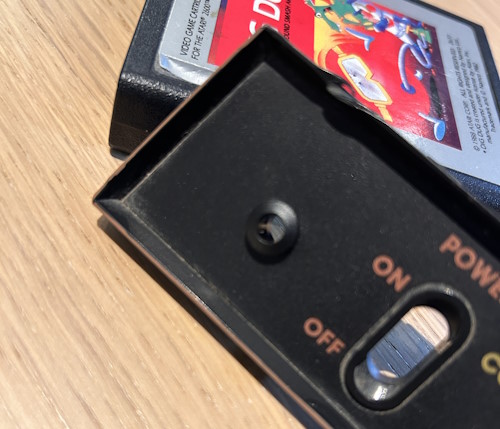
I also found replacements for the broken-off joystick port and switches online, and fixed those as well.
These are all the old (and damaged) components from the Atari 2600 that I had replaced.

And this is what the restored and working Atari 2600 board looked like after all replacements.
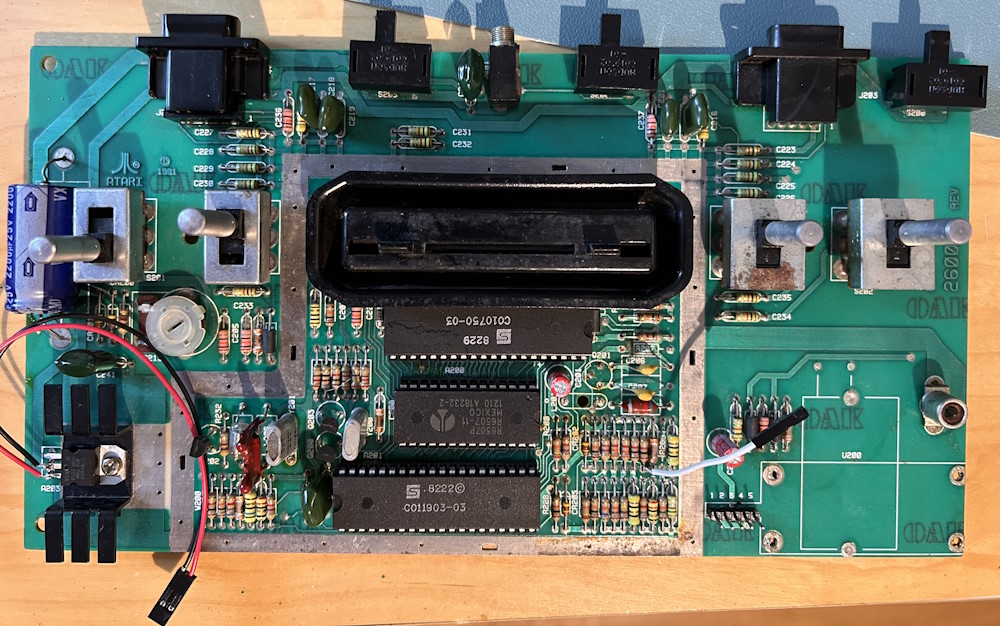
As you can see, I soldered wires to the voltage regulator to which I would connect a power LED later. The white wire is where the audio RFA (cinch) connector would go. I made all these connections (also the video mod) pluggable to allow for easy assembling and disassembling.
The Joystick Problem
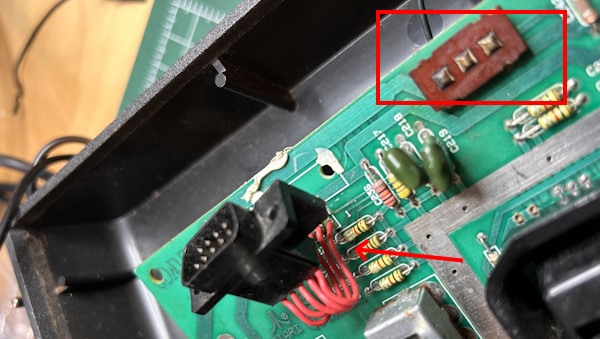
Remember the broken-off joystick port? After having resoldered this port, a new problem surfaced. The joystick's fire button did not have any effect. This would make for a quite disappointing gaming experience. So I went and looked for a possible cause for this issue.
As this schematic shows, the fire button is connected to pin 6 of the joystick.
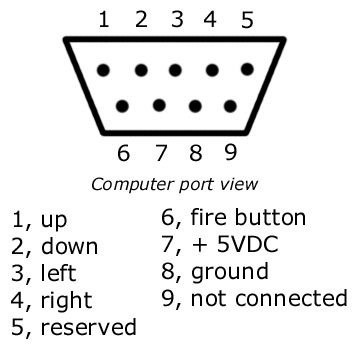
I also found the circuit schematics for the Atari 2600 and located the joystick connections on that.
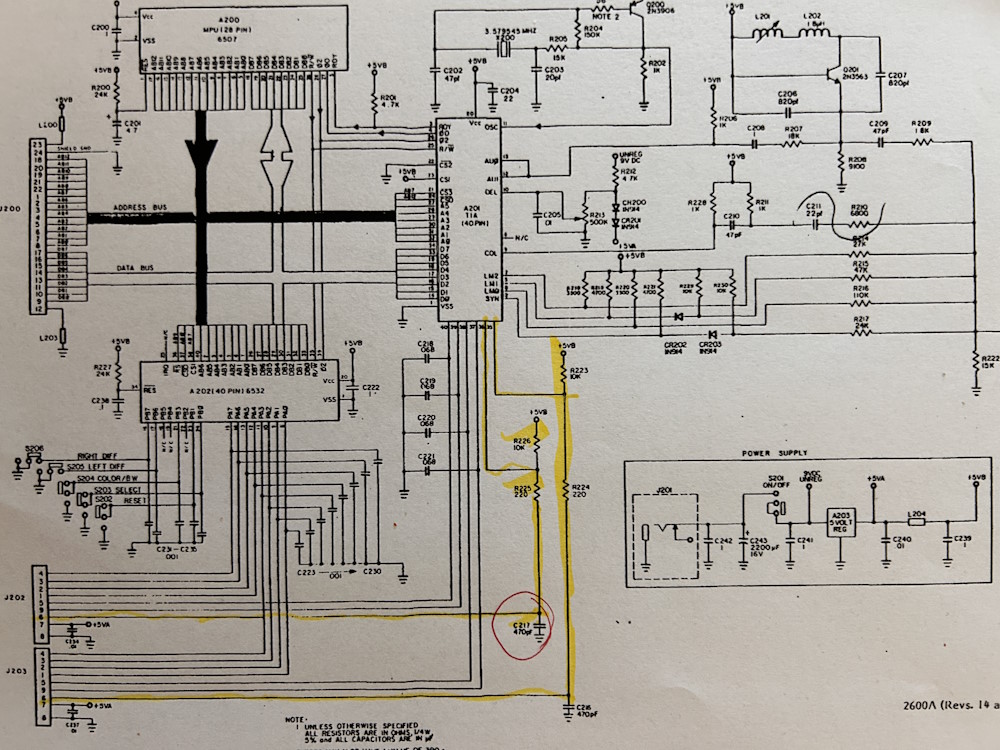
I then took a multimeter and tested the traces for broken connections.
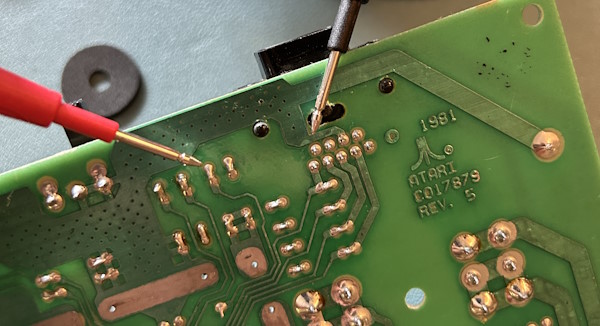
And lo and behold: the trace between pin 6 and the C217 capacitor was broken. Most likely, this trace had been damaged by the previous attempts of "repairing" the broken-off joystick board. I could not locate the actual break in the trace (it was probably covered by the port), so I simply soldered a wire to the solder points.
Problem solved! This was one of my proudest moments when it comes to repairing old hardware 🤩.
Finishing Touches
Now that this Atari 2600 was working again, I also did some "cosmetic" work on it.
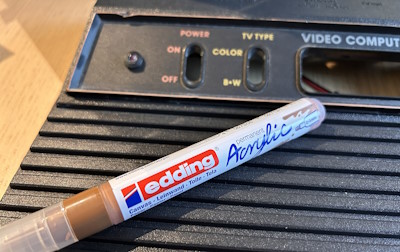
I glued the crack in the case and touched up the wooden-style parts with an acrylic pen.
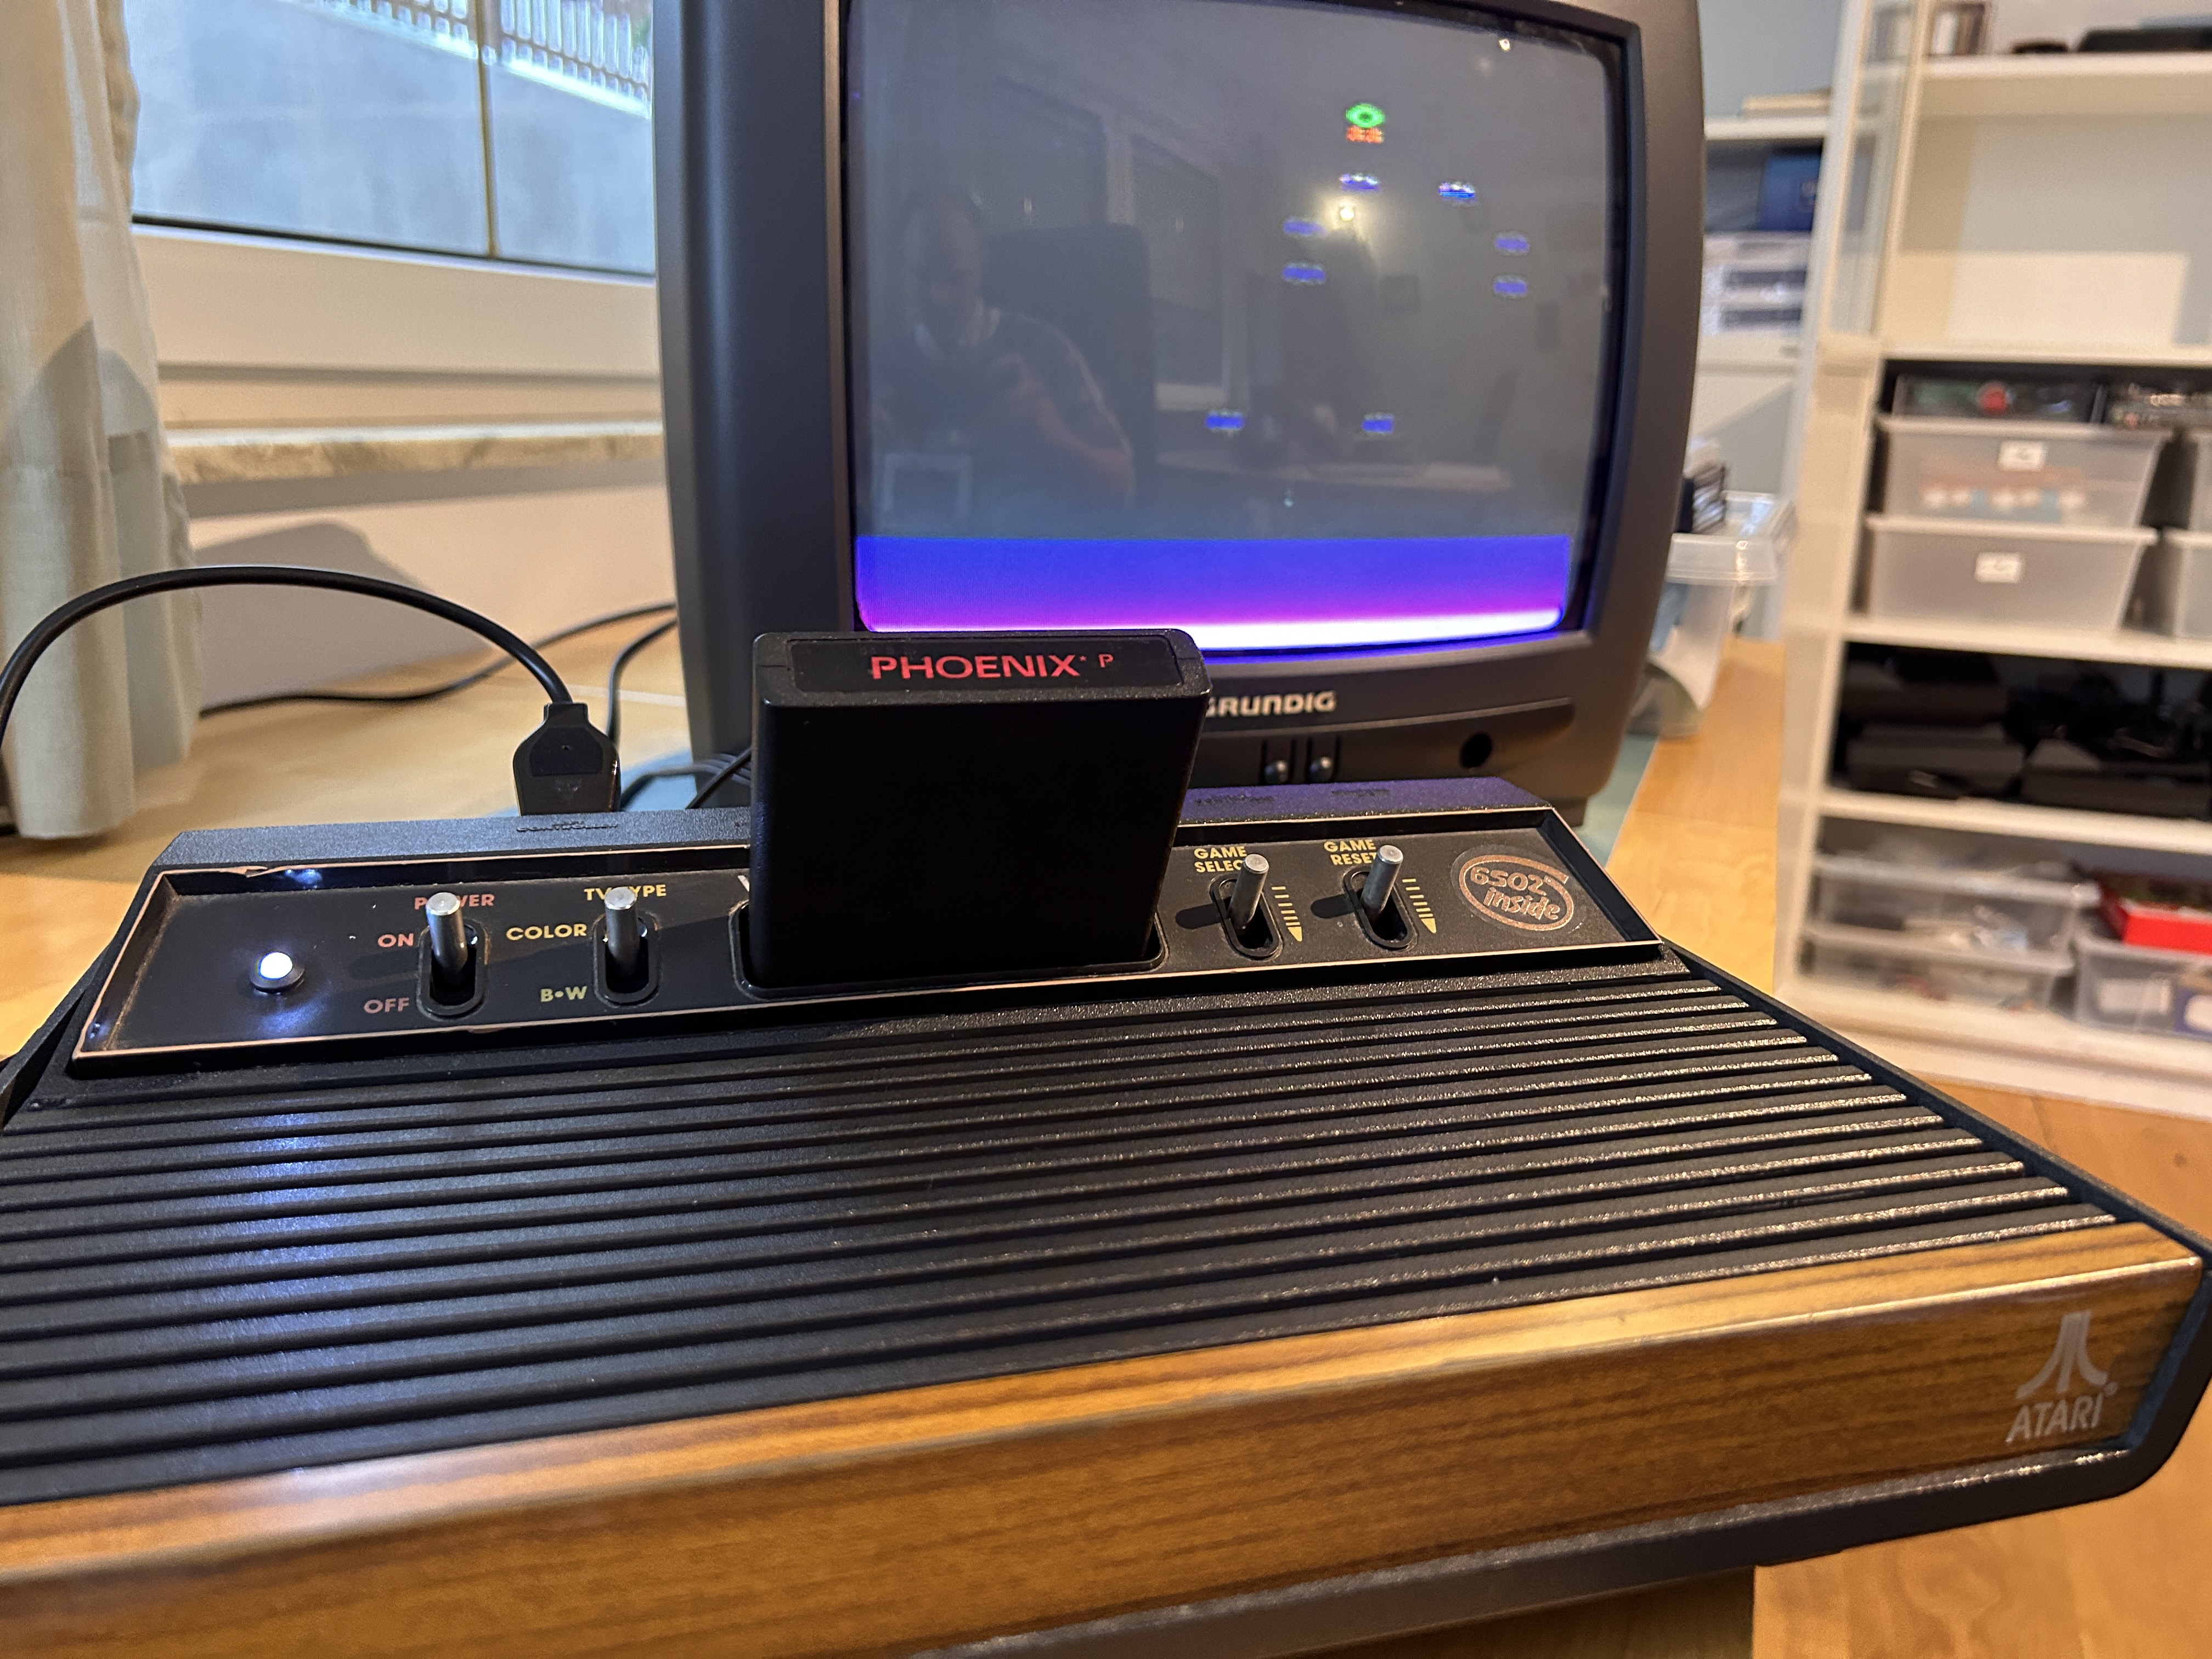
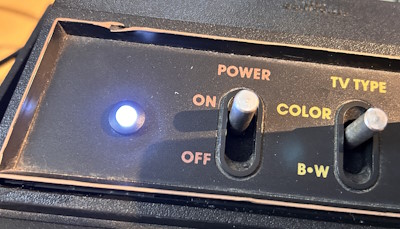
Then I installed a power LED on the front plate (remember the wires previously connected to the voltage regulator?)
The final touch was this "6502 inside" sticker on the front plate.
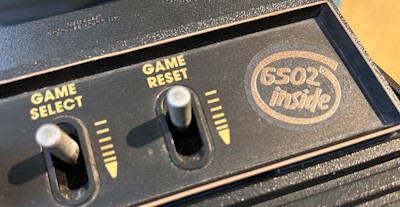
(I know: It's technically a 6507 but the instruction set is the 6502 and geekenspiel only had this sticker.)
Done
This - now working - Atari 2600 "Woody" is now one of my proudest possessions in my collection of retro-computing hardware.