Building a Terrace for our LEGO Minifigures
March 30, 2015OK, I guess this LEGO minifigures situation is officially out of control.
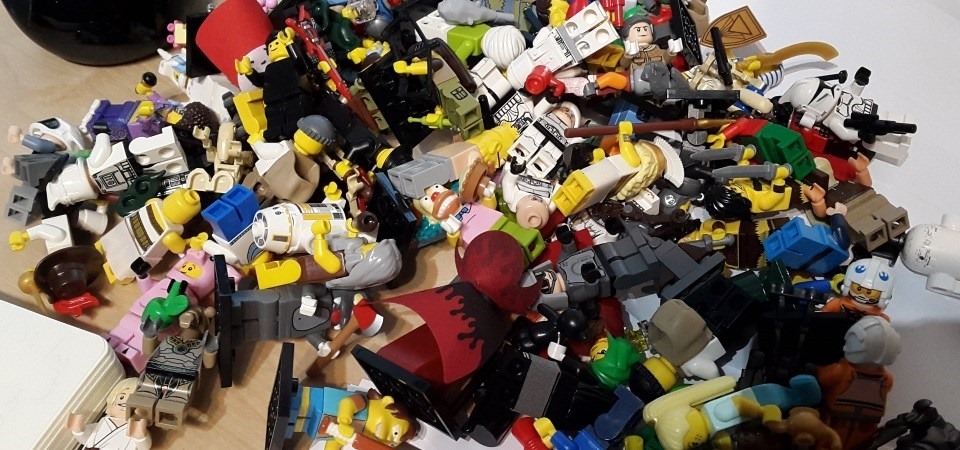
Since apparently the first step to recovery is admitting that you to have a problem, I hereby officially admit that I might have the tiniest addiction problem when it comes to collecting LEGO stuff.
That said tough, IMHO the actual problem is not the addiction collection habit itself, but rather the question of storage, since these minifigures really deserve an appropriate place where they can be exhibited and admired.
I already tried to come up with clever ways of exhibiting these minifigures - built custom picture frames and mounted them on the wall. Unfortunately, this is just a drop in the bucket and does not really scale well for 100+ minifigures.
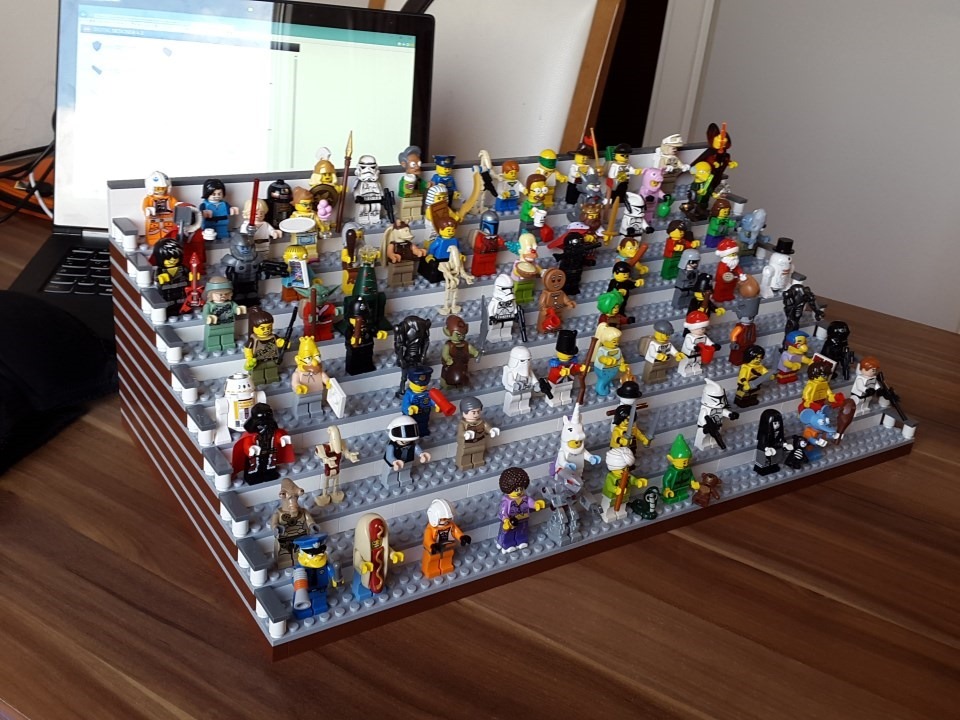
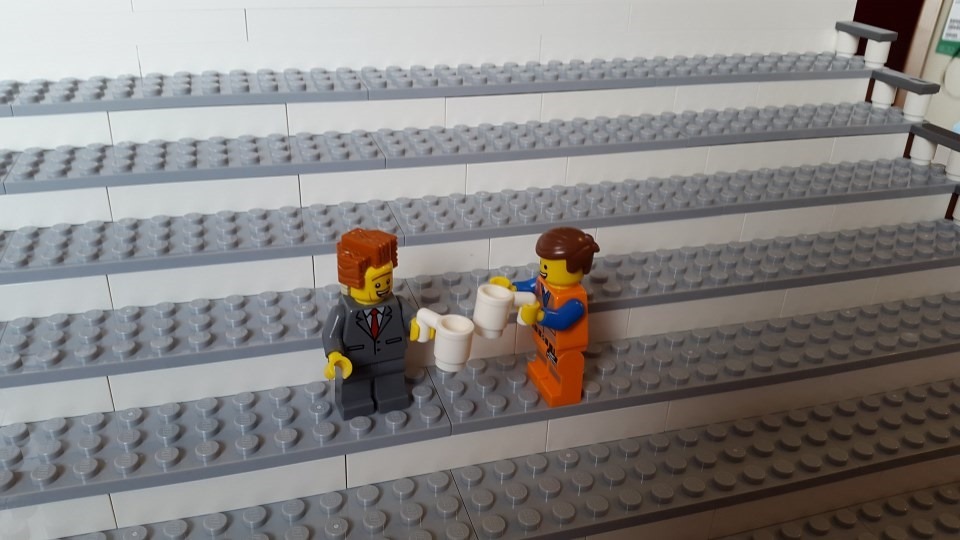
What I was really looking for was a kind of exhibition area which could hold many (ideally all) of the minifigures. Something like a shelf, or a terrace in a football stadium.
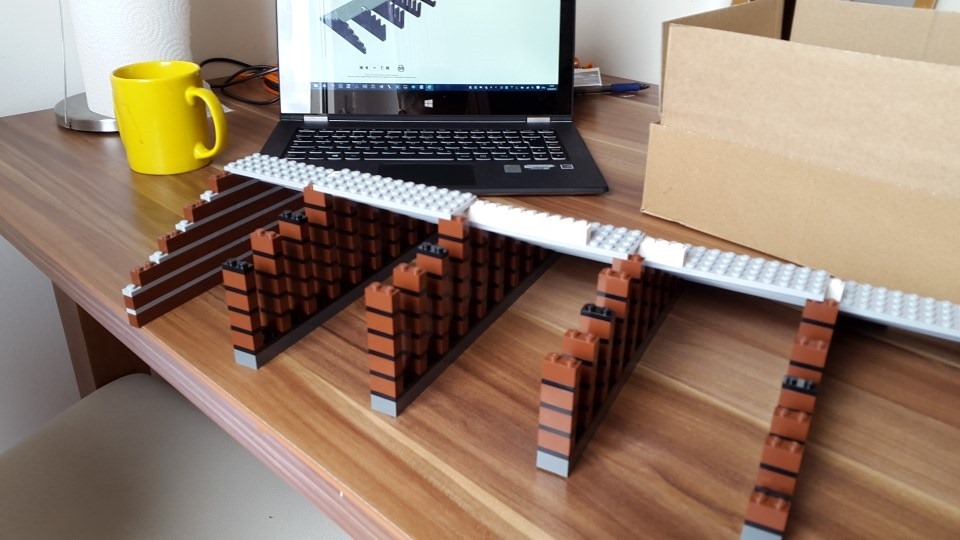
And I figured that the only appropriate construction for housing my LEGO minifigures could be …. an actual LEGO construction!
Planning
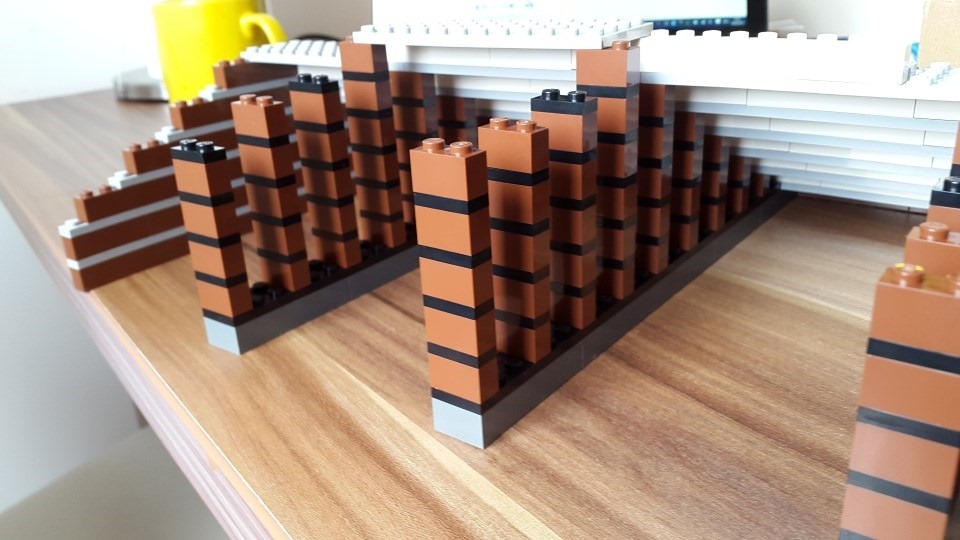
So I decided to do plan and build a custom LEGO terrace.
Before starting with the actual construction and design, I did some quick calculations to get a better idea about the size of the final terrace and the number of bricks that would be required.
As I needed to accommodate about 100 minifigures, I decided to leave some headroom and plan for about 150 minifigures.
For each minifigure I accounted 4 x 3 horizontal LEGO units and vertically I assumed that 2 LEGO units would be enough so that the individual rows of the terrace could stand out.
As 4 horizontal LEGO units account for 3.1cm (1.22 inches), trying to place e.g. 50 minifigures in one row would result in a horizontal dimension of 1.55 meters (61.02 inches), which was way more than I had had in mind.
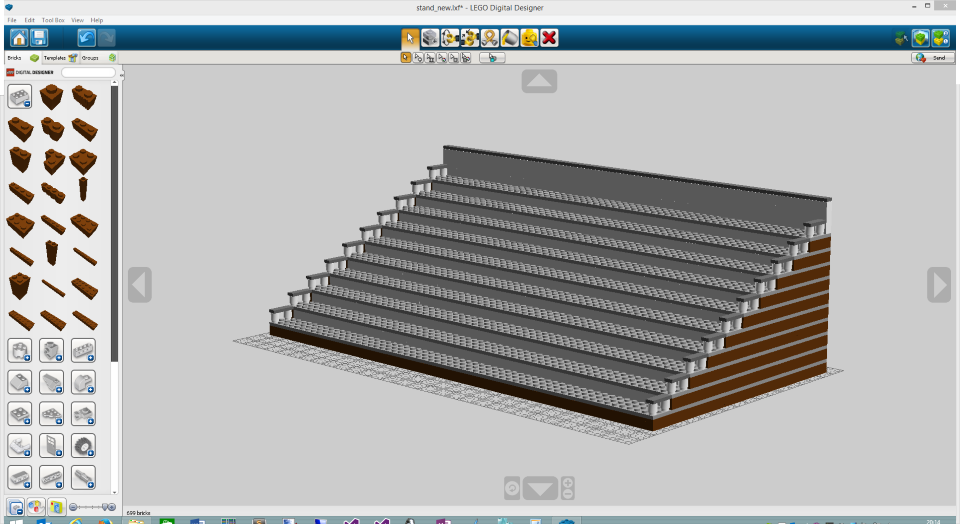
So I decided to rather go for height and ended up with a construction that would accommodate 15 minifigures (60 LEGO units) in a horizontal row. Having 10 of these rows vertically would give me place for 150 minifigures, a width of about 50 cm (~20 inches) and a height of about 25cm (~10 inches). Awesome!
Modelling
With the basic dimensions set, I now had to plan the terrace on a brick-by-brick level.
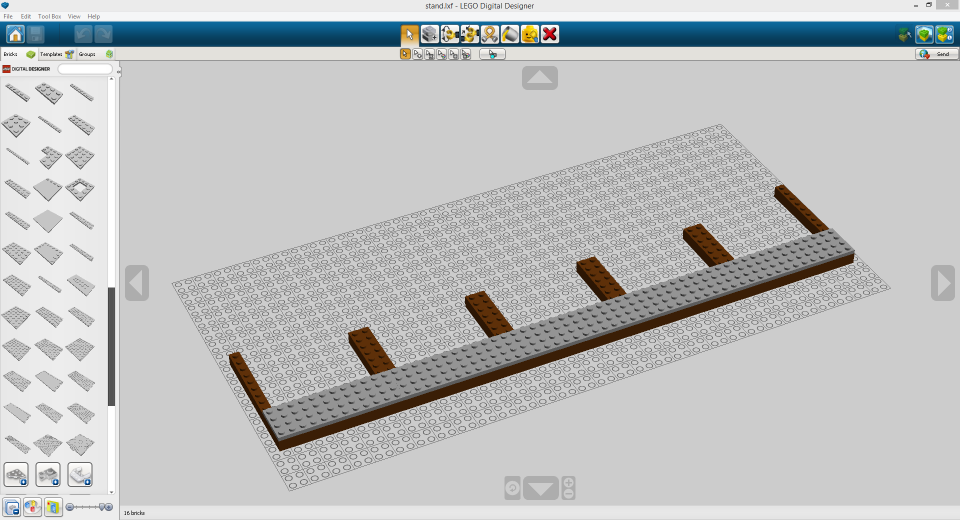
Fortunately, there is a really awesome builder tool for modeling LEGO constructions like this called LEGO Digital Designer. It's a free download coming officially from LEGO and it's fairly intuitive and easy to use.
After some exploratory modeling and trying out different ideas, I pretty much had a clear conception of what the terrace should look like.
Constructing the whole thing took me a while, but the builder tool offers a couple of "tricks" that are really helpful for large constructions and helped speed things up.
I am by no means an expert on this builder software, but I like to share what I discovered and found helpful.
- Connected Selection
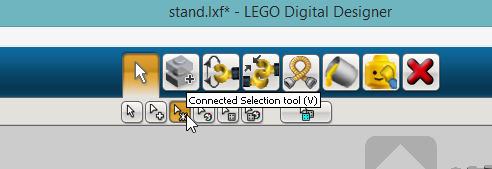
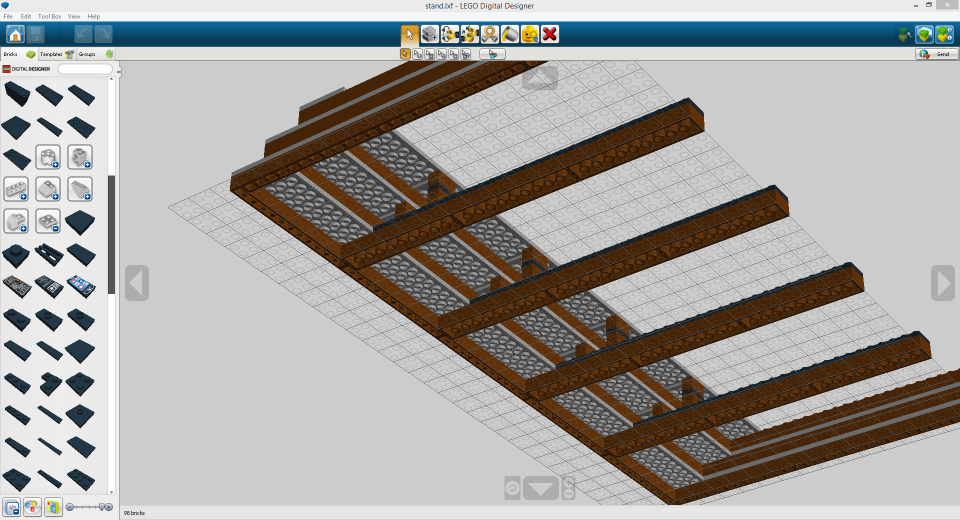
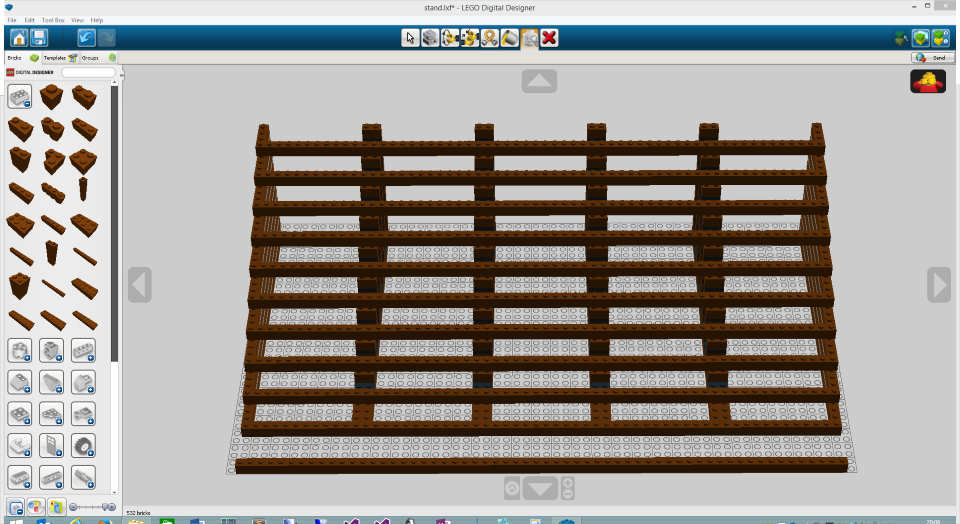
This toolbar item lets you select connected parts as a unit. I used it for quickly selecting, copying and pasting repetitive elements, like the handrails in the picture.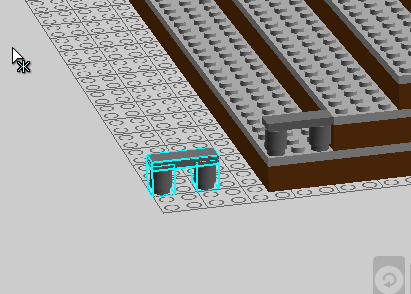
It basically allows you to have a “template” which you can copy and reuse over and over again.
Shape Selection (select by drawing a rectangle around the bricks) and Color Selection (select of bricks of the same color) came in handy too. - Hide
I also found this very useful from time to time. It makes selected bricks invisible and allowed me to have a look at the “skeleton” of my construction from time to time.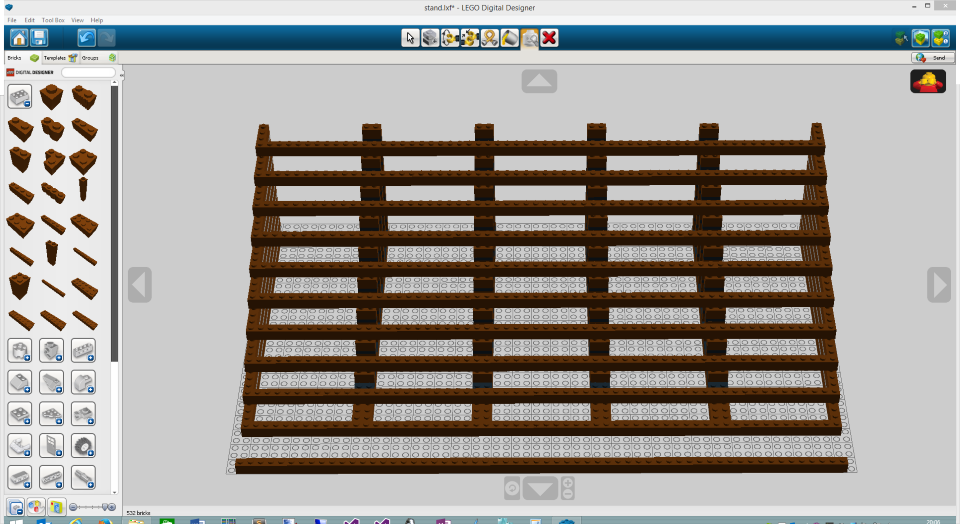
Iterating
LEGO has a cool offering in their shop called Pick a Brick which allows customers to order individual bricks. I initially assumed that I could just upload my finished model to the LEGO website and get a shopping cart full of "Pick a Brick" items ready for checkout. Wrong!
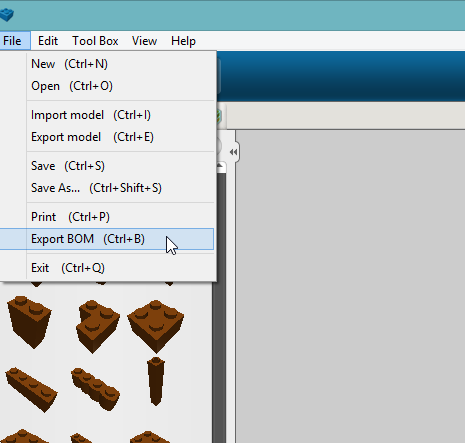
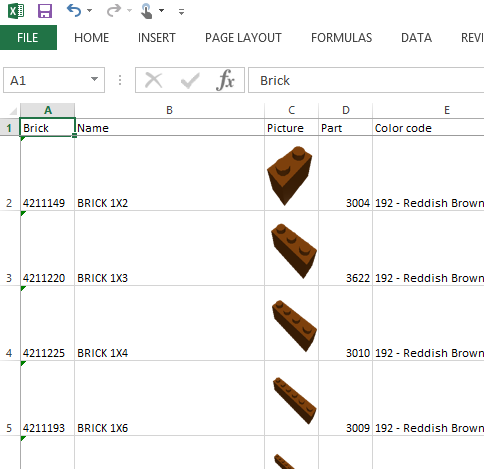
As it turned out, you cannot create an order directly from a digital model but you rather have to export the parts list as an Excel file from the modeling tool (Menu item: Export BOM).
Using this Excel file as your shopping list, you then have to choose and pick your bricks manually and individually.
A cumbersome and unnecessary manual task. I really think LEGO should work on that experience.
But the worst thing about it was that LEGO did not even have all the parts in stock that I had used for my model. So I had to go back and replace all these bricks that were not available for ordering with different parts. Usually, that meant breaking parts down into smaller pieces.
Pro Tip: If you are planning to use bricks larger than 6 or 8 LEGO units in your model, check the Pick a Brick availability of these parts first. I used a lot of large (10+ LEGO units) only to have to replace them later by smaller ones.
So after redoing significant parts of my terrace model again with smaller parts, I came up with my final parts list and completed the order.
Building
The order and delivery process was really quick and after only 4 days a package with my custom LEGO parts arrived by mail.
Conveniently, the LEGO digital designer also features a Building Instructions that works just like the printed ones the come with your usual LEGOs. For automatically generated instructions these were surprisingly usable and you can even export them to HTML an access it from your phone or tablet where the builder tool cannot be installed.
The only thing left to do now was building the terrace. Needless to say that my son and I had the greatest day!
Done!
