Arduino Holiday Lights
December 23, 2016A couple of days ago I blogged about the LED Picture Frame I built, which runs different animations and serves as a decorative element in our home.
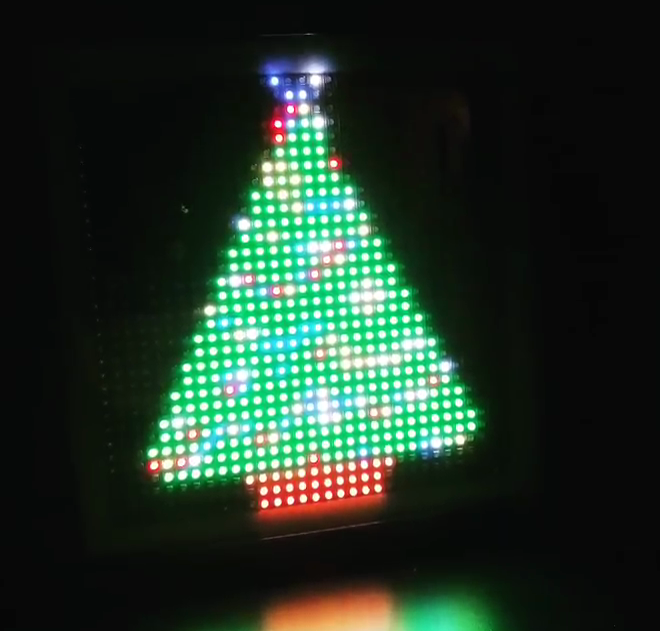
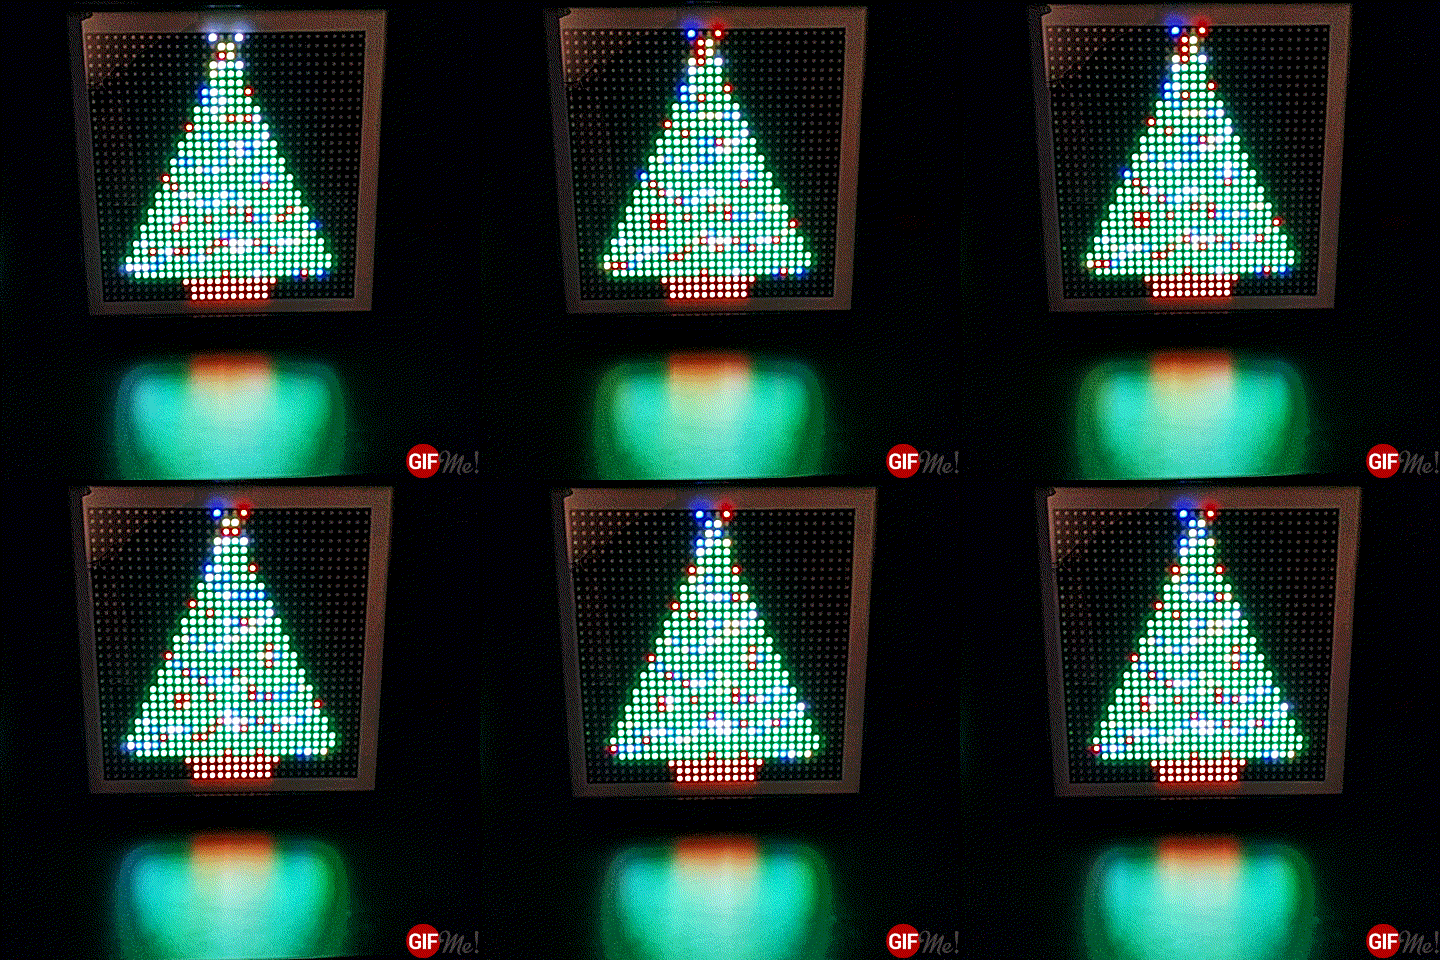
Having gotten into some Christmas spirit, I felt that this picture frame needed exactly that and wrote a simple Christmas tree with blinking lights animation.
The Design
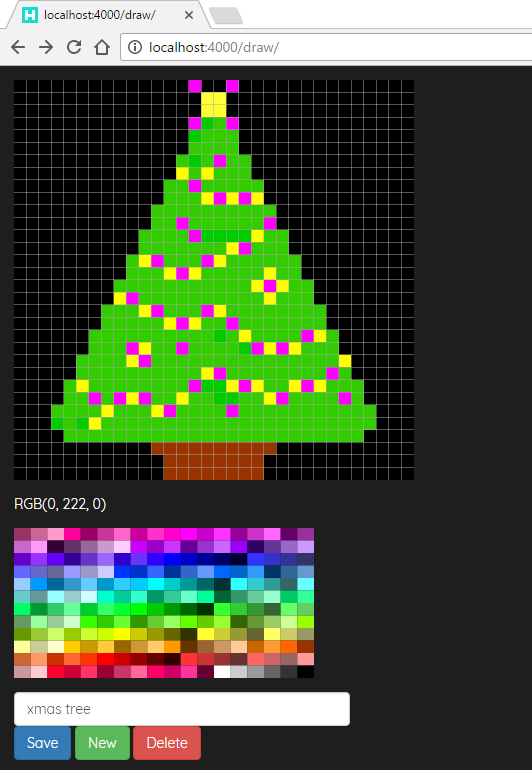
To save me some time and effort when creating these RGB LED matrix animations, I wrote a little web application that lets me do exactly this.
This design application is part of a bigger project consisting of a couple of modules that serve as a family information system / dashboard. The module you might want to look at for this purpose is the draw module.
You can find the source code for this drawing module on GitHub.
The magenta pixels represent those places where we want the actual blinking lights animation to happen. We will handle this in the Arduino source code later.
The Code
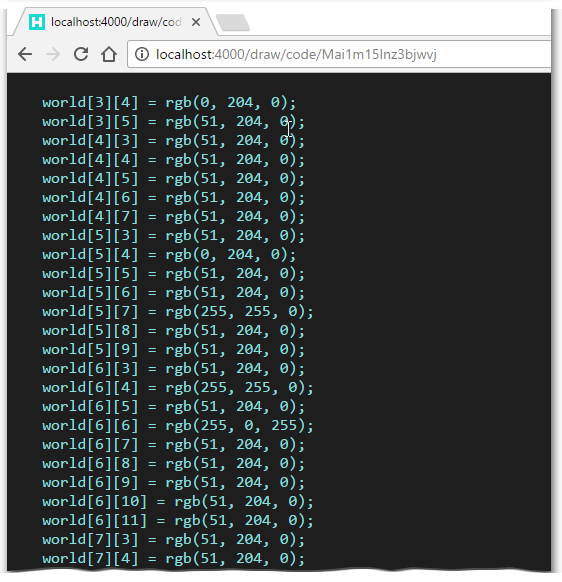
The aforementioned web application also provides a code export feature that generates the necessary C/C++ code for the Arduino project LedMatrix which drives the actual LED matrix frame.
After the static initialization of the world matrix, the Arduino code saves those magic magenta pixels that in a separate mask matrix.
for (byte r = 0; r < DIM; r++)
  {
    for (byte c = 0;  c < DIM; c++)
    {
      // mask matrix
      copyWorld[r][c] = (world[r][c] == rgb(255, 0, 255));
    }
  }
Then in the simulate method, which gets repeatedly called, we just update those pixels we remembered in the mask matrix with a random selection of colors.
void Xmas::simulate()
{
  for (byte r = 0; r < DIM; r++)
  {
    for (byte c = 0;  c < DIM; c++)
    {
      auto col = world[r][c];
      if (copyWorld[r][c] != 0) {
        switch (random(4)) {
          case 0:
            world[r][c] = rgb(255, 50, 0);
            break;

          case 1:
            world[r][c] = rgb(255, 255, 0);
            break;

          case 2:
            world[r][c] = rgb(255, 255, 255);
            break;

          case 3:
            world[r][c] = rgb(0, 0, 255);
            break;
        }
      }
    }
  }
}
Check out the full source code for this animation (and the rest of them) on GitHub.


