Office Dashboard in a Picture Frame
March 29, 2020How it started
A while ago, I built this dashboard for our family that keeps our important appointments, birthdays, family photos and much more at a glance.
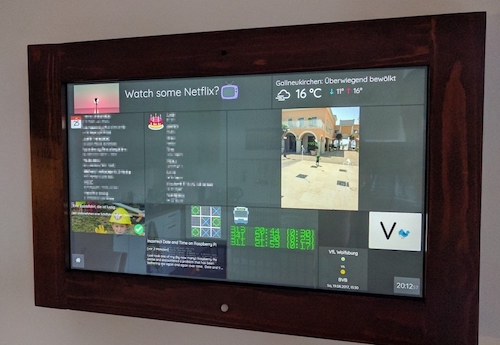
I decided that I wanted a similar thing in my office where I can extend it later to also show e.g. work relevant information, tech news, Twitter feeds, ...
The Software
For that I used dashydash the project I had specifically developed for my family dashboard. It's based on Node.js and React and is simply a browser application running in Kiosk Mode.
The Hardware
The most important part here was obviously the display. I decided to go a cheaper route this time and simply harvested the panel of a broken laptop (similar to the Magic Mirror project I once did). Of course, using a laptop display panel meant having to buy a driver board for it, which was the only actual expense it had to make and I found one for 32€ on eBay.
Make sure to carefully check the model number of your display and get the correct driver board for it!

The rest of the hardware and parts I had readily available (including the Raspberry Pi 3).
Part List
Here’s the complete list of parts I used for this build:
- Laptop Display Panel (some friend or family member always has a broken laptop you can harvest)
- IKEA Ribba Frame (7€)
- Display Driver Board (32€)
- 12V Power Adapter for the Display Driver Board (~ 20€)
- Raspberry Pi 3 (35€)
- 5V Power Adapter for the Raspberry Pi (5€)
- Short HDMI cable (6€)
Putting it together
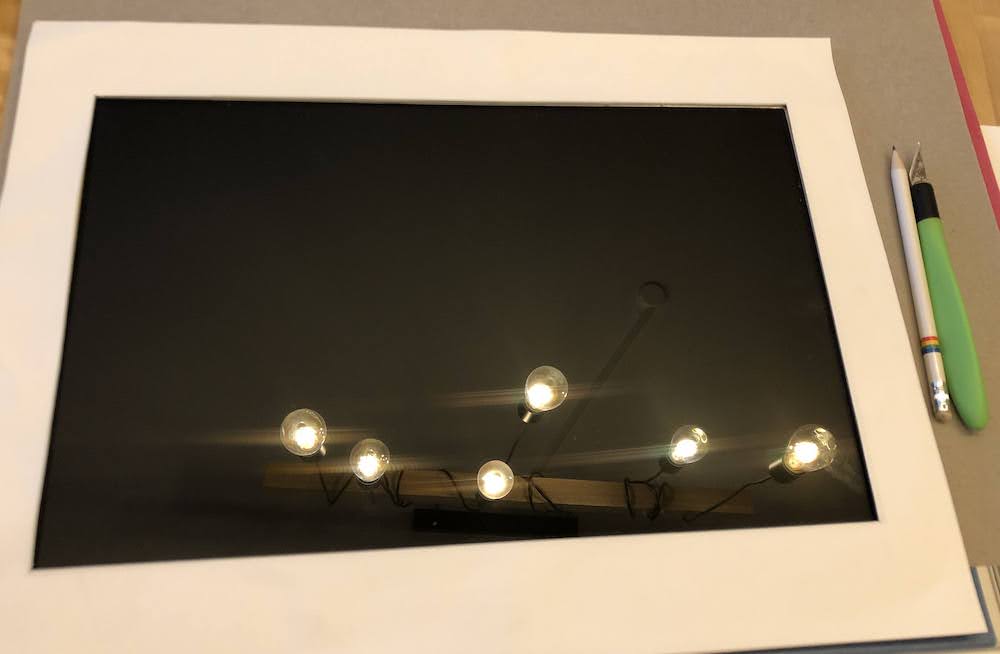
The first step was making a cutout for the display panel which would fit nicely into the frame.
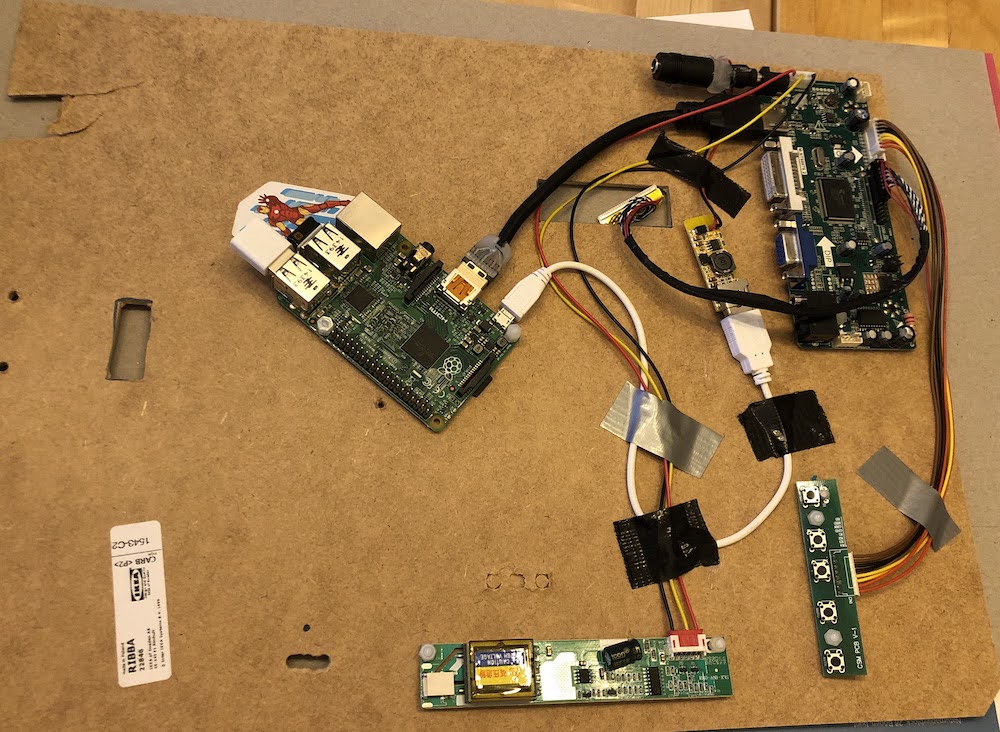
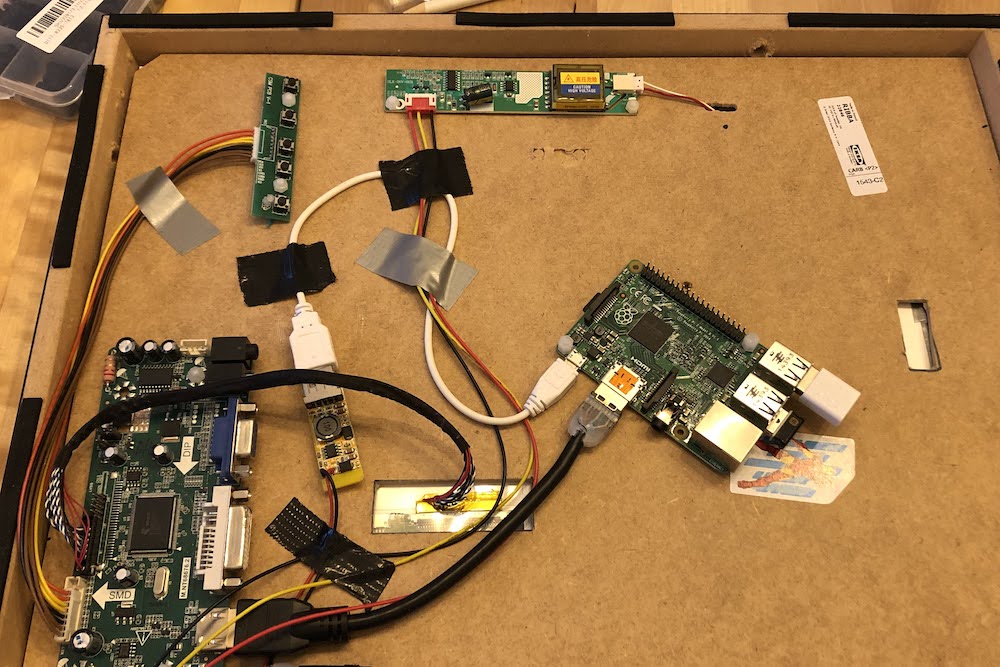
All the electronic components (display driver, Raspberry Pi, power adapter) I mounted on the back cover of the Ribba frame.
Then I out both display panel and the back cover holding the electronics into the frame.
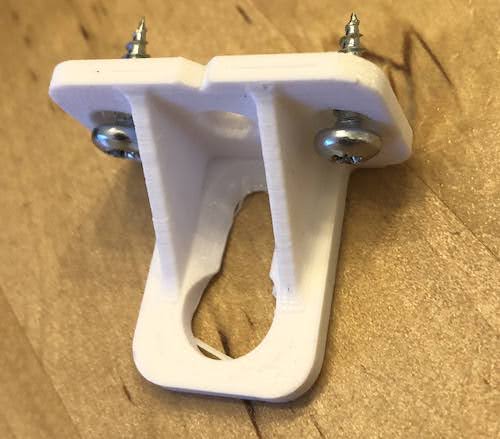
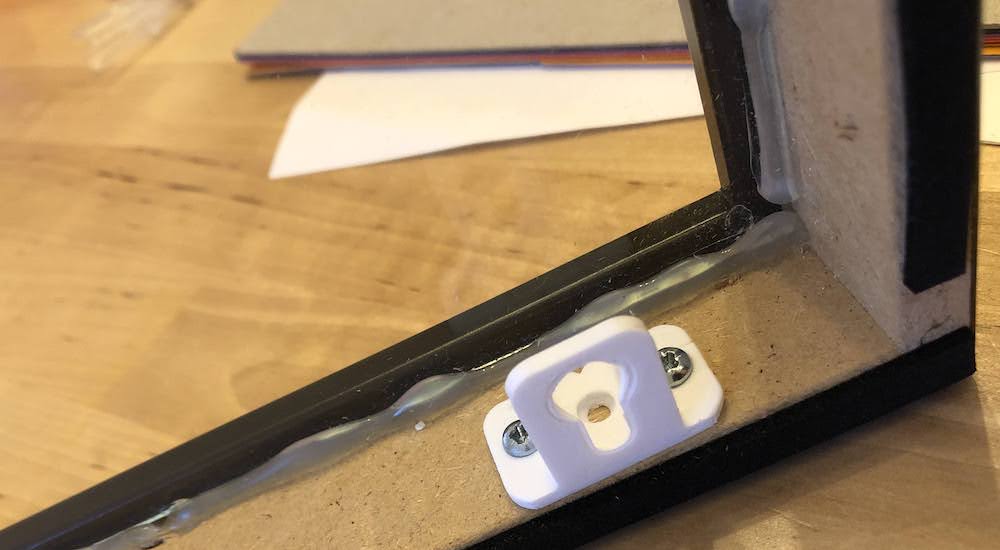
For wall-mounting I found and 3D printed these hooks that have been specifically designed for IKEA Ribba frames.
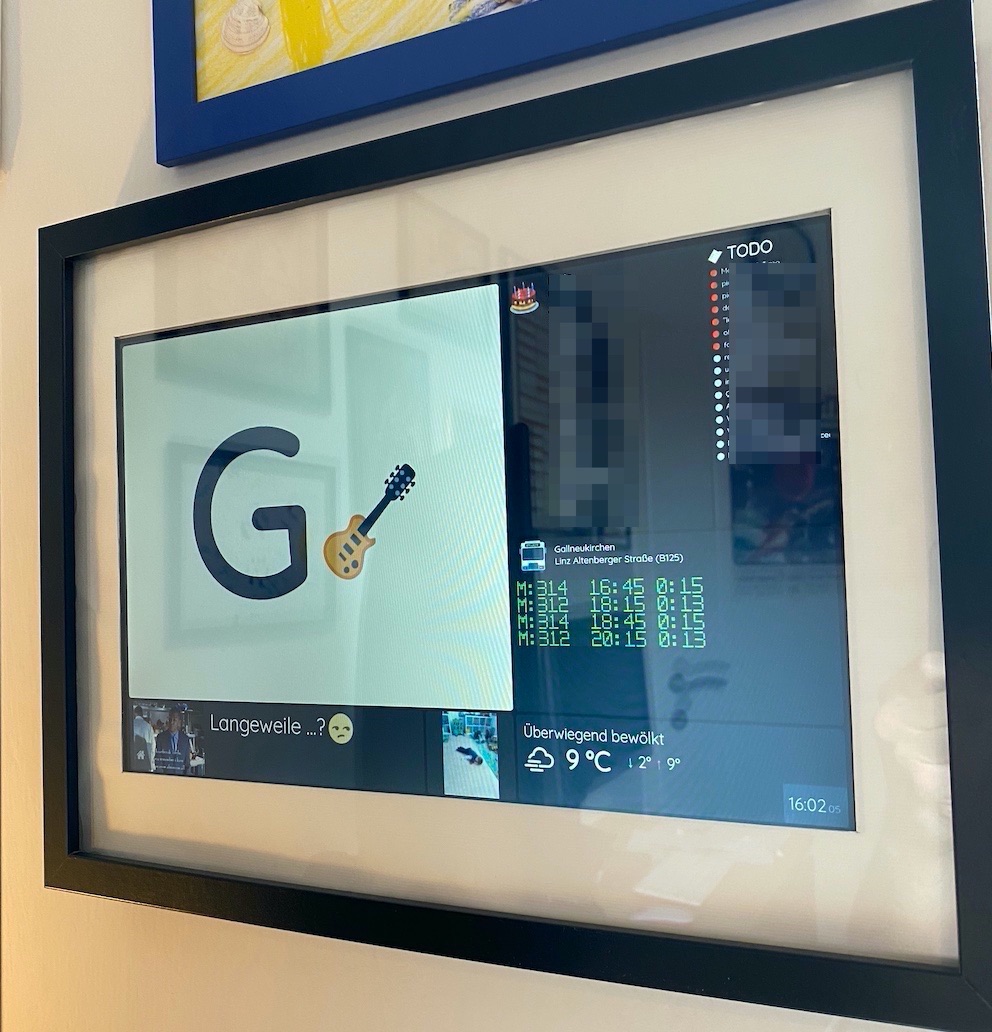
Everything put together, I mounted it to the wall in my office.
Automated on/off with openHAB
In order to save energy and not have this dashboard running all the time, I connected it to a smart socket I can control via openHAB, the home automation platform I am using. I then created two openHAB rules for it.
- The first rule monitors the office light switch (
Licht_Buero) and if it is turned on after 7 PM (this is when I am usually working), the dashboard (PicturePi) is turned on as well.
rule "Office light on - dashboard on?"
when
    Item Licht_Buero received update
then
    if (Licht_Buero.state == ON)
    {
      // Picture Pi
      if (now.getHourOfDay >= 19 || now.getHourOfDay < 3)
      {
        PicturePi.sendCommand(ON)
      }
    }
end
- The second rule makes sure that the dashboard gets turned off again if lights are out (i.e. I am not working).
rule "Turn off dashboard?"
when
  Time cron "0 0 * ? * * *" // every hour
then
  if (PicturePi.state == ON && Licht_Buero.state == OFF)
  {
    if (now.getHourOfDay >= 21 || now.getHourOfDay < 5)
    {
        // turn off dashboard
        PicturePi.sendCommand(OFF)
    }
  }
end