Your First Windows Phone Newport App
October 27, 2014A while ago, I blogged about Newport, the Windows Phone application development framework, I created. Newport can be found on GitHub or be downloaded as a NuGet package.
The main reason and idea behind Newport is to have an easy-to-use app framework for Windows Phone (and Windows desktop) that greatly simplifies application development and ensures a clean and testable architecture by leveraging the MVVM (Model-View-ViewModel) design pattern.
It's all about MVVM!
This blog post covers the initial bootstrapping steps for setting up a new Windows Phone application based on Newport.
Getting the Bits
Create a blank Windows Phone Silverlight application and add a reference to Newport. Either use its source code from GitHub, or add the NuGet package.
PM> Install-Package Newport
Create a ViewModel
I usually start out with a class called MainViewModel, which serves as the ViewModel for the application's main view MainPage.xaml.
[ExportedViewModel]
public class MainViewModel : ViewModelBase
{
  public MainViewModel()
  {
    Text = "Hello Newport!";
  }
}
This class is derived from ViewModelBase, which serves as the central base class for all ViewModels in the Newport framework and provides an implementation for the INotifyPropertyChanged interface as well as a bunch of handy helper properties.
The property Text, which is set in the constructor of MainViewModel, is one of the properties inherited from ViewModelBase, since this is needed in nearly any derived class.
The class attribute ExportedViewModel marks this ViewModel class as "exportable" which means that it can be bound to any page in an easy and declarative way.
Link that ViewModel to your Page
Newport relies heavily on the Behavior pattern for making use of MVVM. This also applies to connecting Pages with ViewModels. The class SetViewModelBehavior takes care of connecting the formerly created MainViewModel to the application's MainPage. This mechanism works because of the the aforementioned ExportedViewModel attribute together with naming conventions (MainViewModel - MainPage).
The inner workings of this mechanism and its extensibility will be part of a future blog post.
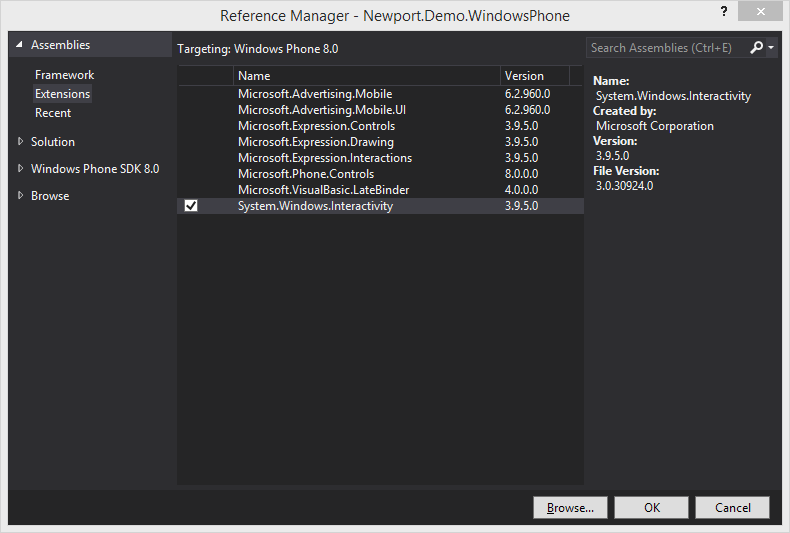
The be able to use classes derived from Behavior, we first have to add a reference to the System.Interactivity assembly though.
<phone:PhoneApplicationPage
  . . .
  xmlns:i="clr-namespace:System.Windows.Interactivity;assembly=System.Windows.Interactivity"
  xmlns:n="clr-namespace:Newport;assembly=Newport.WindowsPhone">
  <d:DesignProperties.DataContext>
    <vm:MainViewModel />
  </d:DesignProperties.DataContext>

  <i:Interaction.Behaviors>
    <n:SetViewModelBehavior />
  </i:Interaction.Behaviors>

  <Grid>
  . . .
  </Grid>
</phone:PhoneApplicationPage>
Bind Some Data
Now we're ready to add a TextBlock control and bind the Text property of our MainViewModel class.
<Grid>
  <TextBlock
    FontSize="36"
    HorizontalAlignment="Center"
    Text="{Binding Path=Text}" />
 </Grid>
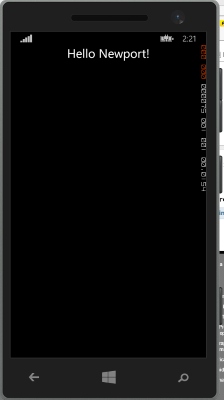
And - as we would expected - the text shows up when launching our app in the emulator.
Design Time Support
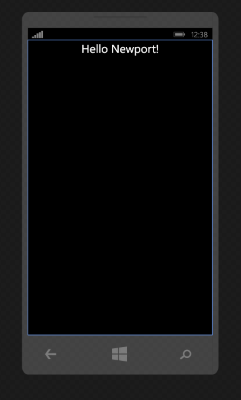
The connection between Pages and ViewModels through the SetViewModelBehavior does not work during design mode though. For that reason the MainPage.xaml has to be extended with a couple more lines of XAML to ensure a nice design time experience.
<d:DesignProperties.DataContext>
  <vm:MainViewModel />
</d:DesignProperties.DataContext>
This quick tutorial should get you jump started with Newport.
More examples will follow.


