DIY Space Invader Wall Lamp
September 24, 2023I got the idea for this project, when my kids asked me to find then new perler beads motives. These beads are perfect for creating pixel art and we had already made a few cool motives in the past.
When I found this space invader pixel art motive though, I immediately pictured it larger and illuminated 🤩.
![]()
Printing the "Pixels"
So I went on Tinkercad and quickly created a cube that would serve as the "pixel" for my space container and hold an LED later.
![]()
For all the pixels in my space invader motive, I had to 3D print this design 46 times. I used translucent PLA for printing to get the optimum effect later.
![]()
Then I simply hot-glued the cubes together into the shape of the space invader motive above.
![]()
Next to the space invader you see the 46 WS2812 (aka NeoPixel) LEDs, that I used for this project. These are cheap, individually addressable, 5V RGB LEDs that I have a large supply of in my tinker drawer.
Soldering the Pixels
Soldering all these LEDs in place was quite time-consuming. I used an old soldering iron, to simply burn holes into the walls and routed the cables through those. I deliberately used white wires so they would not be visible through the translucent cubes. This of course made it trickier to solder the right connections (don't ask me how many solder joints I had to undo and repeat because of that 😉).
![]()
Controlling the Pixels
For controlling the individual pixels, I used an ESP32 controller board and the WLED firmware.

This is the ideal combination for such projects IMHO as it gives you dozens of pre-canned LED effects and you can control the LEDs from a browser or the mobile app.
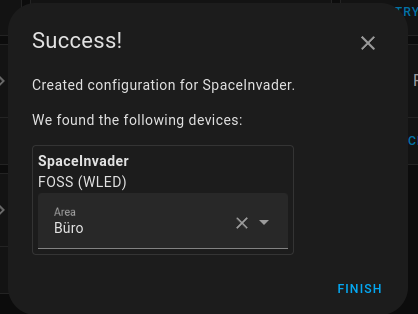
There is even a Home Assistant integration available, which means that I now can turn on my space invader automatically, when I'm working late in my office.

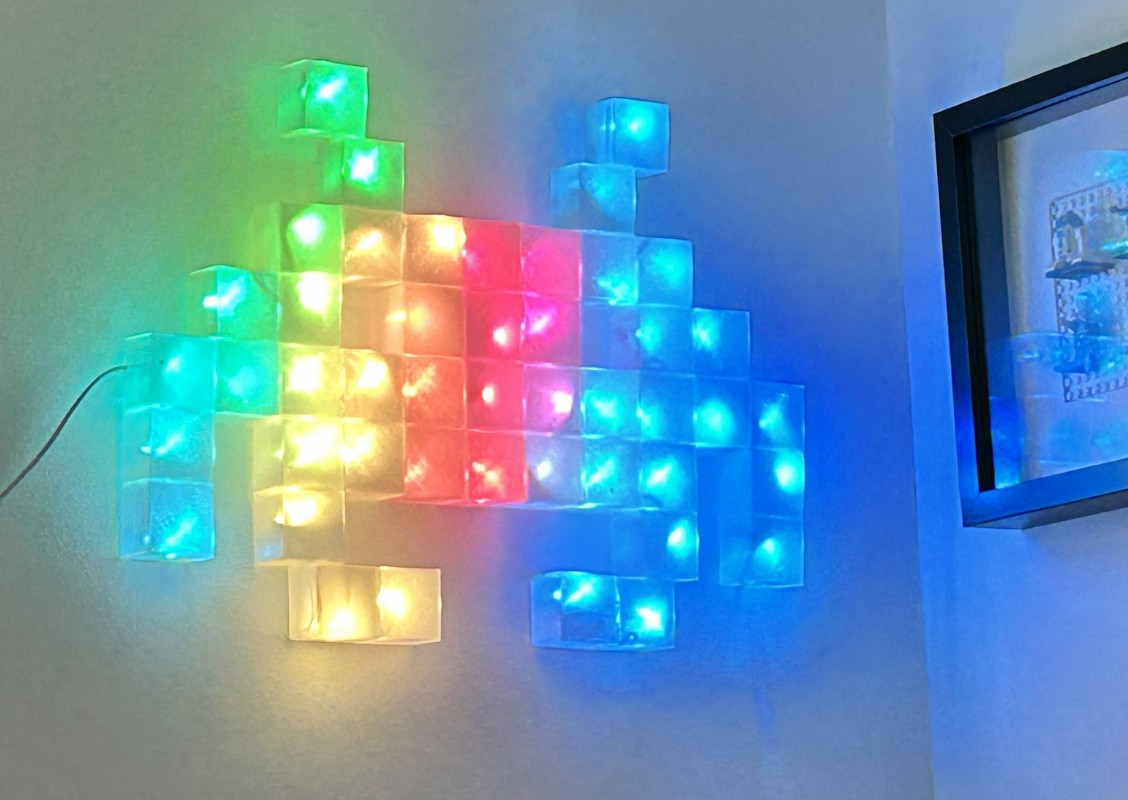
The Finished Space Invader 👾
That's it - I really love how this project turned out.
