Turn your Raspberry Pi into an AirPlay and Spotify Connect Music Server
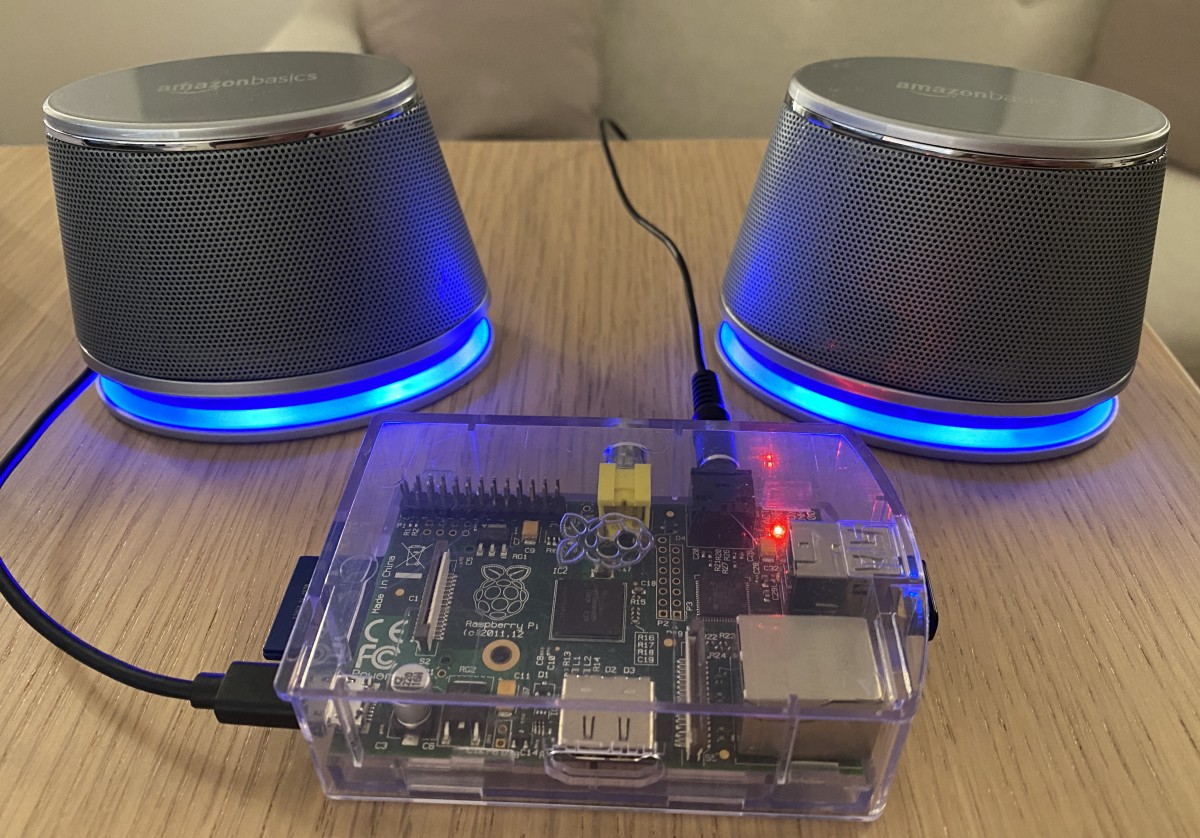
April 22, 2021Here's how I built an AirPlay device with open source software and components I had lying around anyway:
- Raspberry Pi 1 Model B
This is the very first Raspbery Pi, I bought almost 10 years ago. I more than happy that I can put it to good use again. - 8 GB SD Card
- PC speakers
- USB Power Adapter

Preparation
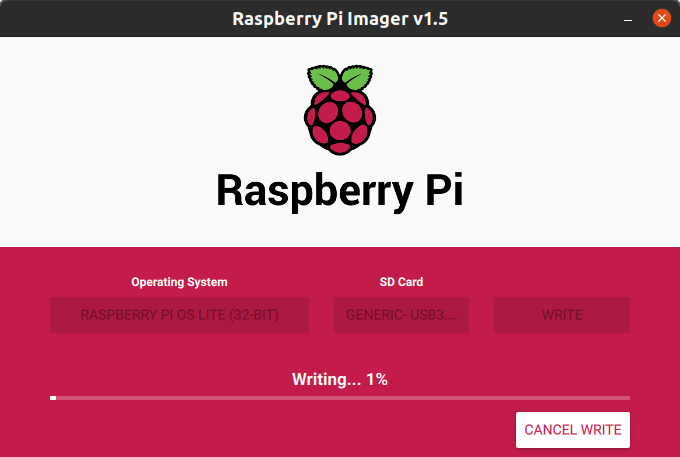
For fresh setups the most convenient way nowadays is the Raspberry Pi Imager tool
(download it here).It lets you select a
distribution of choice, downloads it for you (I used Raspberry Pi OS Lite) and writes
it to the SD card.

With the SD card prepared I then did a quick headless setup as I described in a recent blog post.
Install the Software
First you need to clone the GitHub repository rpi-audio-receiver.
clone repo `git clone https://github.com/nicokaiser/rpi-audio-receiver.git`
Then, it's just a matter of running the ./install.sh script in the repository you
just cloned.
It will prompt you a few times to:
- set a new host name (and friendly name) for this Raspberry Pi
- giving you the choice to install only selected components (e.g. Bluetooth Audio, AirPlay, ..). Pick and choose what you need here. I just installed everything except Bluetooth (for obvious reasons).
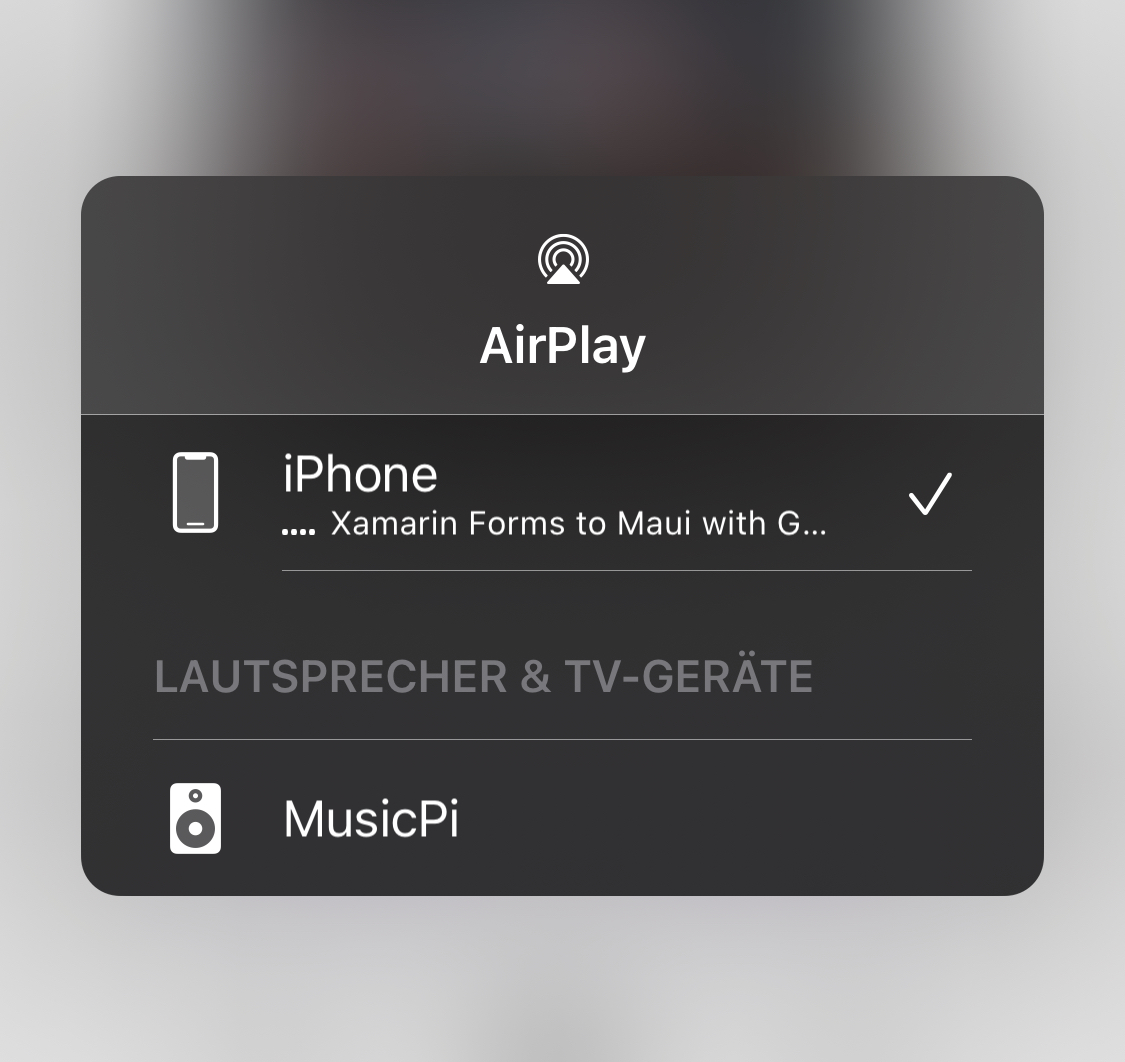
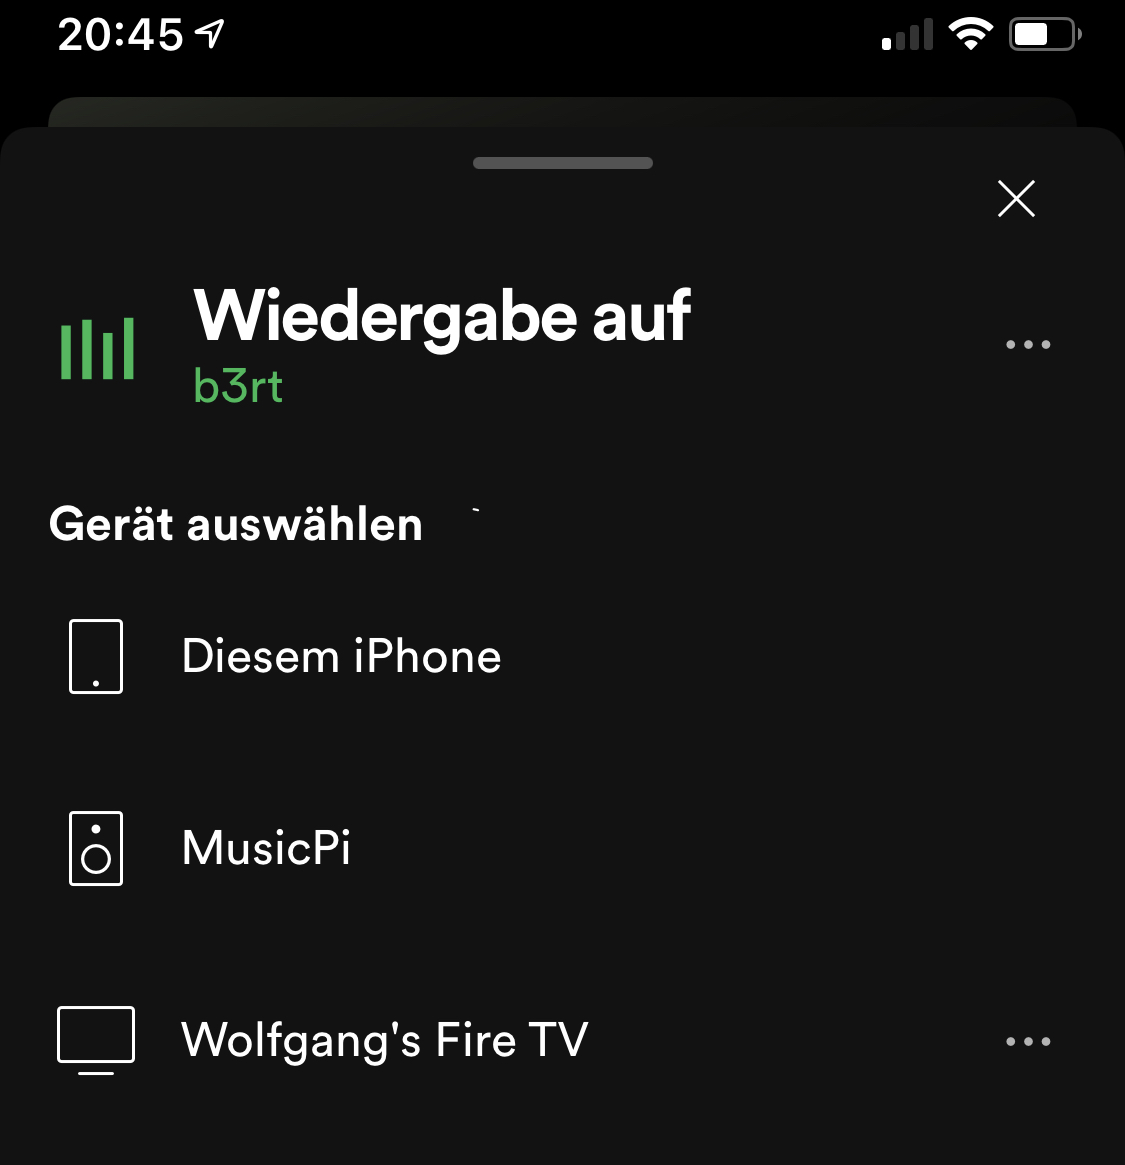
Now Reboot your Raspberry Pi and it should appear on your network again with the host name
you chose before (e.g. MusicPi).
Enjoy your Music
✅ AirPlay from my iPhone.

✅ Spotify Connect works like a charm as well.
