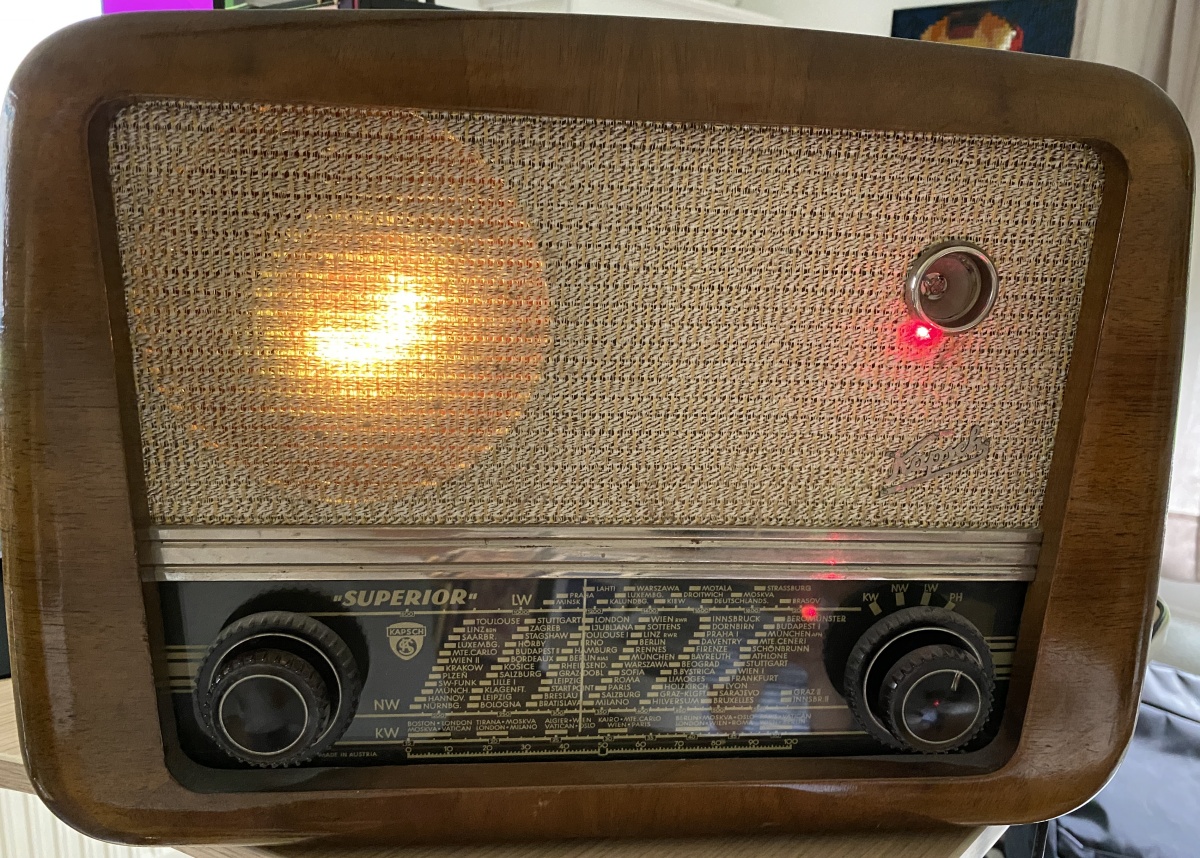
Lasers, LEDs and a Tube Radio
September 3, 2021If you are a regular follower of my blog, you might have read the post about
putting an Amazon Echo Dot into a vintage tube radio.
This project was running nicely for a while but then I bought yet another Alexa
an Echo Show 8 and replaced this tube radio setup with it.
So once again, I had this beautiful - yet functionless - tube radio and no idea what to do with it.
What I really liked about the previous project with the Echo Dot device, was the glowing blue light ring shining through the speaker covering of the radio.
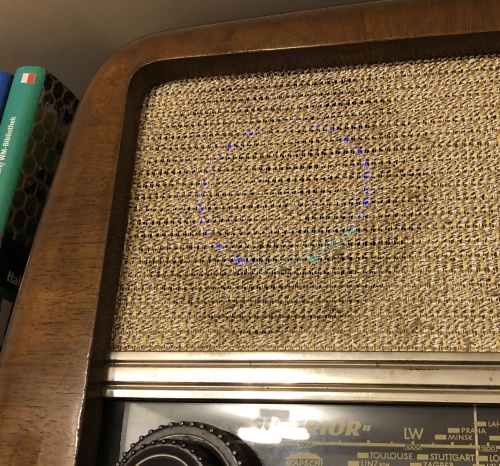
I decided that I wanted something similar for the next project again and started with adding 2 Adafruit NeoPixel rings where the the Echo device had been before.
![]()
Having light effects display randomly was nice already, but I was looking for something a little more interactive.
Sound Activated Light?
My first idea was to have these light effects activated by sound (more precisely: music)
since the radio was sitting on the same shelf as now-music-producing Echo Show. I experimented with
different kinds of microphones and Arduino sketches for music detection but failed
was not happy with the results.
Either I had a lot of false positives, i.e. "music detected"/lights effects showing when people were only talking or false negatives when music was playing but I did not detect that.
After a while of playing around with that, I lost interest or rather decided that I did not want to invest more time in this.
I started looking for a different trigger-mechanism.
Laser Activated Light!
A few days before, I had built this Laser blaster toy for my kid and I also had promised to build him an interactive "practice target".
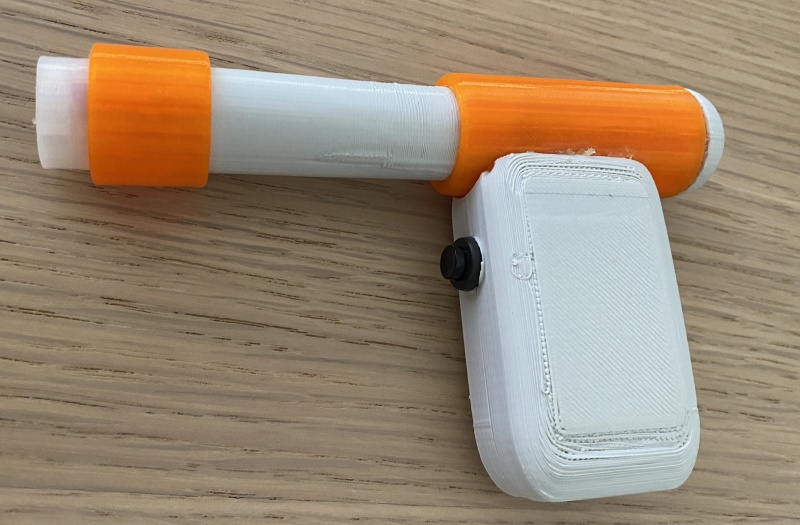
That's when I figured that this was the chance to kill two birds with one stone! The tube radio would become our "laser practice target".
From there it was easy:
- I added a light sensor into the radio's "magic eye" opening.
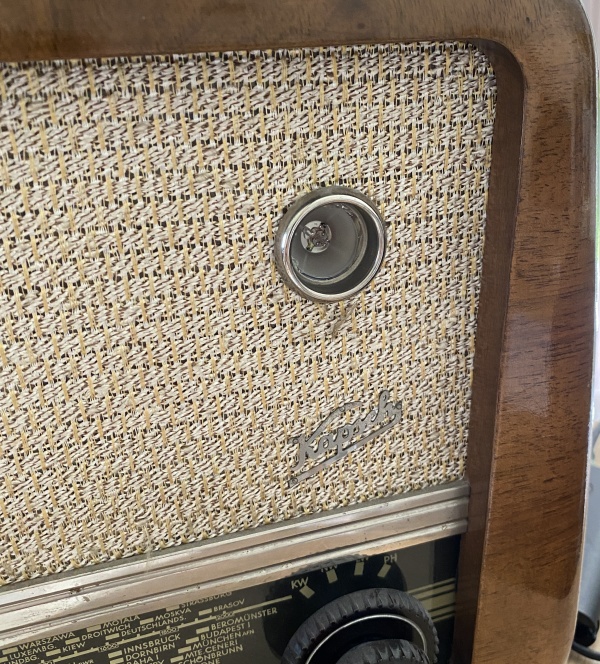
- A maximum light level (as caused by a laser pointed at it) reported by the sensor would trigger an effect on the NeoPixel LED rings.
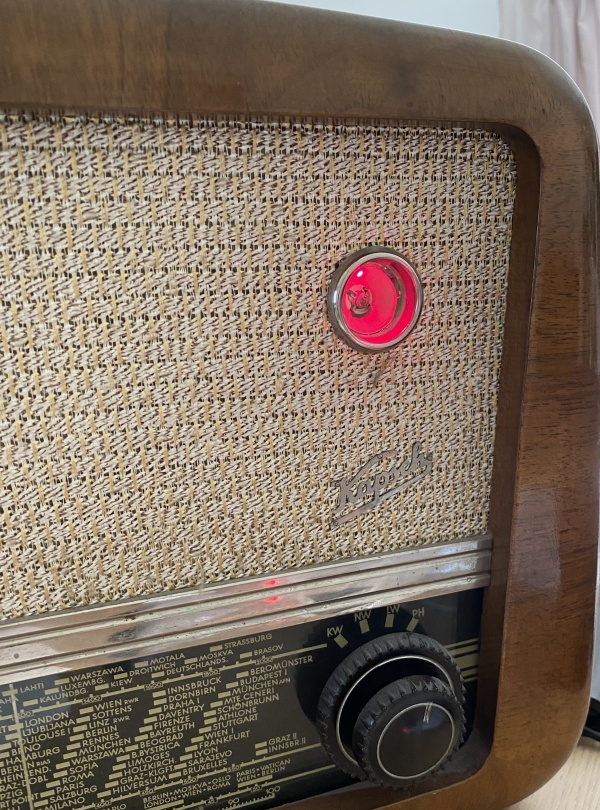
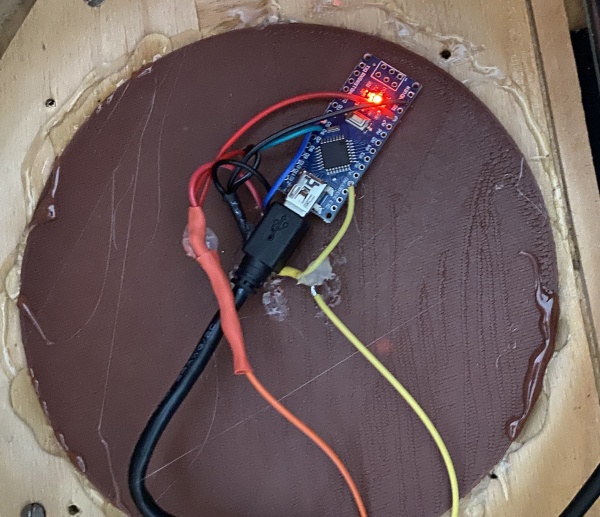
- An Arduino inside the radio controls the light sensor and the LED rings.
Part List
Here' is what I used:
- 2A USB Power Adapter
- Arduino Nano
- Light Sensor
- 10k Ohm Ω resistor
- NeoPixel Ring (24 LEDs)
- NeoPixel Ring (12 LEDs)
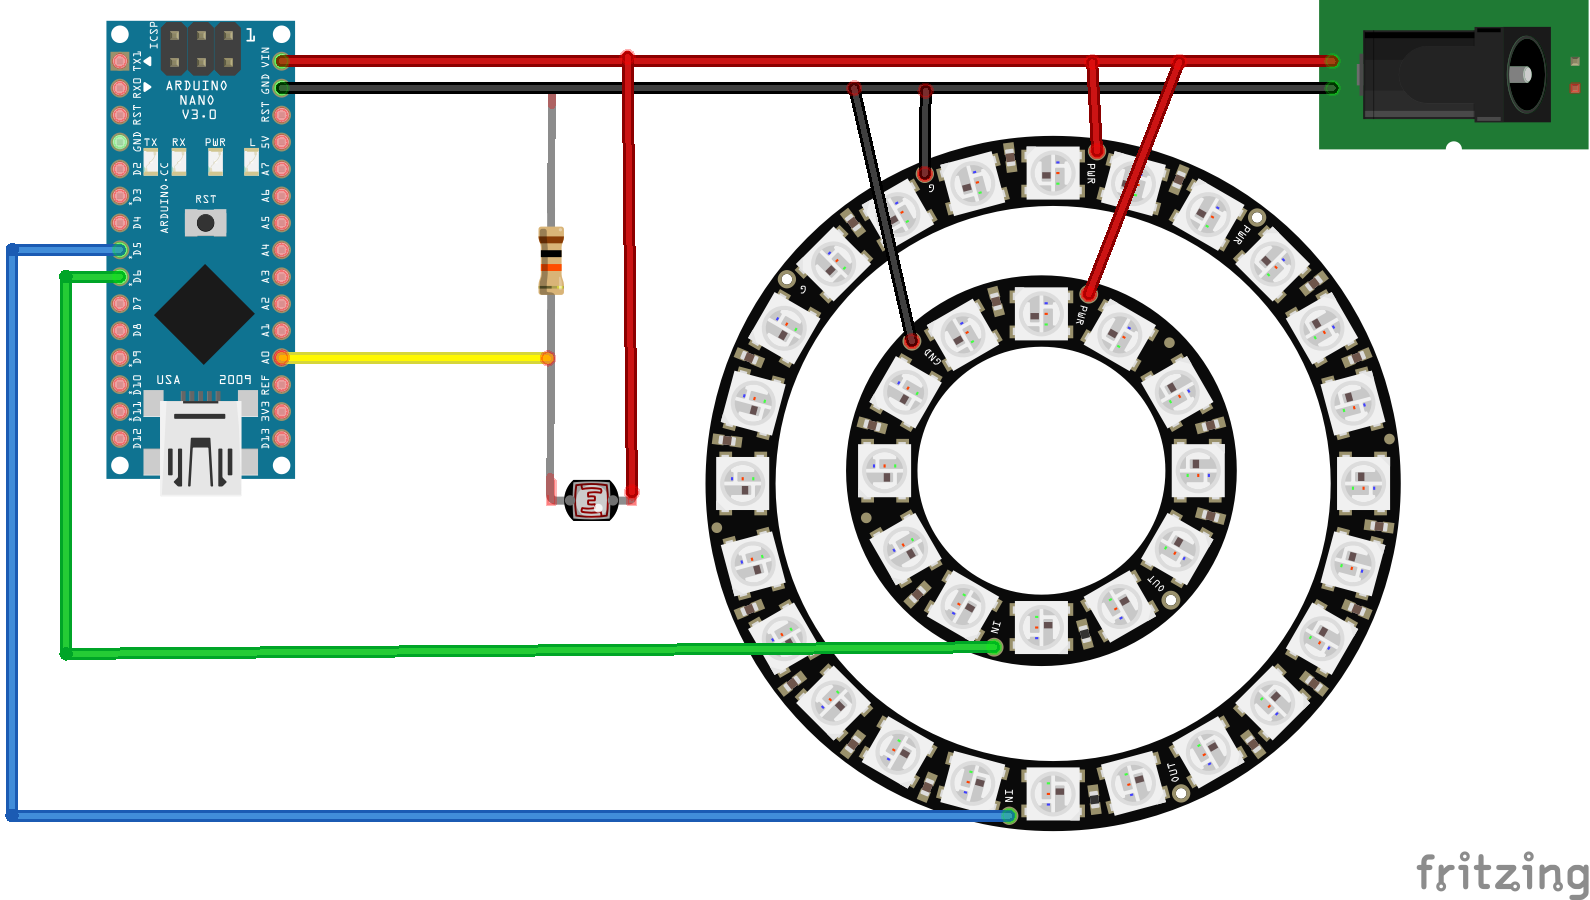
Fritzing Schematic
Here's how the project was wired up.
The Code
The code for this project can be found on GitHub. As you can see, there is still a random component triggering LED effects from time to time. But as soon as the light sensor picks up a high-level reading, it will trigger such an effect.
