Fight Warping with the Dremel Idea Builder
December 15, 2016A couple of months ago I entered the 3D printing game with the Dremel Idea Builder. So far I am really impressed with this printer and the quality of the prints it produces. It only has one fundamental flaw: it comes without a heated print bed.
As a consequence, its prints are very susceptible to warping. Due to the PLA filament shrinking when it cools off, prints can end up with curled and warped edges. The result can range from visually unappealing to completely botched prints.
Often this is not really a problem because it very much depends on the actual model you are trying to print. Models with large flat surfaces are more susceptible to warping.
Unfortunately, due to the “keep it simple” principle of the Dremel Idea Builder, there is not a lot of leverage to mitigate this problem using settings or tweaks. But here’s a couple of things that I figured which can help prevent messed up prints due to warping and curling.
Levelling
Sorry for this obvious one, but a solid levelling of the print platform is fundamental for a good quality print.
Room Temperature
I ran into this problem a few weeks into my 3D printing career. Suddenly, prints that were perfectly fine the day before warped like crazy. As it turned out, printing next to an open window when it's freezing cold outside has a very detrimental and visible effect on your print. Closing the window and bringing the room temperature back up again fixed this print for me. Again, quite obvious and easily avoidable once you figured it out.
Print Tape
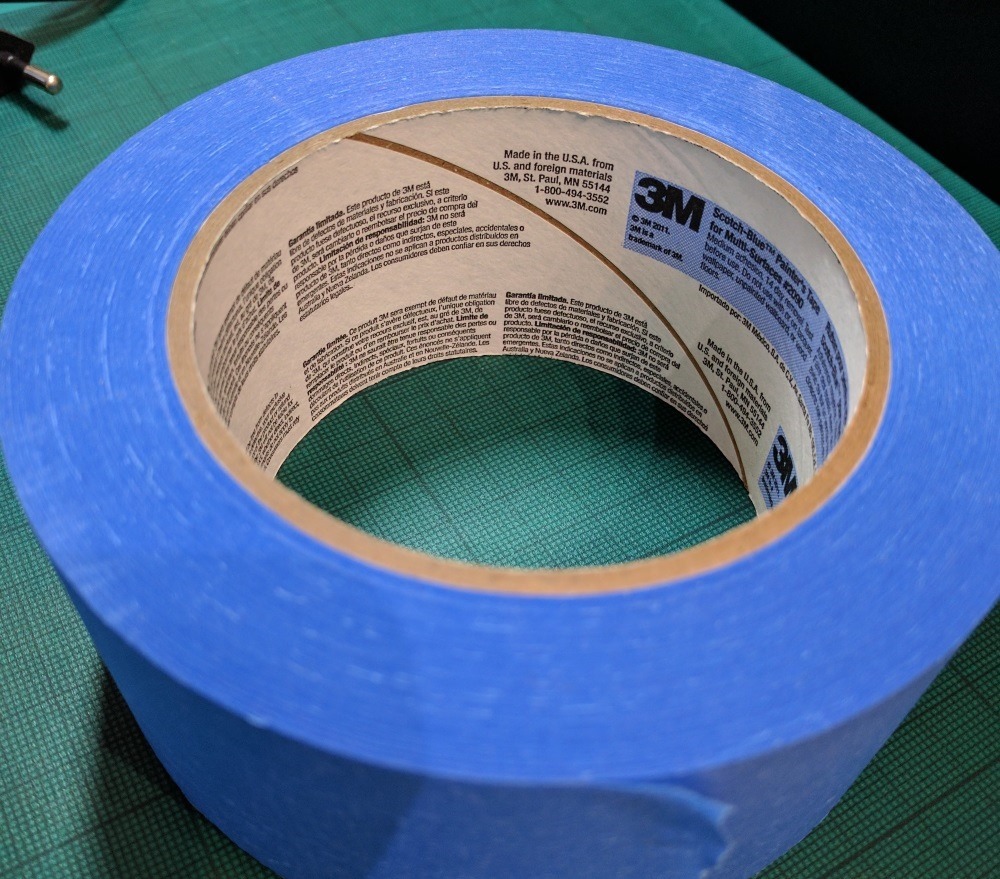
The Dremel Idea Builder comes with 2 sheets of their black custom print tape. This tape is good for most of your prints but if you are printing models that are susceptible to warping (e.g. large flat surface), I suggest using a different tape. I personally use Scotch blue Painter’s Tape and have seen very good results with it.
Sure it’s rather expensive considering it’s just painters tape, but believe me: it’s worth it! Also it will last for quite a while. I simply stick it onto the black Dremel tape when needed.
Glue Stick
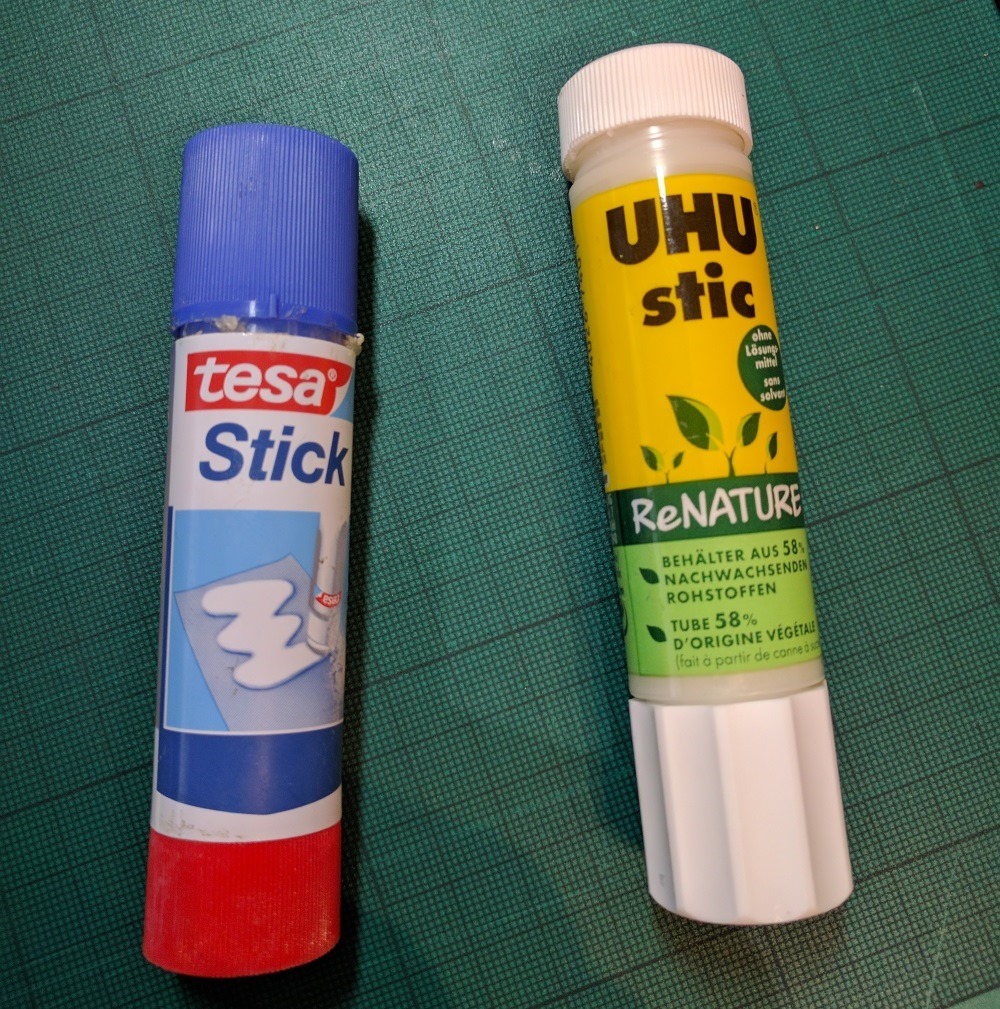
For prints that turn out to be especially tricky I cover the print tape with glue stick to make the PLA plastic really stick to the surface.
Here’s what I do:
- Level the print bed
- Start the print
- While the print head is heating up, give the tape a good coating with the glue stick.
I also heard from people using hair spray instead of glue stick but haven’t tried it myself. Let me know if you did and if it worked for you.
Tweaking the Model (Rafts)
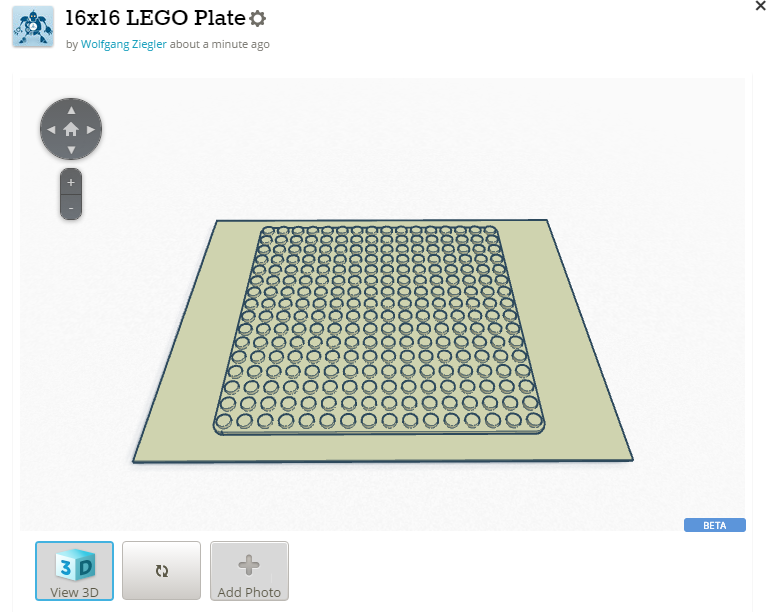
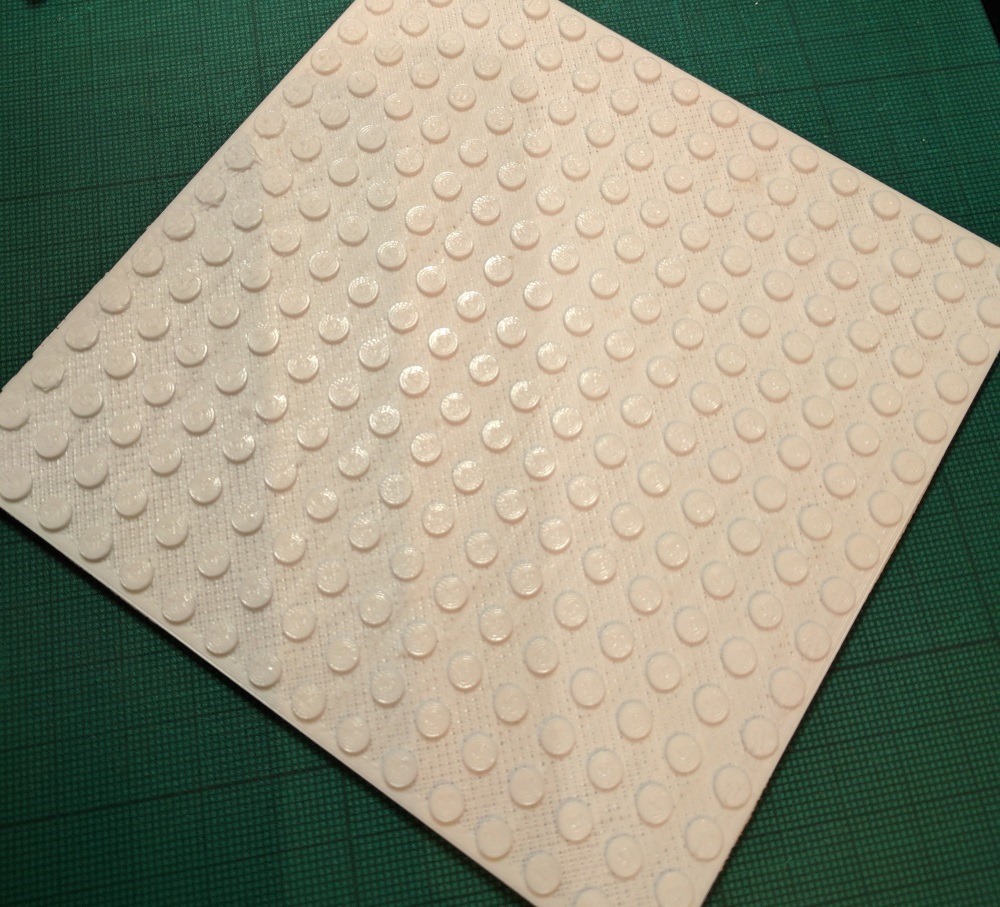
Some models are inherently problematic to print, especially for the Dremel with its non-heated bed. I was fighting with a model of a 16 x 16 LEGO base plate that I found on Thingiverse for weeks. At first, this plate would not print at all. The basic rectangle started warping and curling immediately and I always ended up with a ball of plastic crap. Employing all the above mentioned tricks and tweaks, I managed to increase the quality gradually, but I still ended up with badly warped unusable plates.
That’s when I remembered the concept of a “raft”. This is basically an extra bottom layer on which your actual print sits that can be removed later. That way, this raft may or may not warp but your actual model should not be affected. Some 3D Printing / Slicing software has this option built in, but I could not find a really good solution for the Dremel Idea Builder.
- The only software which would support this printer is Simplify3D. Unfortunately, it costs 150$ and I was not yet desperate enough to pay that money.
- Another option described in this blog post is to use a free tool for generating rafts or supports on your model. The you manually patch the generated G-Code into your Dremel 3d (3gdrem) file. Might be worth the effort but I did not really like this solution.
What worked for me in the case of the LEGO base plate was to simply add the raft as part of the original 3D model.

That really hit the spot! The print still had warped edges, but only the raft was effected. Since this base “raft” layer is really thin, I could easily remove it later and had a perfectly fine base plate. Mission accomplished!
This solution might not work for every model but I will definitely keep this trick up my sleeve.
What else?
If you have comments, ideas or additional tweaks on how to avoid warping (primarily with the Dremel Idea Builder) let me know or sound off in the comments.


