Moving Windows to a Bigger SSD
September 9, 2014I recently moved my Windows 8.1 installation from a 128 GB SDD to a 256 GB SDD. This should have been an easy thing to do, but it was not. That's why I am blogging about it to save you some time and frustration (hopefully).
Step 1 - Create an Image
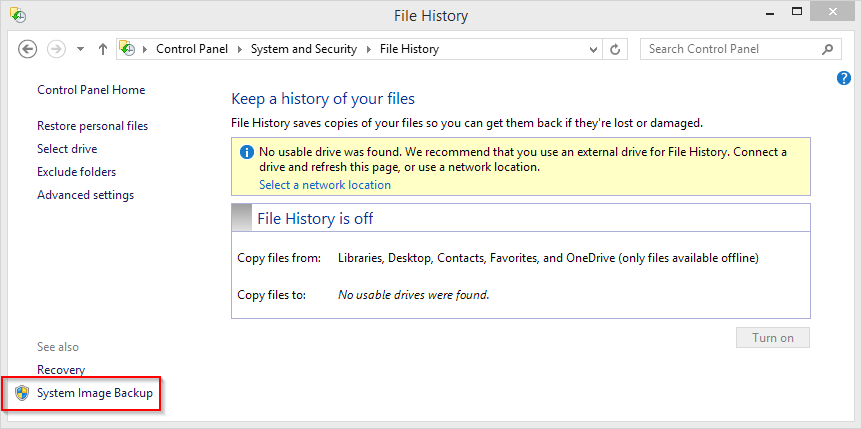
Turns out, that this is the first little challenge in Windows 8.1, since the option to create a system image is rather well hidden. Searching for "system image" in Control Panel will get you nothing. So rather, open Control Panel and search for "File History". Well hidden, in the lower right corner you will find the option to do a System Image Backup. That's what we are looking for.
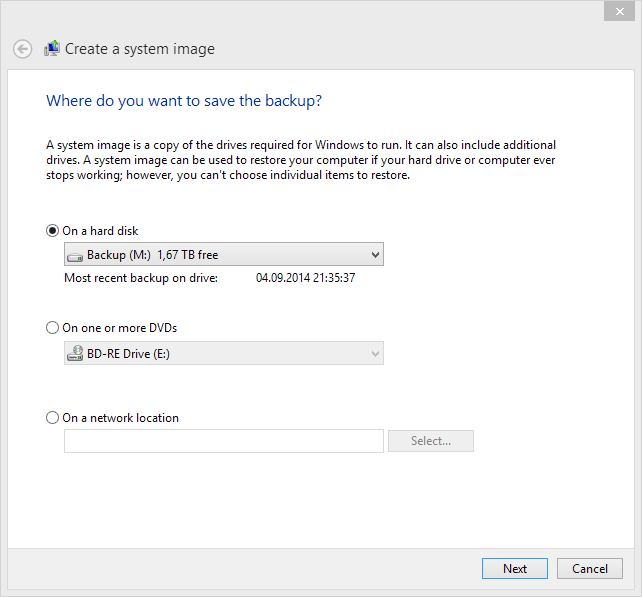
The next steps are easy:
First, select a backup device.
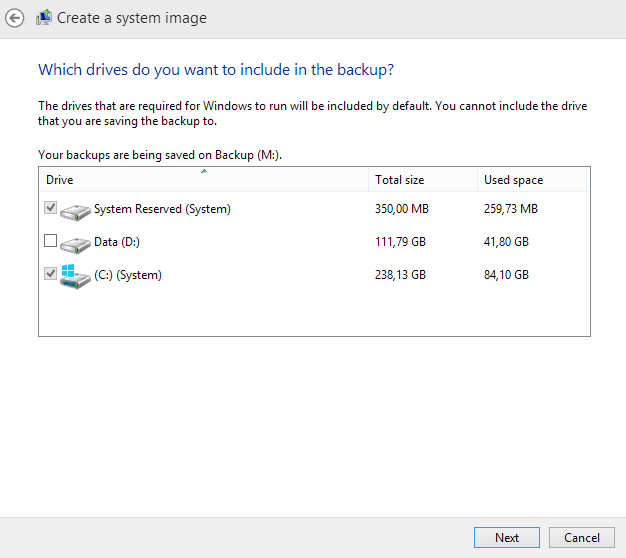
Then select, what to backup (usually drive C:) and start the operation.
Step2 - Create a Recovery Drive
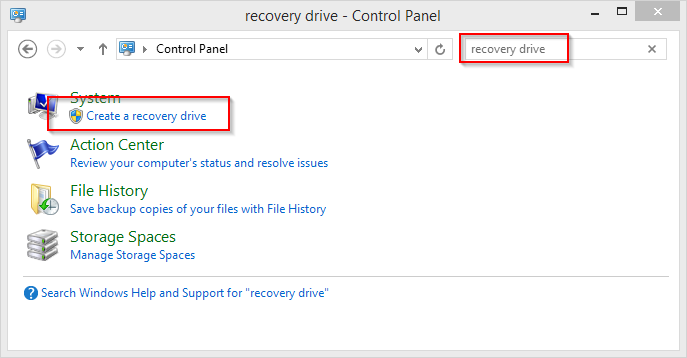
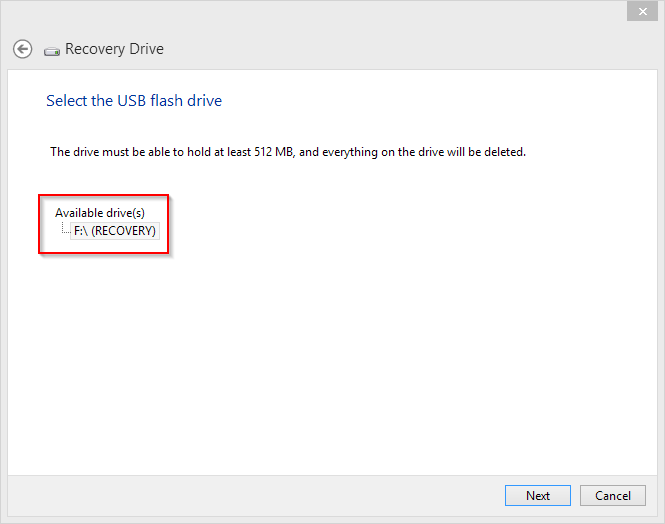
To be able to restore the previously created image to the new SDD we need a recovery drive to boot from. Your safest bet is to create a new one. Again, open Control Panel and search for "Recovery Drive".
Then attach a USB stick and let Windows create your recovery drive. This shouldn't take long.
OK, now you're good to go.
Step 3 - Connect the new SSD
Ideally, you have already done that. If not, now is a really good time for that. Shut down your PC, connect the new SSD, boot up again and check in Disk Management if this SSD is working fine (better safe than sorry).
Step 4 - Disconnect the old SSD
This is important! Make sure your old system SSD from which you took the image before is disconnected during the restore process! Otherwise you will very likely restore your image to this very same disk again. That happens and it sucks. Believe me, I have been there ...
Step 5 - Reboot and Check BIOS Boot Order
This is a crucial step I wasn't aware oft and it had cost me precious hours of my life! So don't make that same mistake.
Boot your PC (remember: new SDD attached, old SDD disconnected) and enter your BIOS settings. In there, make sure your new SSD is on first place in your boot order.
In my case, the additional HDD data disk had moved to first place in boot order which rendered my later image recovery attempts effortless.
If that's the case continue, otherwise modify the boot order.
Step 6 - Boot from the Recovery Disk and Restore the Image
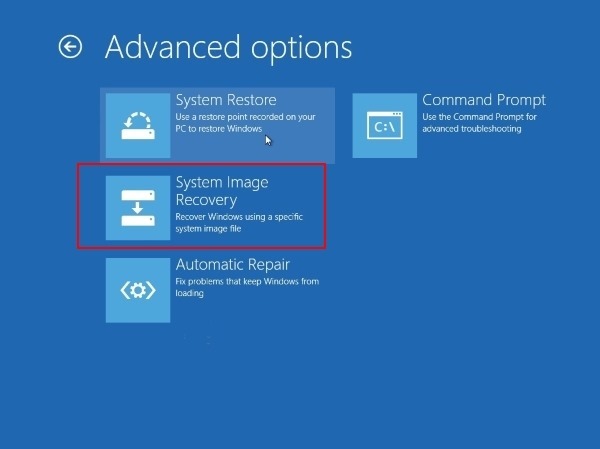
We're almost done now. Boot from the recover disk, select "Advanced Options", then "System Image Recovery" and follow the instructions on the screen.
If you get a really weird error message along the lines of "No disk that can be used for recovering the system disk can be found", go back to Step 5 - most likely your drives' boot order is messed up.
Step 7 - Boot from your new SDD
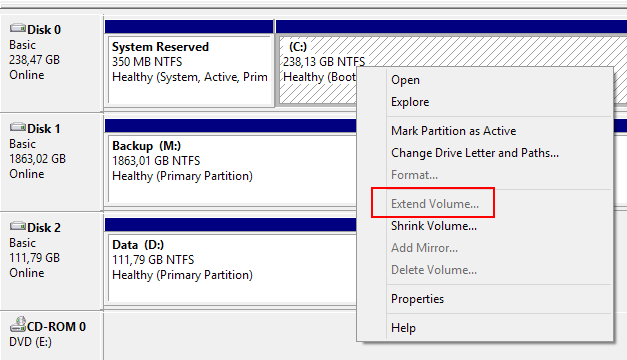
After booting successfully from you new SDD, change into "Disk Management" and make sure to extend your new volume to its full capacity. Right now your are only getting the capacity from the image you took (128GB in my case).
Now it's also safe to attach your old SSD again.
