Migrating a Linux system to a larger SSD
January 24, 2021Since I'm working from home and using another dedicated work account on my Ubuntu system, data was accumulating and I reached the capacity of my 250 GB SSD lately.
I got myself a 1 TB SSD but really wanted to avoid having to set up everything from scratch again. The only acceptable solution would be to clone the contents of the old SSD to new new one and be up and running again.
I went through the same process already a few times with Windows OS and it was not necessarily the easiest thing (see my blog post) to do. Hence, I was dreading this a bit, given I had never tried this on a Linux system before.
To my great surprise, this was almost too easy. Here's the drill:
Attach the new SSD
Better safe than sorry, check the device names of you disks.
$ sudo lshw -class disk -class storage -short
H/W path       Device           Class          Description
==========================================================
/0/100/17      scsi1            storage        Q170/Q150/B150/H170/H110/Z170/CM236 Chipset SATA Controller [AHCI Mode]
/0/100/17/0    /dev/sda         disk           240GB SanDisk SSD PLUS
/0/100/17/1    /dev/sdb         disk           1TB Hitachi HDS72101
/0/100/17/2    /dev/sdc         disk           1TB CT1000MX500SSD1
/0/100/17/3    /dev/cdrom       disk           DVDRAM GHC0N
Alright, in my case this means cloning from /dev/sda to /dev/sdc/
Now we simply clone the disks. Yes, it really is as simple as that. Someone suggested
using the dd command for that, but I discovered the pv command instead.
(I needed to apt-get install pv first, though). It's way faster and you get a
progress report.
Become root via
sudo -i.Run
pv.
$ pv < /dev/sda > /dev/sdc
 223GiB 0:29:23 [ 129MiB/s] [====================================================================================================================================>] 100%
Remember: device names might be different in your case. Here from is
/dev/sdaand to is/dev/sdc.
- Run
gdiskand itswto fix the partition table.
$ gdisk
GPT fdisk (gdisk) version 1.0.5

Type device filename, or press <Enter> to exit: /dev/sdc
Partition table scan:
  MBR: protective
  BSD: not present
  APM: not present
  GPT: present

Found valid GPT with protective MBR; using GPT.

Command (? for help): w
Warning! Secondary header is placed too early on the disk! Do you want to
correct this problem? (Y/N): Y
Have moved second header and partition table to correct location.

Final checks complete. About to write GPT data. THIS WILL OVERWRITE EXISTING
PARTITIONS!!

Do you want to proceed? (Y/N): Y
OK; writing new GUID partition table (GPT) to /dev/sdc.
The operation has completed successfully.
- Shutdown, unplug the old SSD, plugin the new SSD, reboot.
I literally started writing the blog post on the old SSD and finish it on the new one. #MindBlown
- Everything should be running smoothly. The only thing left to do is resizing
your partition and filesystem on the new disk. I used
gpartedfor that.
The additional capacity of the new SSD is displayed as unallocated space.
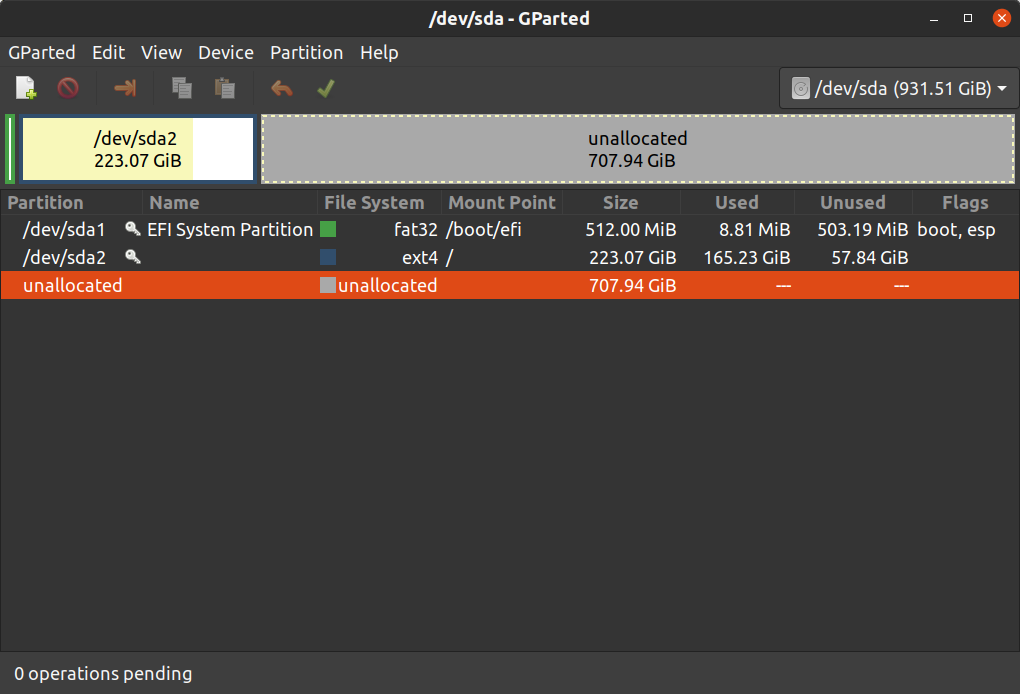
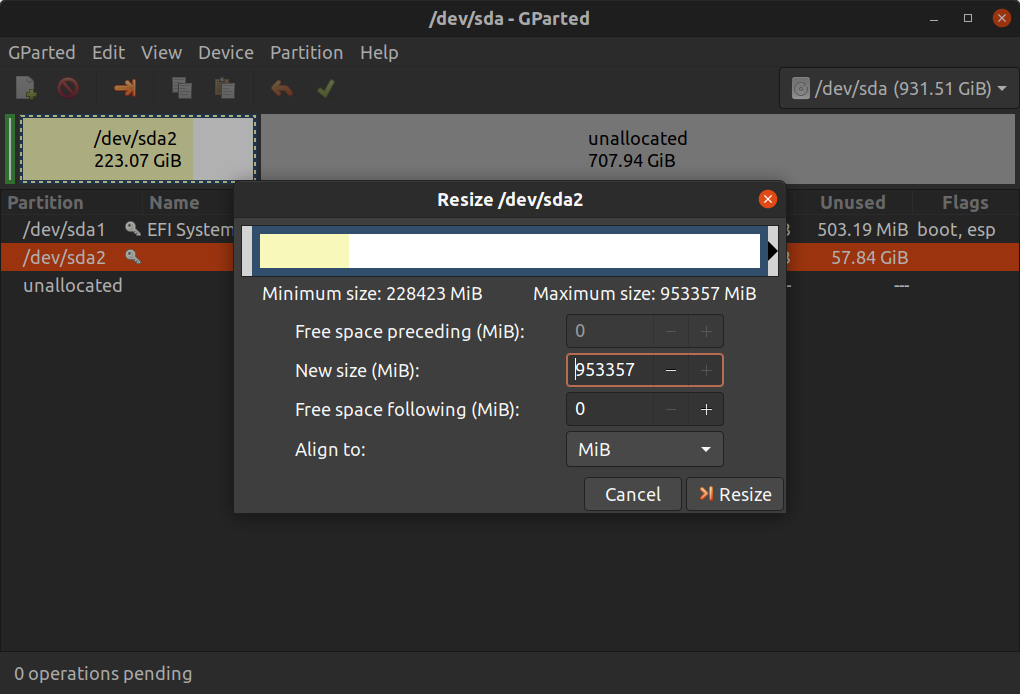
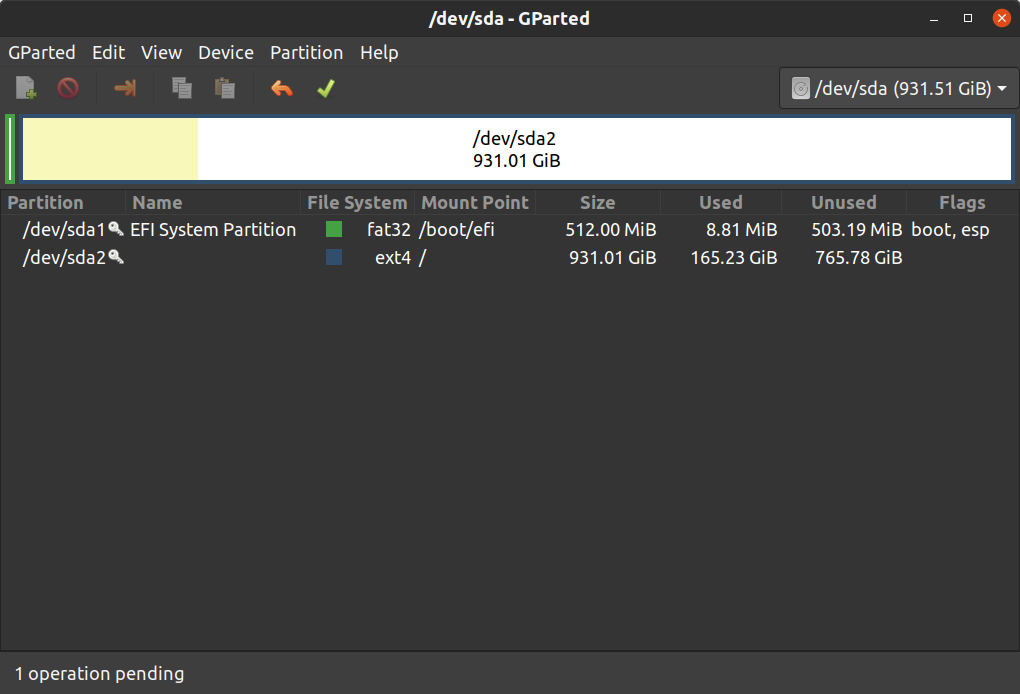
So, we simply resize the partition.
Done.
The whole process, including writing this blog post, took me a little more than an hour.

Disclaimer: operations like this always have the potential to screw things up badly. Things might work differently on your system, so be careful and make sure to have a backup. Most importantly, don't blame me if something goes wrong ;-)