Installing the Windows Telnet Client
February 3, 2016I regularly find myself working with (web) services and applications of different kinds and it’s often useful being able to just “telnet” these services as part of error diagnosis. Making sure if or what a service actually responds on a very low level can be helpful.
Unfortunately, Windows does not come with an installed Telnet client any more by default. But this can be fixed in literally a single step.
The Fast Way
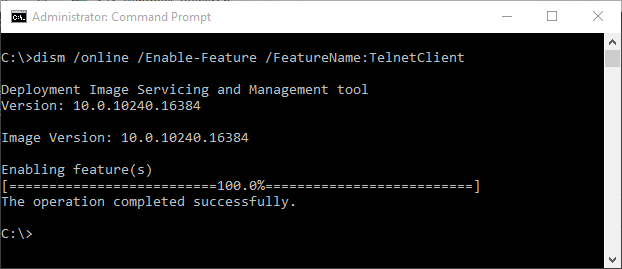
Open up a command prompt of your choice. I prefer ConEmu running Powershell, but a simple cmd.exe will do as well. Make sure you are running elevated or have administrative permissions, though.
Then type:
dism /online /Enable-Feature /FeatureName:TelnetClient
That’s all. You are done.
The Slightly Slower but more Colorful Way
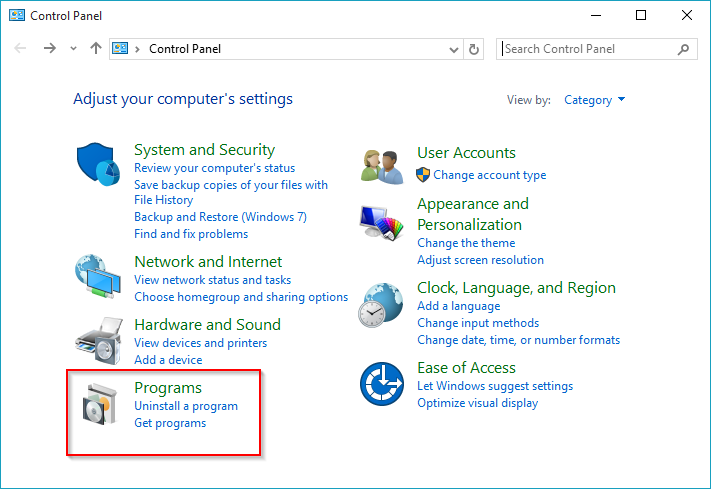
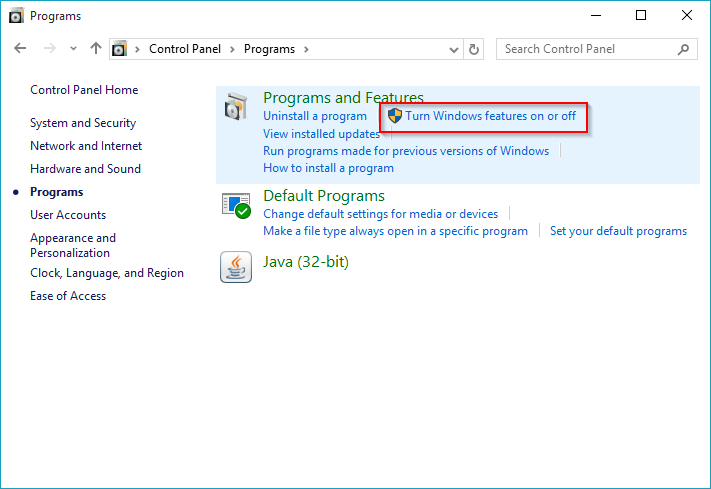
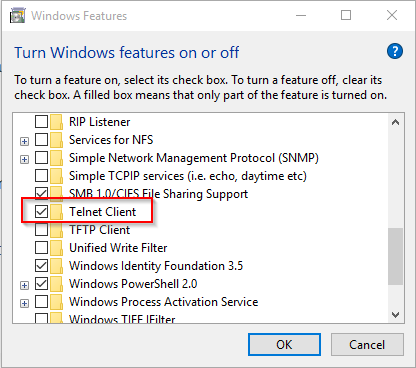
If for some reason command prompts make you uncomfortable, you can also go the “GUI way”.


