Making an E-Paper Picture Frame
November 19, 2023The Hardware
More than a year ago, I bought this 7 color e-ink display, tested it and somehow forgot about it again. Then just recently, I remembered about it and decided to make it into a digital picture frame that would display our family photos on my working desk.
I also have a stash of unused Raspberry Pis lying around, so I put one of those into use and connected it to the display.
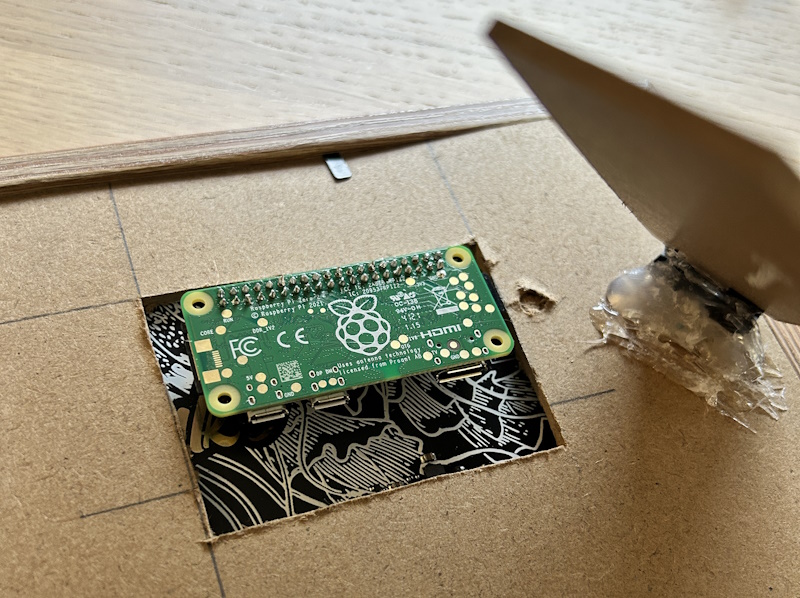
An unused picture frame was also readily available, so it was mostly a matter of putting the existing pieces together.
The backboard of the frame needed a cut-out to make room for the Raspberry Pi Zero, but that was all the "modifications" I had to make. Even the passe-partout matched the dimensions of the screen already.
Part List
Here's what I used.
- Raspberry Pi Zero: Actually any Raspberry Pi will work. The Zero is great however, as it does not take up a lot of space.
- Pimoroni ePaper HAT: This is the exact model that I used.
- Power supply: Micro USB, 5V, 2A.
- Picture Frame: e.g. IKEA Ribba
The Software
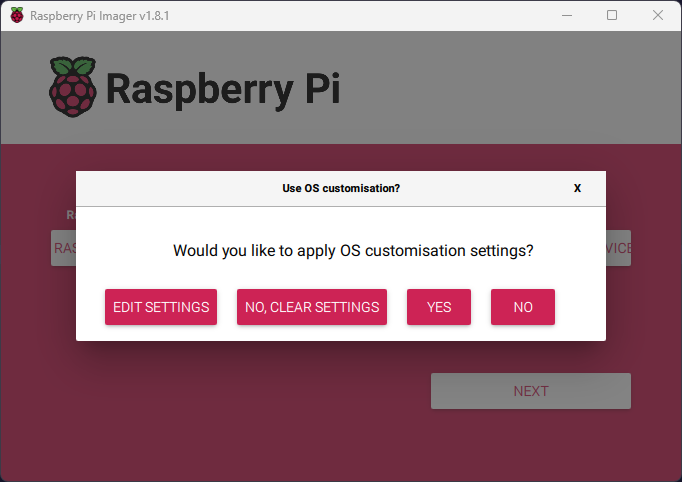
In the past I blogged about setting up a Raspberry Pi for headless operation.
Since then, things have become even easier and all these settings (e.g. ssh) are
just a click away when using the Raspberry Pi Imager tool.
The actual actual code driving the display is a small Python application using Pimoroni's inky library.
A global instance of inky is used for that.
inky = auto(ask_user=True, verbose=True)
The main application then simply calls the helper function display_next_image and sleeps for 15 minutes.
This means, each 15 minutes we update the image that gets displayed.
while True:
  display_next_image()
  time.sleep(timedelta(minutes=15).total_seconds())
The implementation of display_next_image looks like this:
def display_next_image():
  image = get_next_image()
  image = rotate_image(image)
  image = scale_image(image)
  inky.set_image(image, saturation=0.5)
  inky.show()
The first function that's called is get_next_image.
Here's where your mileage may vary and you have to decide where to retrieve
the image from. Whether this image is already on a folder on the Raspberry Pi's SD
card or gets downloaded from somewhere else, does not actually matter.
The only important thing is that the Image type from Python's Pillow
library is used. The methods below rely on that.
Next, rotate_image makes sure that the image is rotated correctly (by looking at its
EXIF tags).
def rotate_image(image):
  # Check if the image has EXIF data
  if hasattr(image, '_getexif'):
      exif = image._getexif()
      if exif is not None:
          # Look for the EXIF orientation tag
          for tag, orientation in ExifTags.TAGS.items():
              if orientation == 'Orientation':
                  break

          # Check if the orientation tag exists in the EXIF data
          if tag in exif:
              # Get the actual orientation value
              orientation_value = exif[tag]

              # Determine if rotation is needed based on the orientation value
              if orientation_value == 1:
                  # No rotation needed (normal orientation)
                  pass
              elif orientation_value == 3:
                  # Rotate 180 degrees
                  image = image.rotate(180, expand=True)
              elif orientation_value == 6:
                  # Rotate 270 degrees
                  image = image.rotate(270, expand=True)
              elif orientation_value == 8:
                  # Rotate 90 degrees
                  image = image.rotate(90, expand=True)
  return image
Then, the image is scaled to match the dimensions of the e-paper display.
def scale_image(image):
  aspect_ratio = image.width / image.height
  target_width, target_height = inky.resolution
  if aspect_ratio > (target_width / target_height):
    new_width = target_width
    new_height = int(target_width / aspect_ratio)
  else:
    new_height = target_height
    new_width = int(target_height * aspect_ratio)
  image = image.resize((new_width, new_height), Image.ANTIALIAS)
  padded_image = Image.new('RGB', (target_width, target_height), (255, 255, 255))
  left_padding = (target_width - new_width) // 2
  top_padding = (target_height - new_height) // 2
  padded_image.paste(image, (left_padding, top_padding))
  return padded_image;
And finally, the Image gets displayed by callinginky.set_image() and inky.show().
Automatically run the script
To have this script run on startup automatically, I added one line to /etc/rc.local just
before exit 0.
...
python3 /home/pi/dev/framepi/main.py &
exit 0
The Finished Picture Frame
I must say I am really happy with the result. This picture frame is running flawlessly for weeks now and the display quality is much better than I had expected.
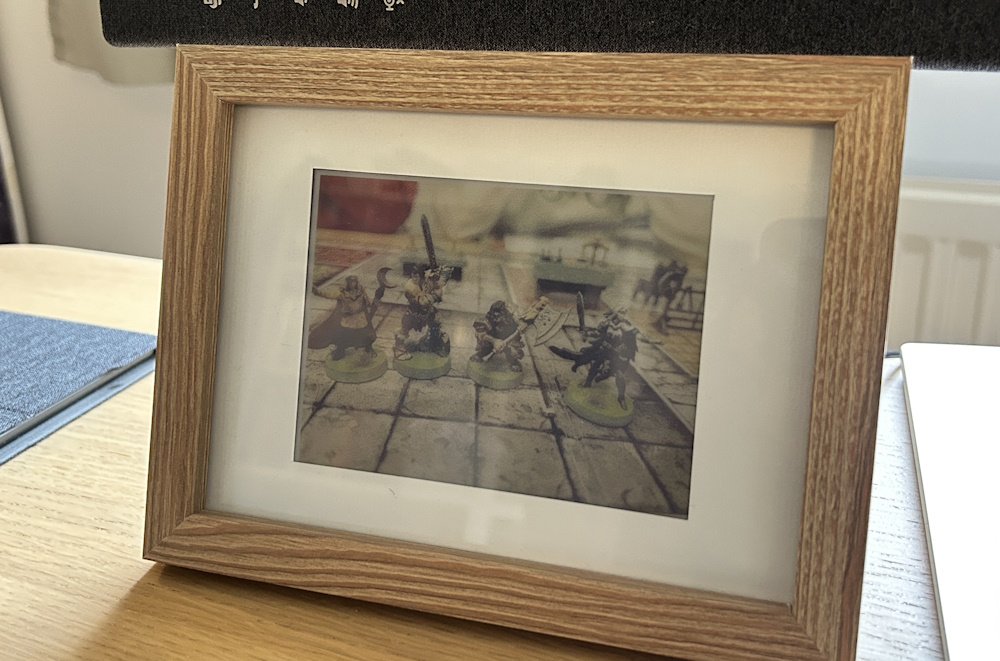
The update interval of 15 minutes also turned out to be a good choice for me. It's often enough to see some variation but not too often as the update animations would be a distraction.