Controlling an RGB LED Strip using an Arduino - Part 2
November 18, 2015A while ago I blogged about how I was using an Arduino to control an RGB LED strip. This LED strip is taped to the back of my TV cupboard and serves as an ambient light source when watching TV. Therefore my main goal was not having to control this LED strip manually, but to automatically detect whether the TV was on and turn on the LEDs in that case.
The software setup remains basically the same:
- The Arduino works as a very basic web server, simply receiving RGB values in form of a URL query string.
e.g. http://<ARDUINO_IP_ORHOSTNAME>?r=255&g=0&b=0 - A RaspberryPi is running a NodeJS Express web application that serves a basic color chooser interface.
Why the RaspberryPi?
Well, I could have tried and hosted the full web application on the Arduino, but I found this approach way to cumbersome for a couple of reasons:
- First, there aren’t any web application frameworks for the Arduino and / or the network interface module I was using (ENC28J60). Heck, there’s not even a decent HTTP implementation: you have to do this by hand!
- Also, memory is a scarce resource on an Arduino. It’s somewhere between really hard and nearly impossible to fit a decent (looking) web application on an Arduino Nano.
- I constantly make changes and adaptions to this software. Connecting to the Arduino over USB all the time would be to frustrating and time consuming.
- Debugging Arduino sketches is a nightmare by today’s standards.
Therefore, the logical solution was to host the often-changing software on my RaspberryPi (which is running anyway) where it is easy to update and debug. The Arduino however is locked away in the TV cupboard running its simple and meanwhile stable sketch that is just receiving RGB commands.
Software Upgrade
So how did the web application change from manual to automated color switching operation?
- The NodeJS Express app is running an additional module which uses SSDP (Simple Service Discovery Protocol).
- Using said SSDP I can detect whether my XBox One is running or not. “Why the XBox One” you might wonder? Well, since I am routing my TV signal through the XBox, a running XBox usually means that someone is watching TV (or Netflix, or…). Therefore: Lights On!
- If that’s the case, a random RGB color for the LEDs gets chosen. Then the XBox is continually looked up (again using SSDP) and the Arduino’s LED strip is gradually changed towards the chosen color. If the color is reached, another random color is chosen.
- This happens until the XBox disappears from the network, then the RGB LEDs are turned off.
The whole code for this algorithm can be found in the file xbox.js in the LedStrip GitHub project.
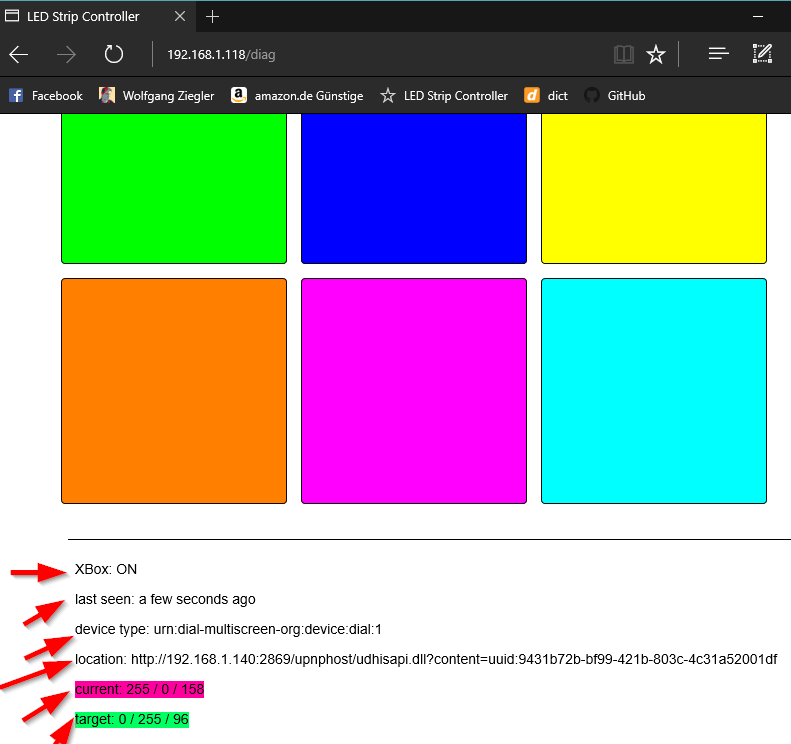
I also added a diagnostic page to the web application that gives some clue about the current state of this algorithm:
From this example diagnostics page I could get following information:
- The XBox One (i.e. means my TV) is currently running.
- It was seen a few seconds ago.
- Its SSDP device type.
- The URL to its UPnP information page.
- The current color.
- The target color.
Hardware Upgrade
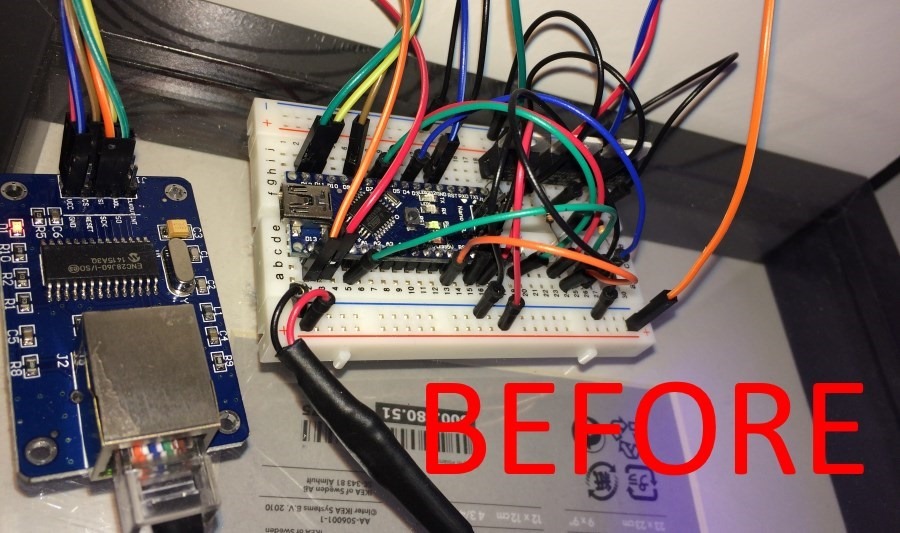
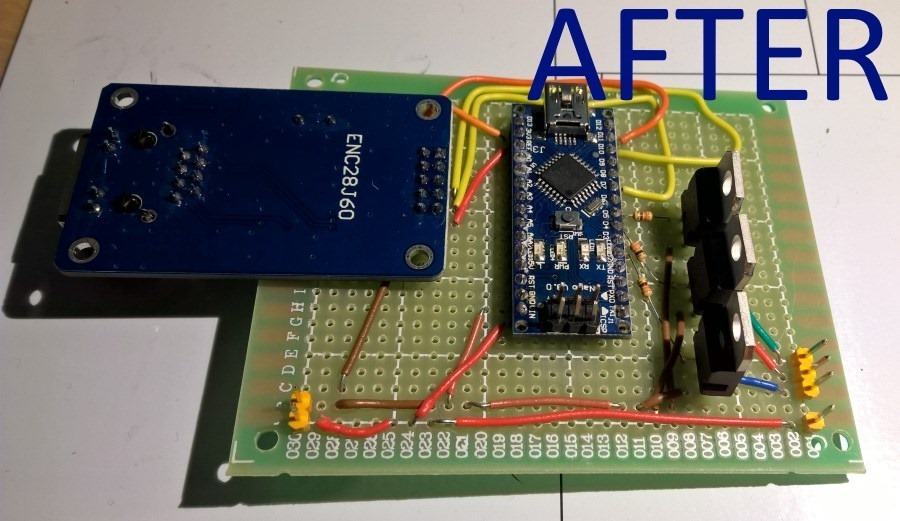
With the software working nice and smooth now, I figured that the Arduino hardware (which was basically just the breadboard prototype) also deserved an upgrade and soldered the components to a circuit board.
I have to say I am really happy with the results.
Now, I will give this setup another test run watching Netflix or play some Halo 5…
Update 2019
It turns out that by using individually addressable WS2813 LEDs, this project can be realized even easier. I found this cheap but great WS2813 LED strip at seeedstudio.com and updated this project to using those.


