Cosplay Arc Reactor
March 18, 2016This weekend, the first Comic Con will take place here in my hometown Linz. It will probably be rather small in comparison to other Comic Con events, but nonetheless I am quite excited and looking forward to visiting it.
Of course, visiting a Comic Con requires some sort of cosplay - everything else would be boring. Unfortunately I had no good idea for that. Luckily, I was listening to the Hanselminutes podcast last week, where Scott Hanselman was talking to Brent Chapman as part of his March is for Makers (check out: #marchisformakers) series. At the end of the podcast they mentioned an Arc Reactor that Brent had built a couple of years ago. I was immediately intrigued by the idea of building my own Arc Reactor as my Comic Con cosplay.
Usual disclaimer: If you search the interwebs for Arc Reactor, you will find incredibly cool and realistic builds that people made.
This is not one of them! So spare me your hate ;-)
The Arc Reactor I built was solely intended as a cosplay accessory and to be worn under a T-Shirt. Therefore I did not care about its looks or realism at all.
What I used
Here’s the list of parts I used:
- A WS2812 LED strip. These are incredibly cool for maker projects since they can be individually addressed for light effects. Also they run on 5V.
- An Arduino Nano which controls the LED strip.
- A transparent (but diffusing) plastic lid you usually find in your kitchen.
- A 470 Ω resistor (wired in before the first LED as protection).
- A 3x1,5V battery pack.
- Wires, hot glue, card board and duct tape … basically your usual suspects.
The reason I used an Arduino and WS2812 LEDs was to have control over the LEDs and be able to create subtle animations. Of course you can do without that and just use plain white or blue LEDs and a power source. But where’s the fun in that, right?
What I made
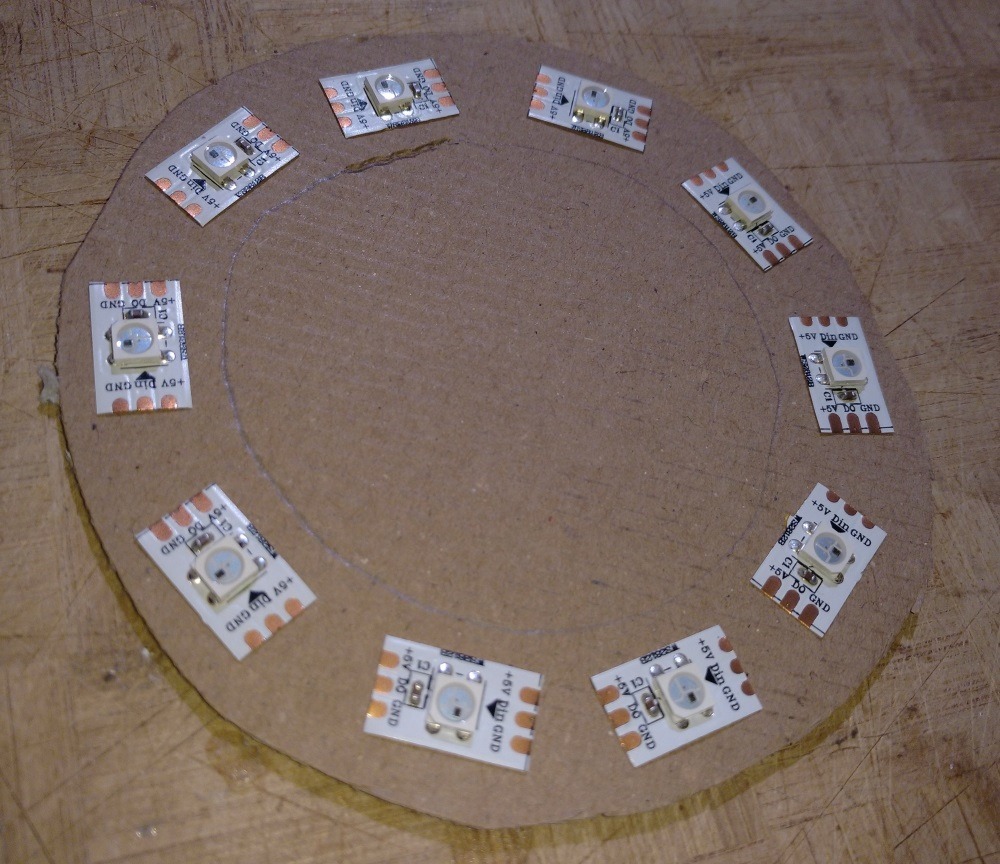
The first step was cutting the WS2812 LED strip into pieces and glueing them onto a round piece of cardboard. Of course, I could have gotten an Adafruit NeoPixel Ring for that, but again: where’s the fun? Also, I did not want to spend any money on this project and only use components I had at home.
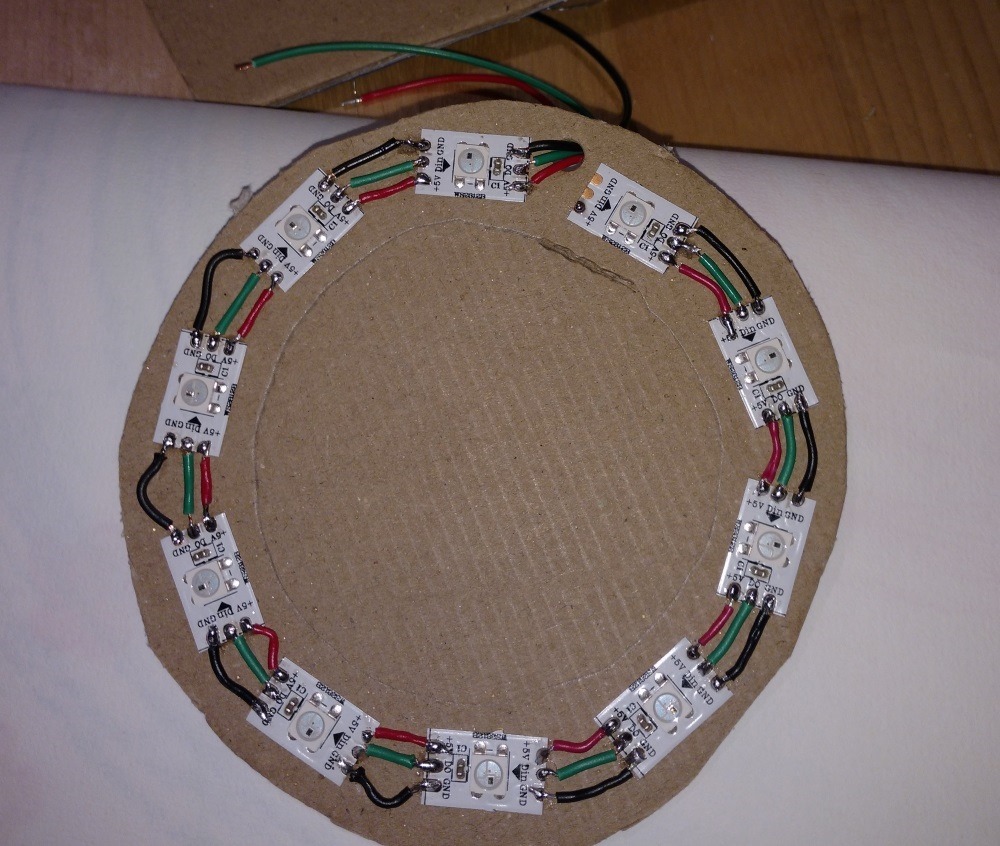
Then I cut some wires and soldered the LEDs together again (can you spot the error I made?).
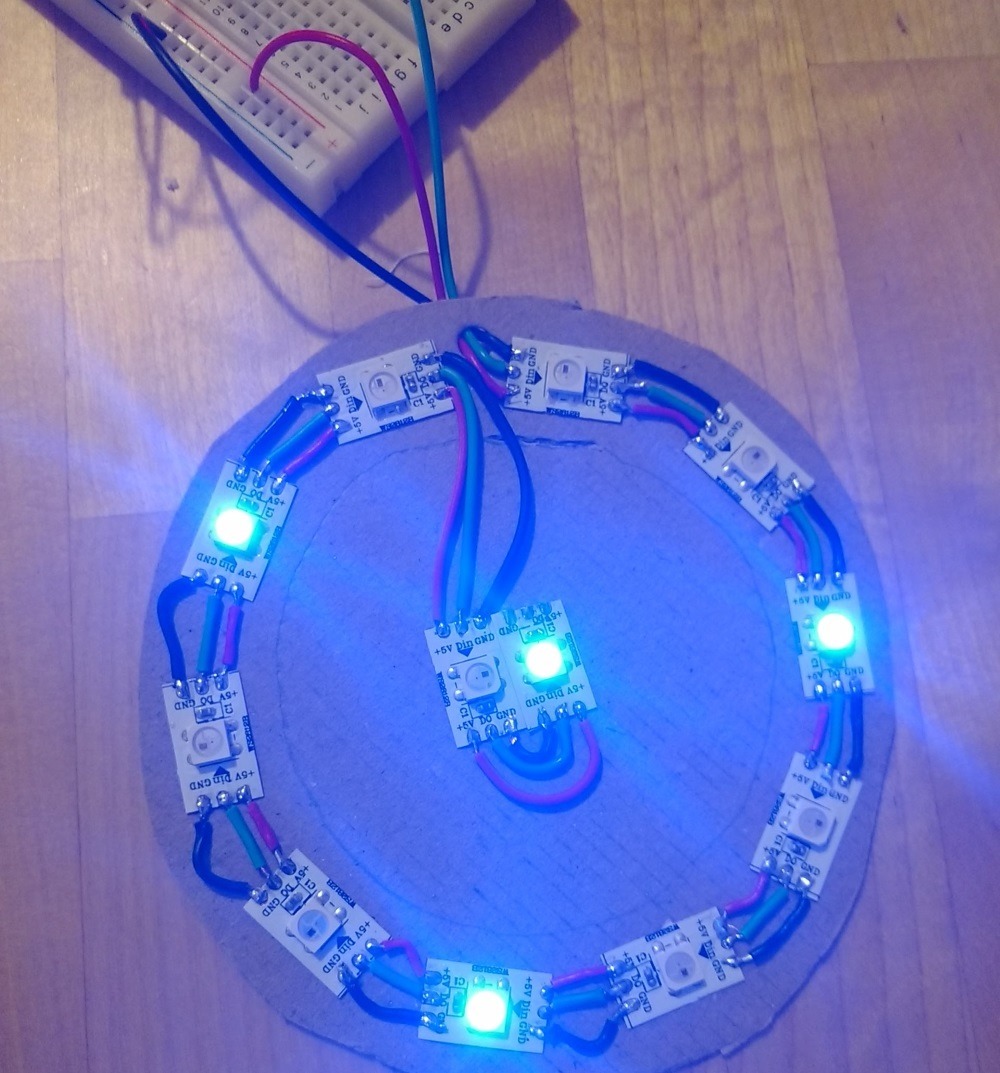
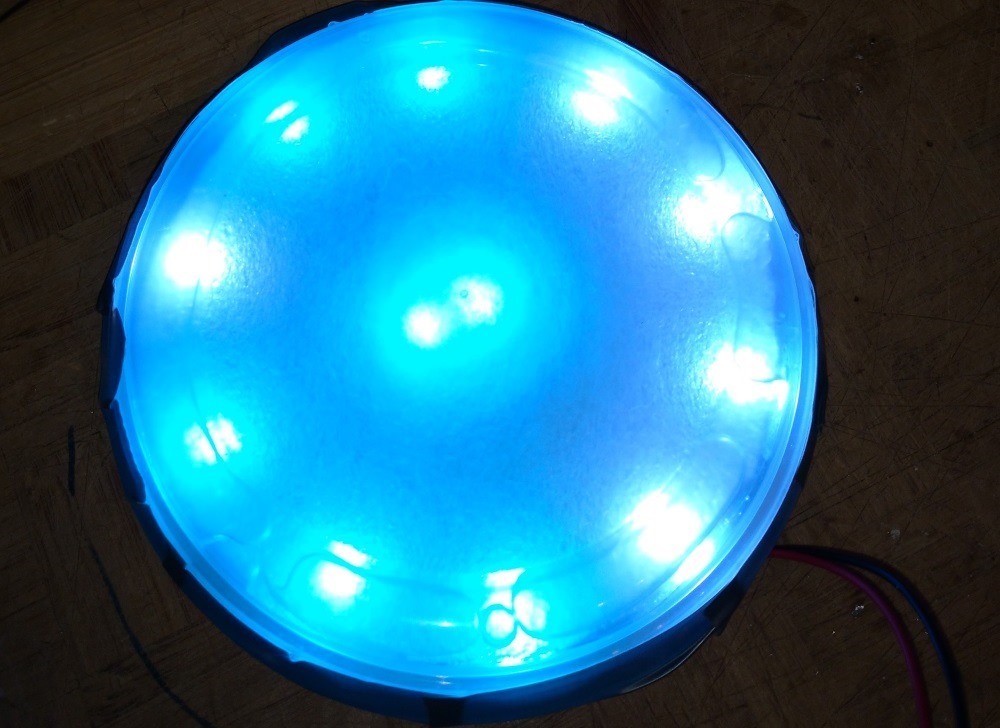
I added two more WS2812 LEDs in the center and give it a first spin using the Arduino Nano to drive the LEDs. All good!
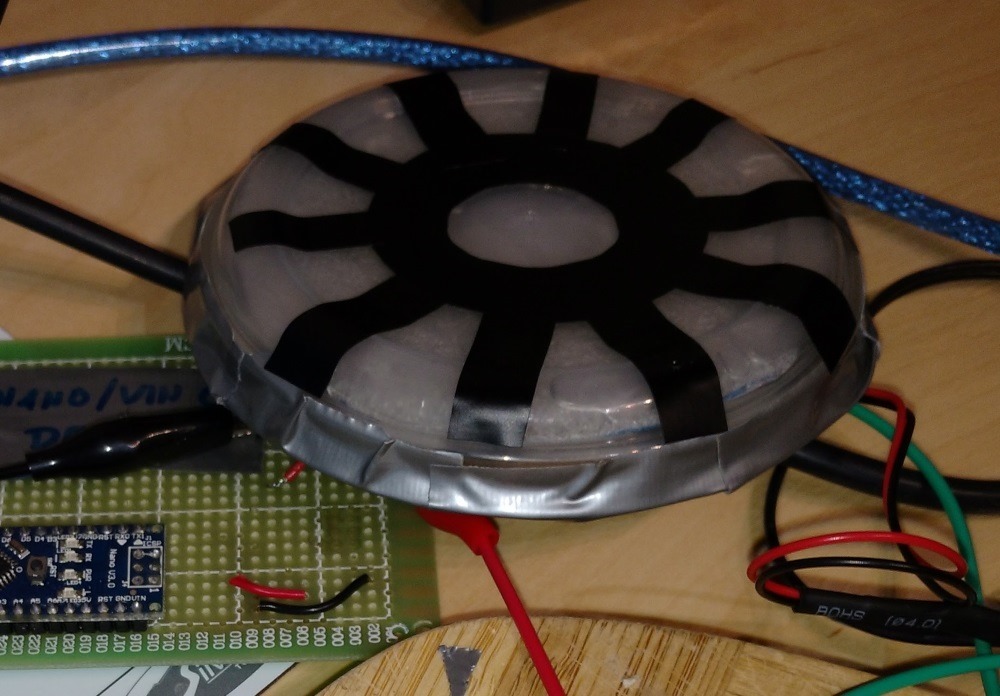
Then I used duct tape and hot glue to attach the plastic lid to the cardboard. Using more (black) duct tape I created the typical Arc Reactor pattern.
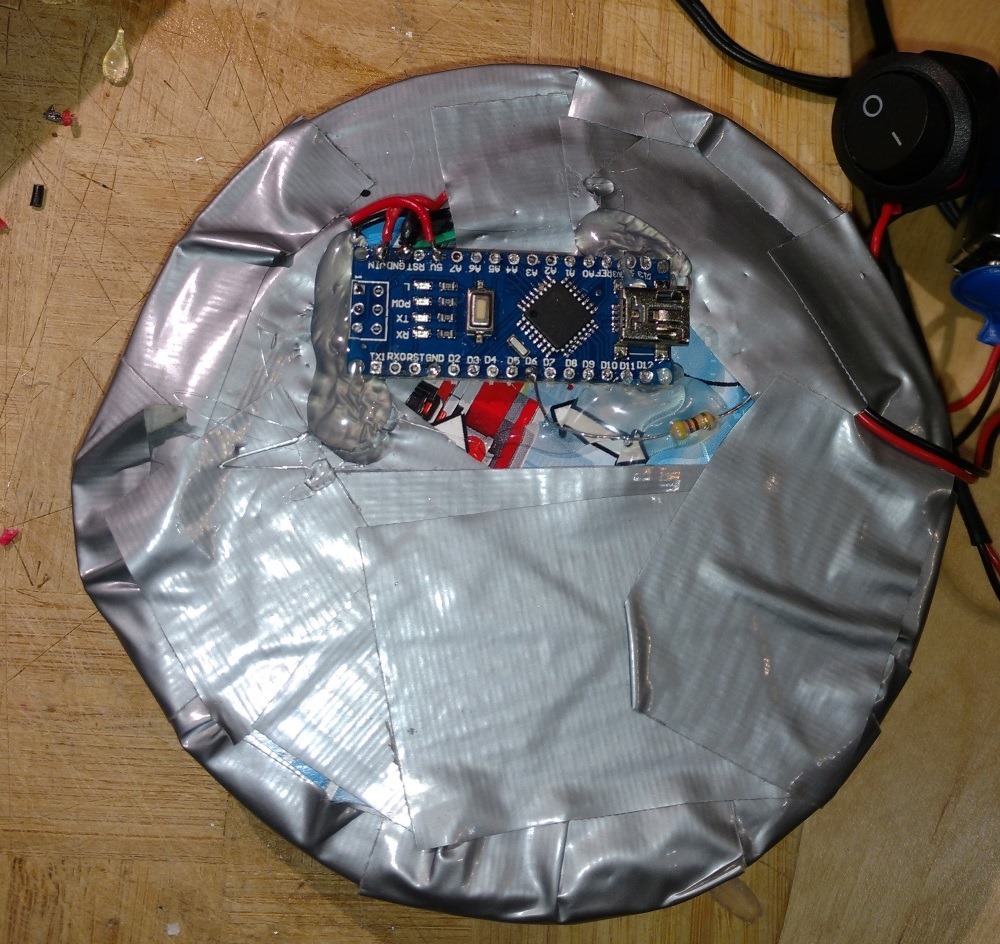
Then (using more hot glue and duct tape) I attached the Arduino to the back of the disc. You can see the protective 470Ω resistor attached to pin 6 (which controls the LEDs) nicely on this picture.
Upload the code to the Arduino, connect the batteries. There we go!
The Code I wrote
Using an Arduino and not (or hardly) writing any code for it feels like a huge waste for me. So I decided to code some subtle animations for the LEDs (pulsing ring, pulsing core, …). You can find that code on GitHub.
