Arc Reactor v2 - 3D Printed and Arduino controlled
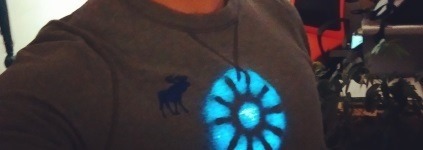
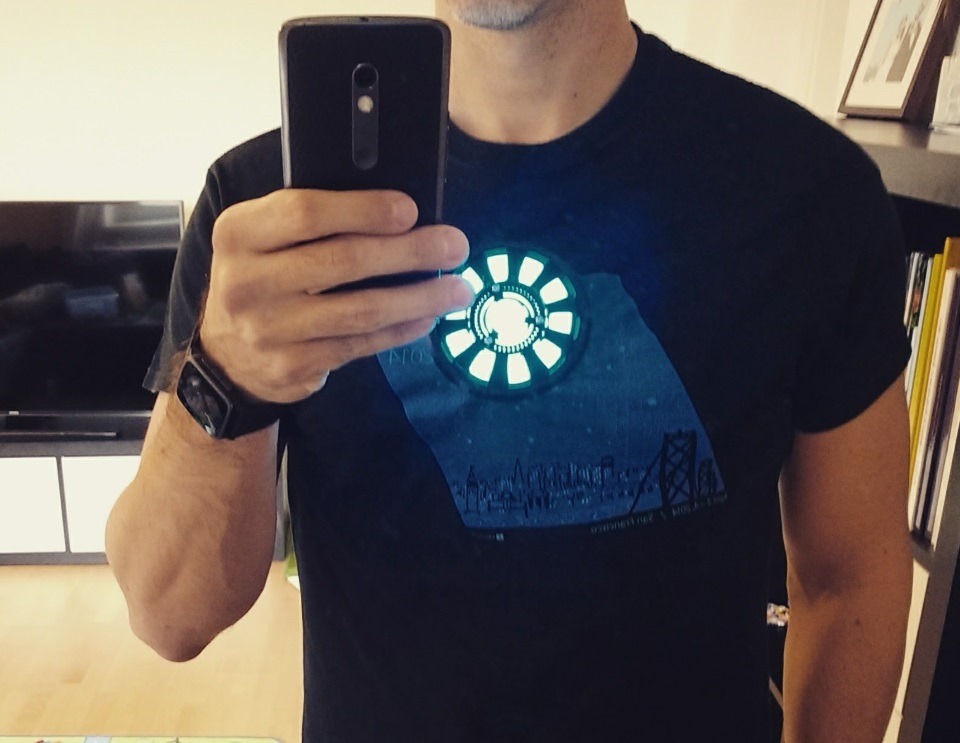
November 21, 2016Earlier this year I built a first version of an Arc Reactor. That one was meant to be worn under clothing so its looks didn’t especially matter. It was all about getting that distinct pattern glowing under my shirt.
Time for an upgrade
With Vienna Comic Con 2016 approaching, I decided it was time to step up my Arc Reactor game and create an improved (and really cool looking!) version of it. Since I recently got a 3D printer, I decided this was the direction I wanted to go with this project.
I think I should really mention again how cool 3D printing is and how you should totally get a 3D printer!
So as I usually do when it comes to 3D printing stuff, I first check on Thingiverse, if somebody already built what I am looking for. As it turns out, Arc Reactors are a really popular thing there (geeks … I know, right?) but I especially liked this version by MishaT and printed it. It looks really legit but the one thing I didn’t like about it was that I was only illuminated statically with LEDs.
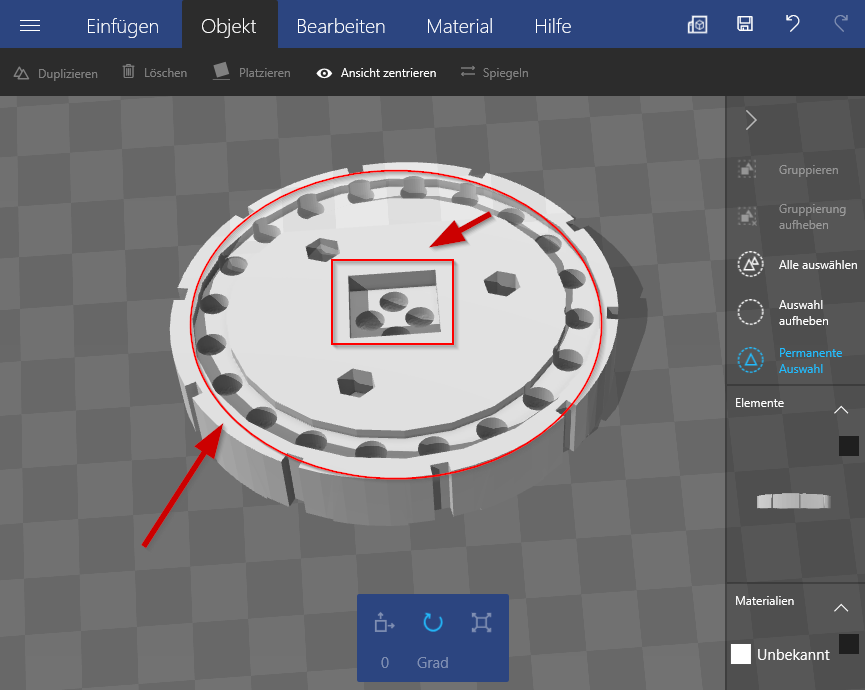
What I really liked about my first Arc Reactor build, was its programmability using an Arduino Nano and an WS2812 LED strip. That way I could address each LED individually and create some subtle and nice light animations. Therefore I modified the original crystal model slightly and added additional notches to better fit the WS2812 LEDs. You can find the adapted model here.
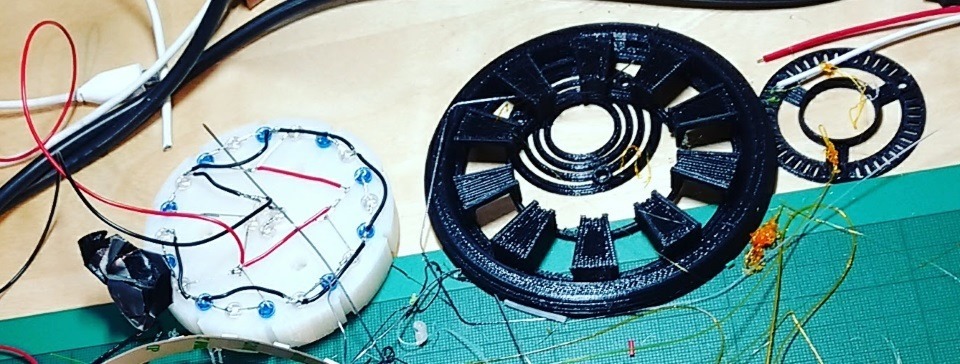
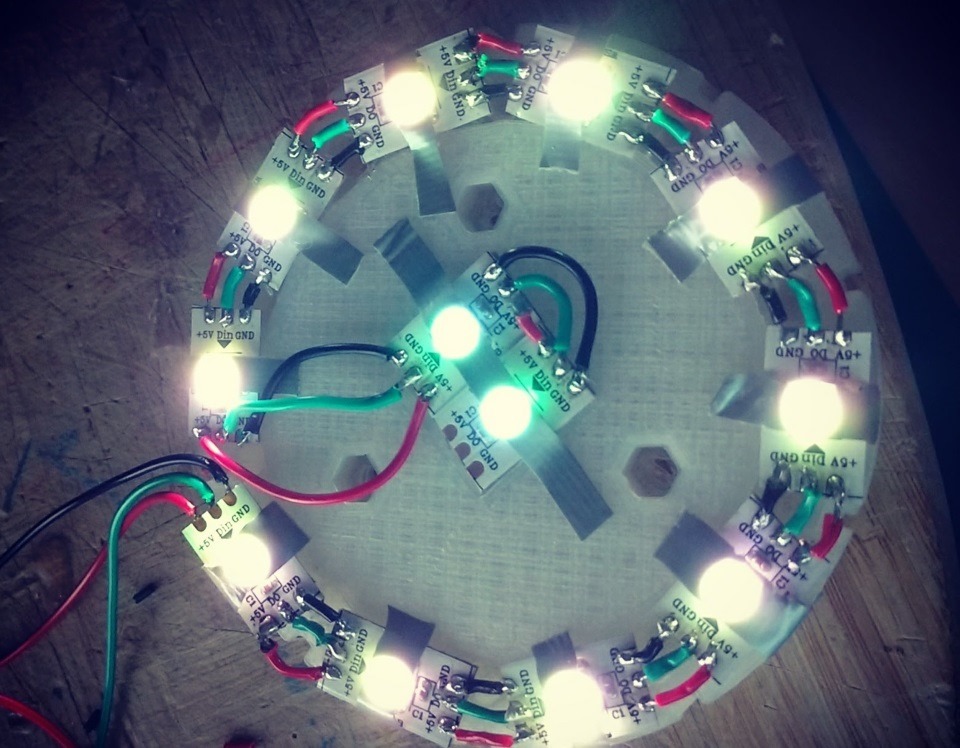
Then, I duct-taped the (previously cut) parts of the LED strip in place and soldered the connections.
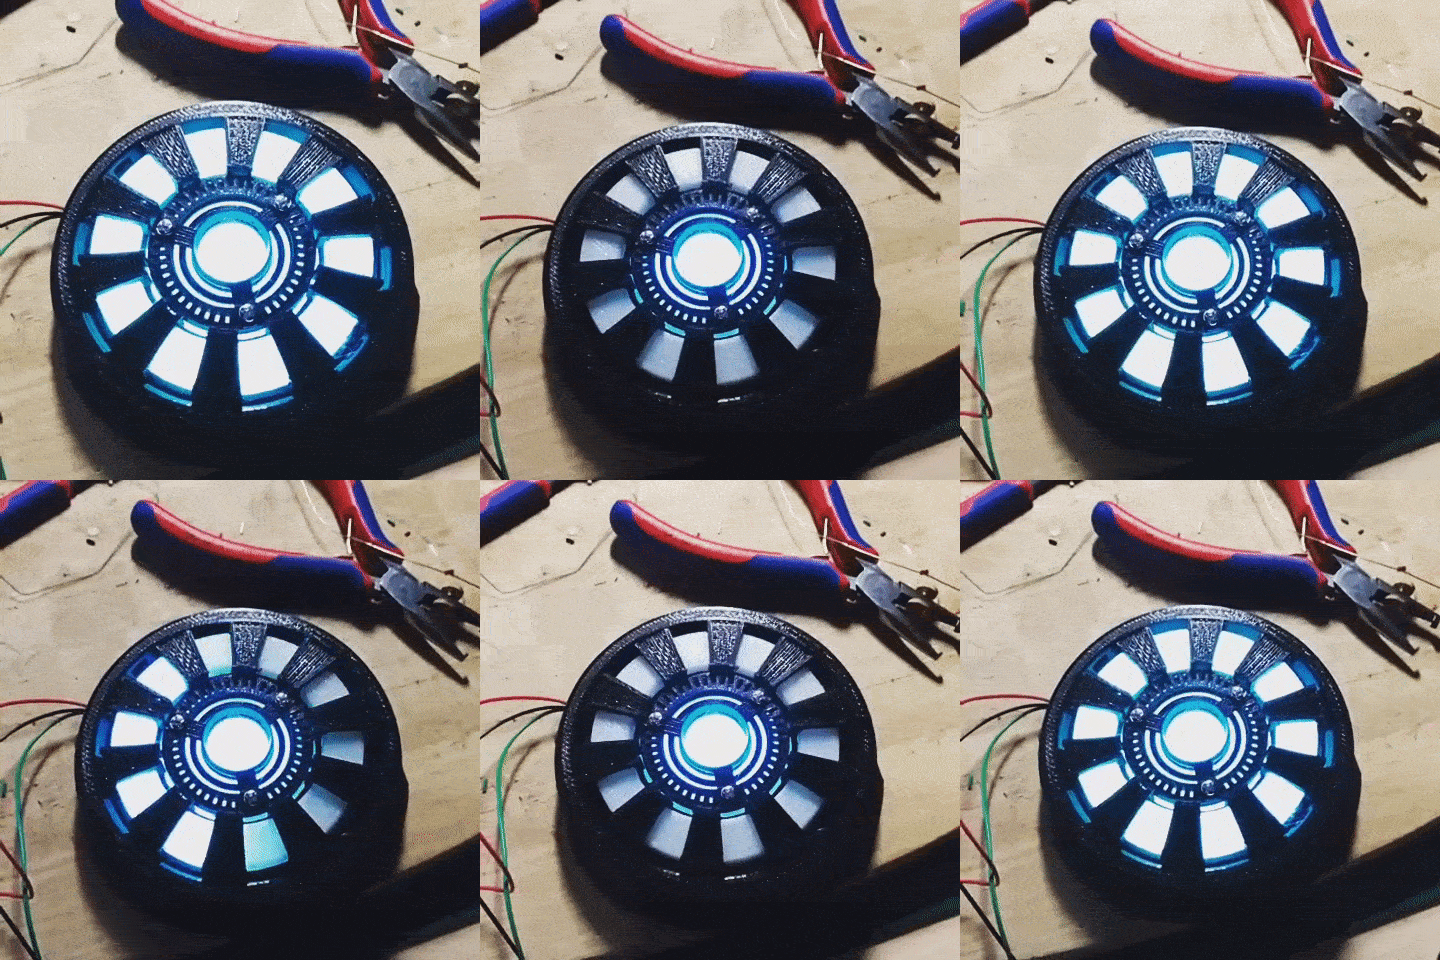
The next steps were simply assembling the 3D printed parts of the original model and connecting the wires to the Arduino Nano, which was running the original color animations of my previous Arc Reactor.
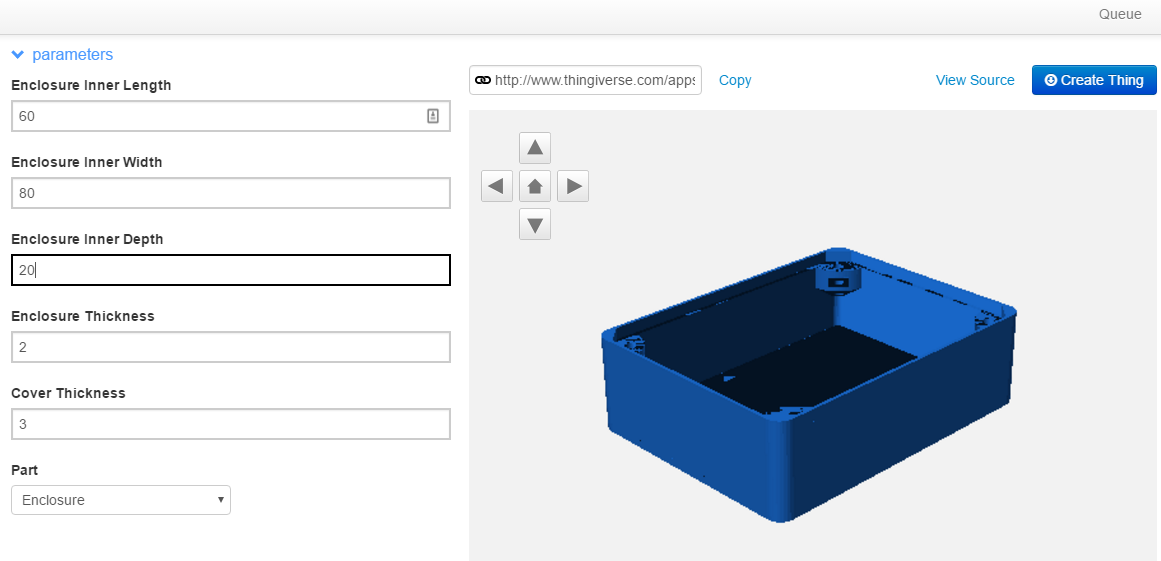
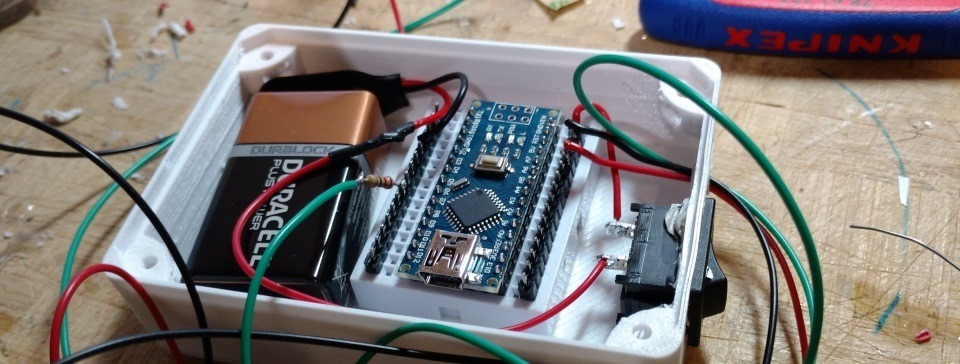
I also decided to 3D print a nice little case for the Arduino Nano and the 9V battery which was powering the whole thing. Again I looked on Thingiverse and found this customizable enclosure project.
This project is really neat: I has a customizer option, which lets you chose the dimensions needed for your enclosure and generates the custom STL (3D printer) files for you.
I then put the components into place, added a power switch and was ready to go.
Finally I tweaked the Arduino Code for the color animations slightly (you can find it on GitHub) and the Arc Reactor was up and running.
And that was it! Everything ready for Comic Con Vienna (which was a blast btw)!
