Create a Self-Signed Certificate for a LAN Host
January 7, 2024Disclaimer: This instructions work on Ubuntu Linux and with the Microsoft Edge browser. It should work with Chrome as well but I did not test it. For other combinations of operating systems and browsers, your mileage will vary.
I'm fully aware that using HTTPS and certificates for hosts (localhost even) in a LAN is usually not a real requirement. However, most services use HTTPS by default and having browsers constantly complain about invalid certificates and insecure connections is quite annoying - hence this tutorial.
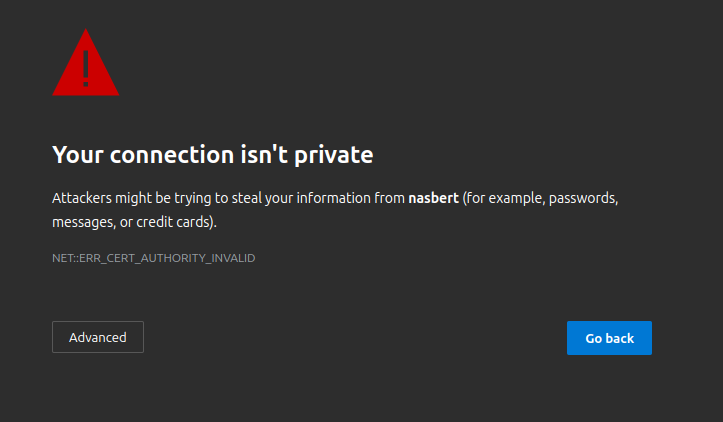
This is what typically happens when you point your browser to a destination on your local network that is using HTTPS.

Ignoring this warning still results in an annoying warning the the address bar.

So, here's how you quickly create a self-signed certificate for the host in question.
Run this script (make sure to set your desired COMMON_NAME first).
#!/bin/bash

# Set the common name (CN) and other parameters
COMMON_NAME=<NAME_OF_YOUR_HOST>
CERTIFICATE_NAME="${COMMON_NAME}.crt"
PRIVATE_KEY_NAME="${COMMON_NAME}.key"

# Create cert
openssl req -x509 -out "${CERTIFICATE_NAME}" -keyout "${PRIVATE_KEY_NAME}" \
  -newkey rsa:2048 -nodes -days 3650 -sha256 \
  -subj "/CN=${COMMON_NAME}" -extensions EXT -config <( \
    printf "[dn]\nCN=${COMMON_NAME}\n[req]\ndistinguished_name = dn\n[EXT]\nsubjectAltName=DNS:${COMMON_NAME}\nkeyUsage=digitalSignature\nextendedKeyUsage=serverAuth"
  )

# Display success message
echo "Self-signed certificate created successfully:"
echo "Certificate: ${CERTIFICATE_NAME}"
echo "Private Key: ${PRIVATE_KEY_NAME}"
The generated .crt and .key files can now be used by the web service that's to be secured.
This configuration depends of course on the actual web service.
Before you can continue and install the created certificate into Edge, make sure you
have the certutil tool installed.
sudo apt install libnss3-tools
Then run these two commands.
certutil -d sql:$HOME/.pki/nssdb -A -t "C,," -n <NAME_OF_YOUR_HOST> -i ./<NAME_OF_YOUR_HOST>.crt
certutil -d sql:$HOME/.pki/nssdb -A -t "P,," -n <NAME_OF_YOUR_HOST> -i ./<NAME_OF_YOUR_HOST>.crt
Restart the browser and you should see the "secure connection lock" in the browser's address bar.
